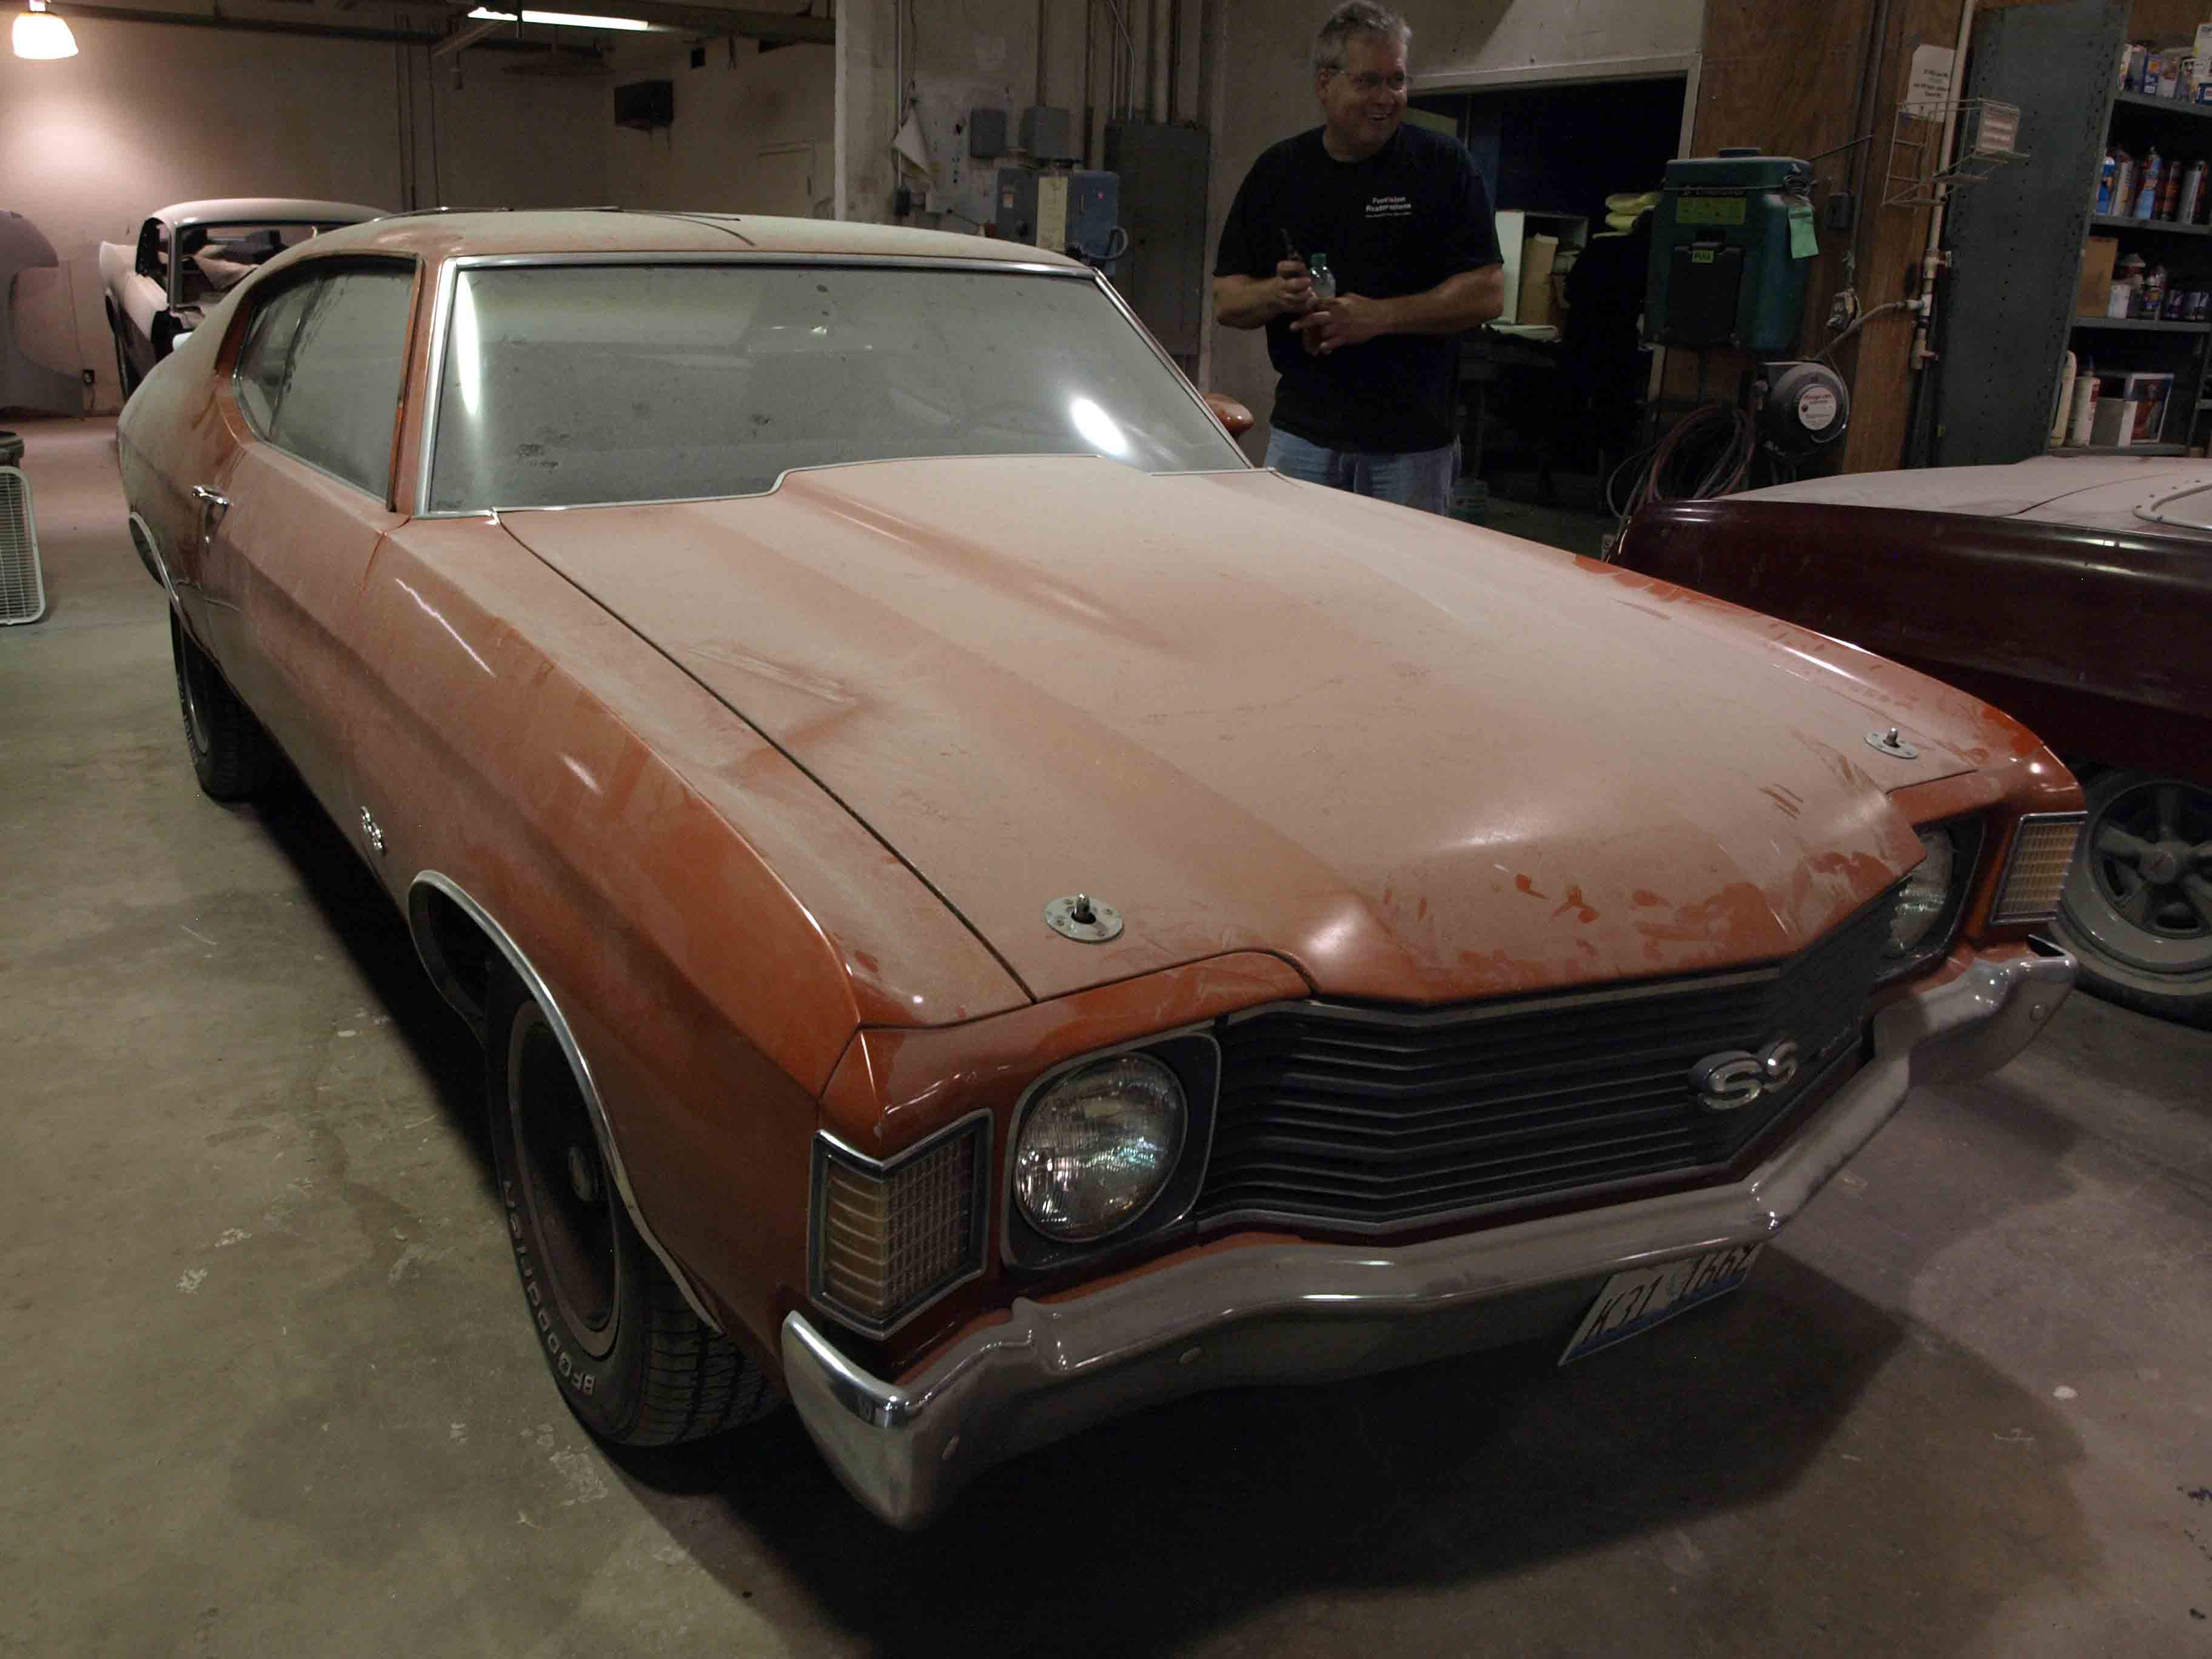
Evolution of a Restoration pt.5
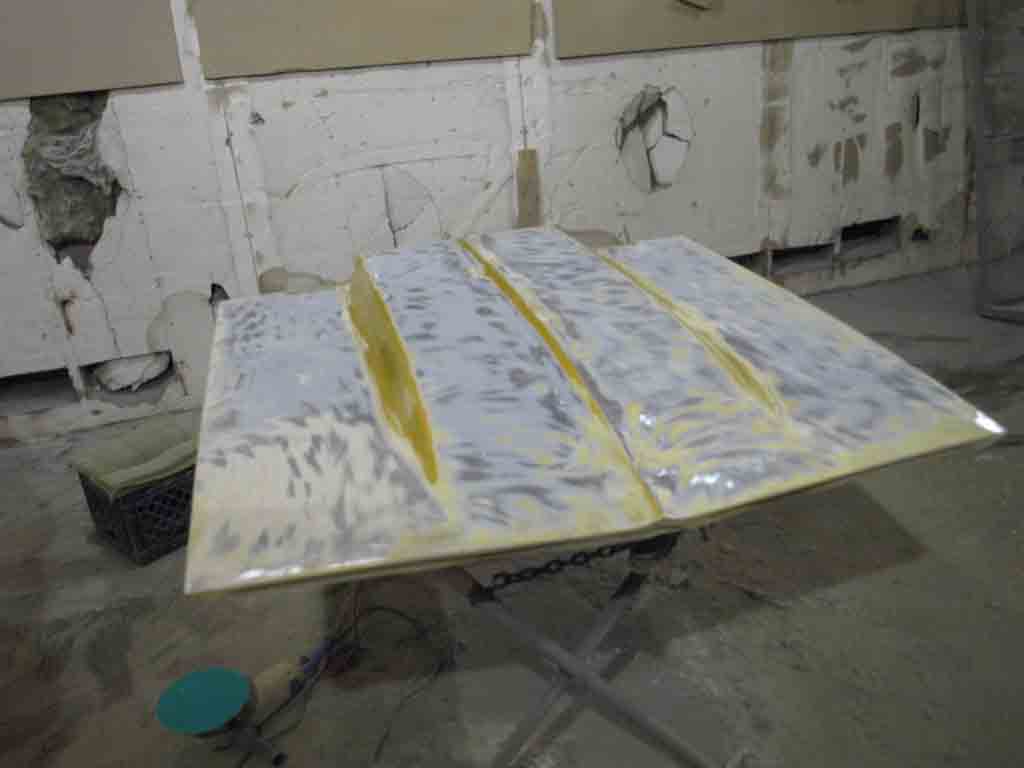
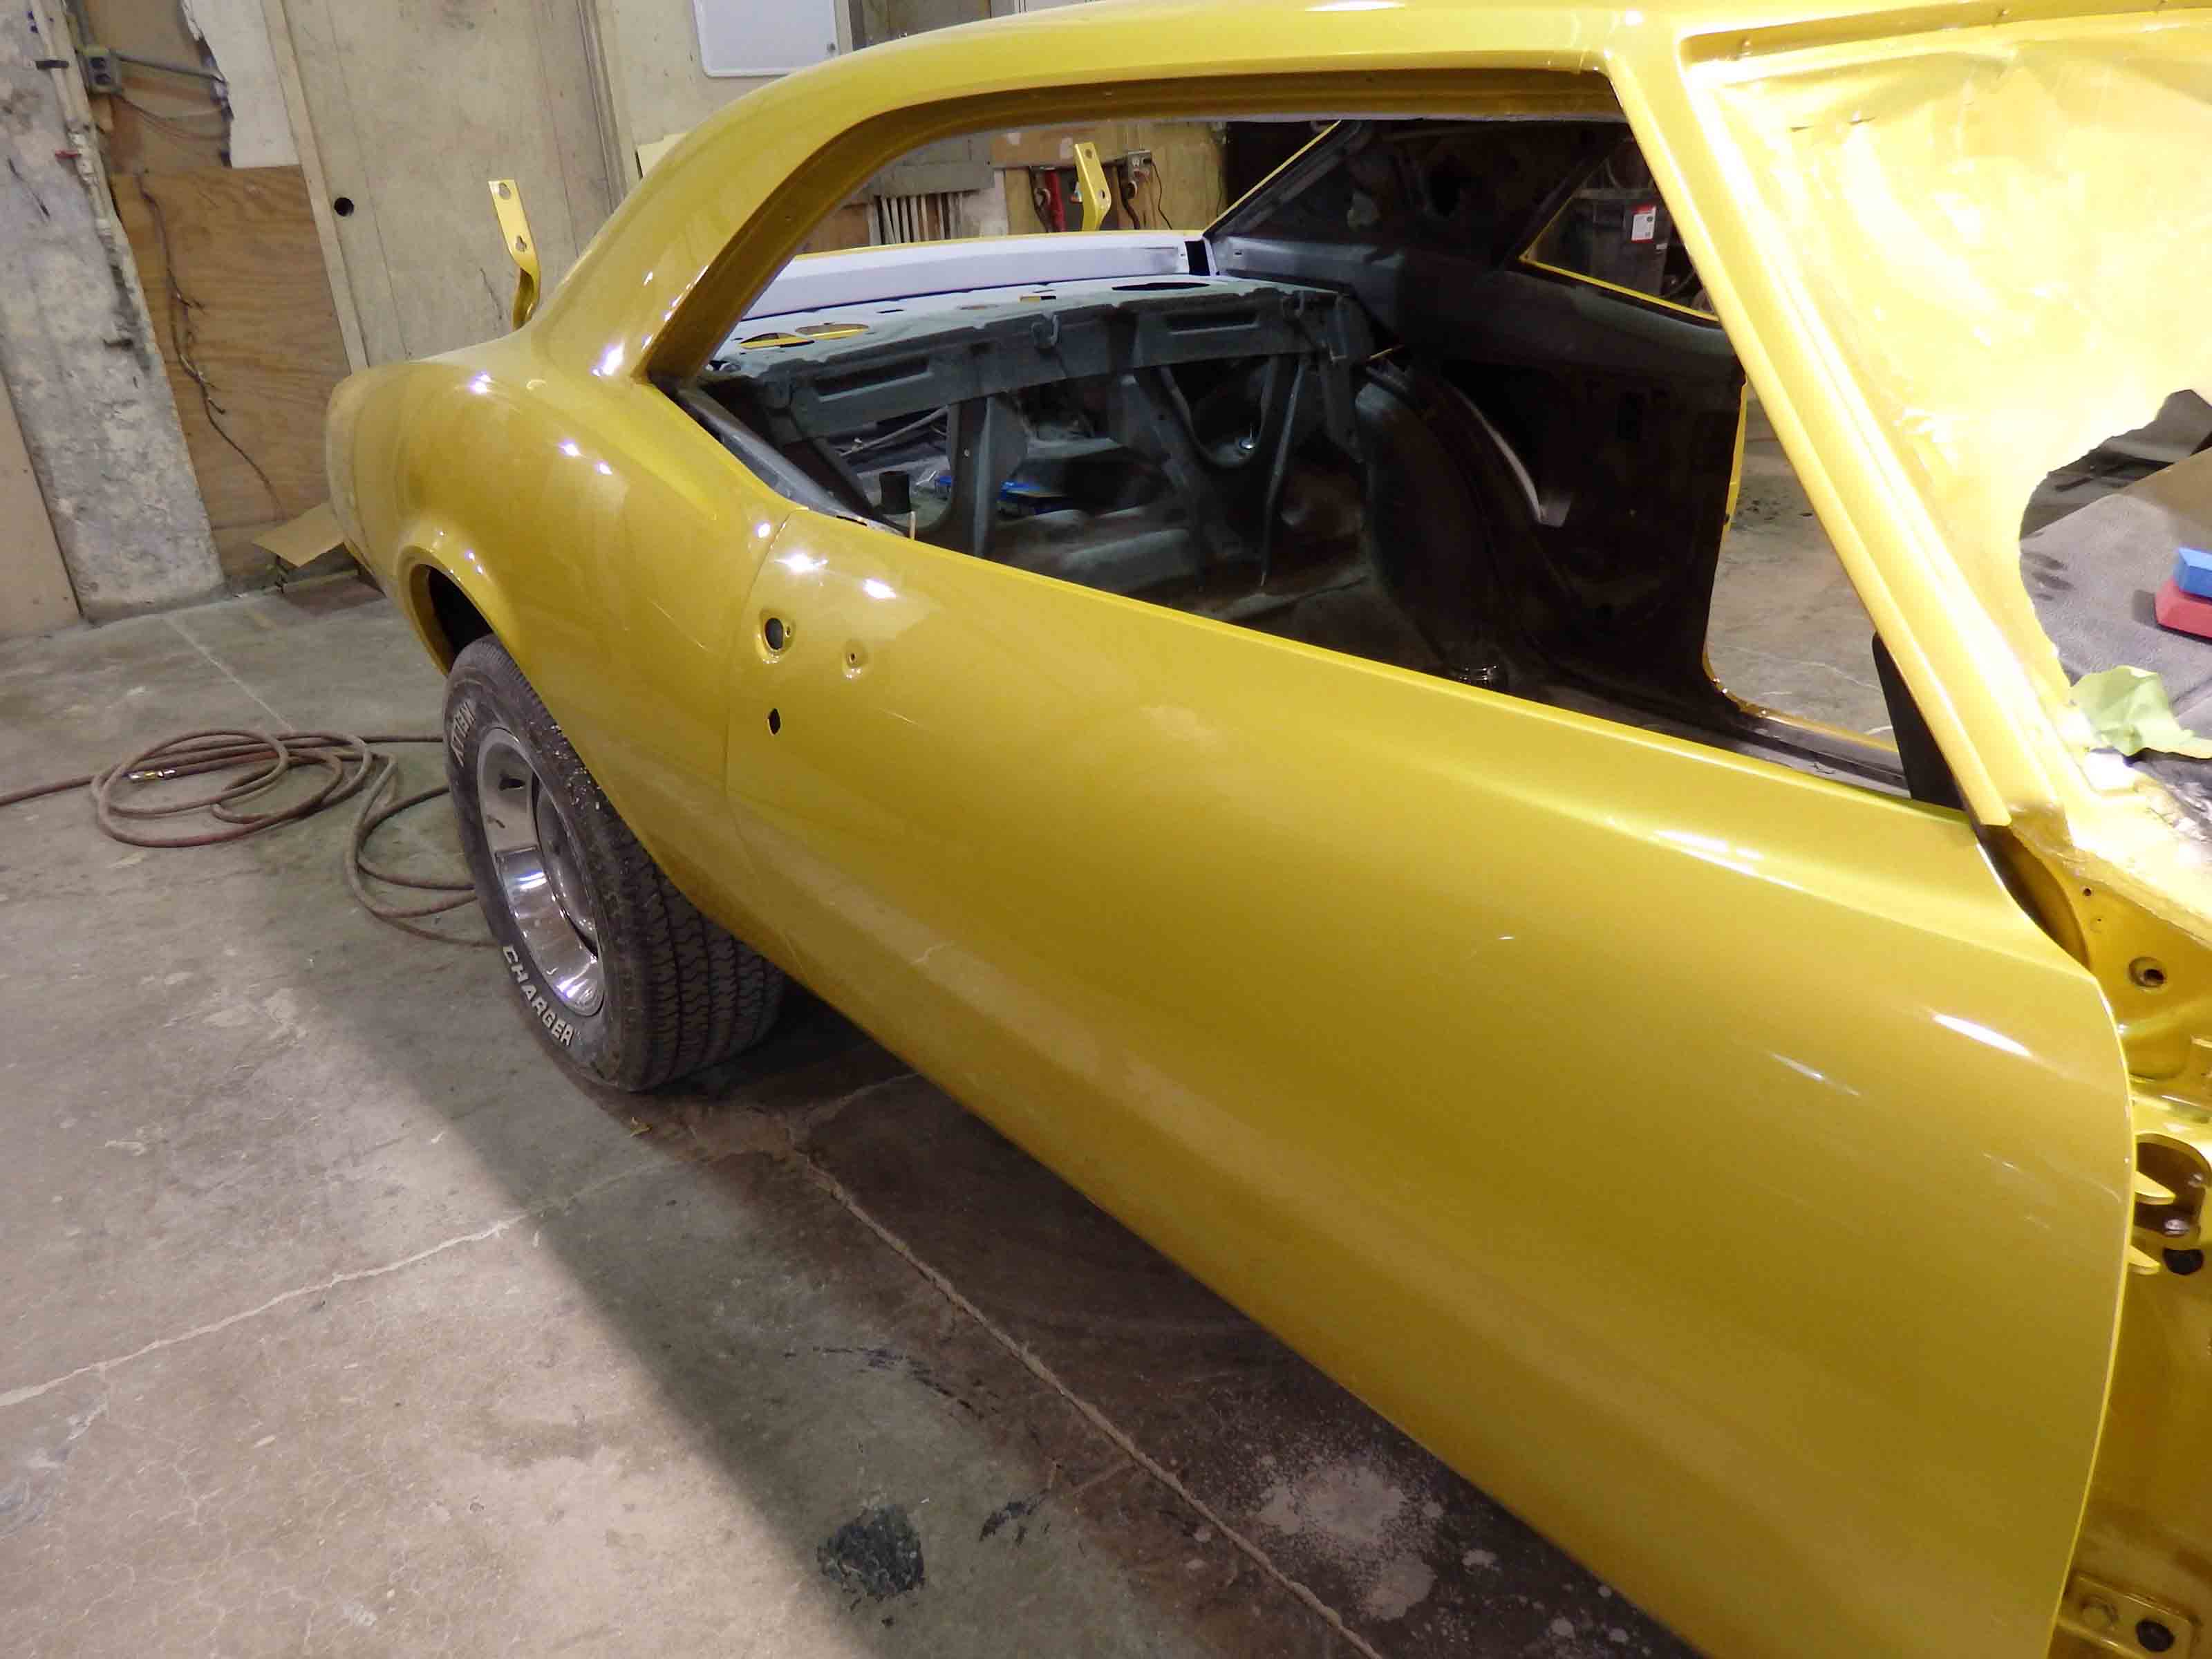
From this;
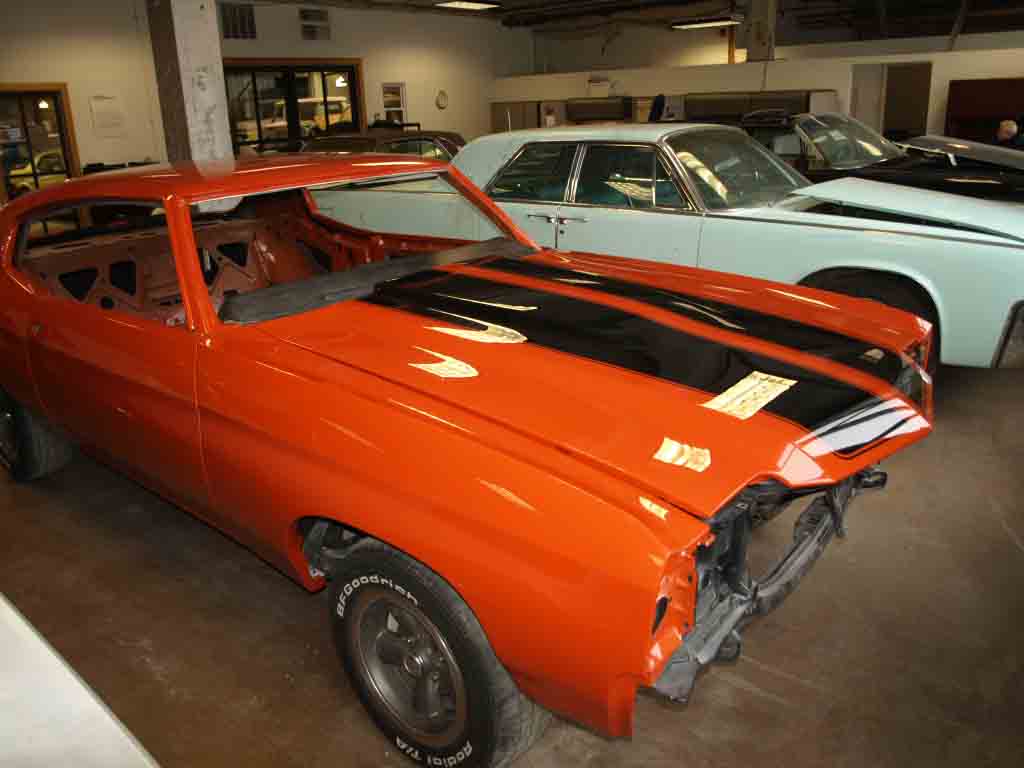
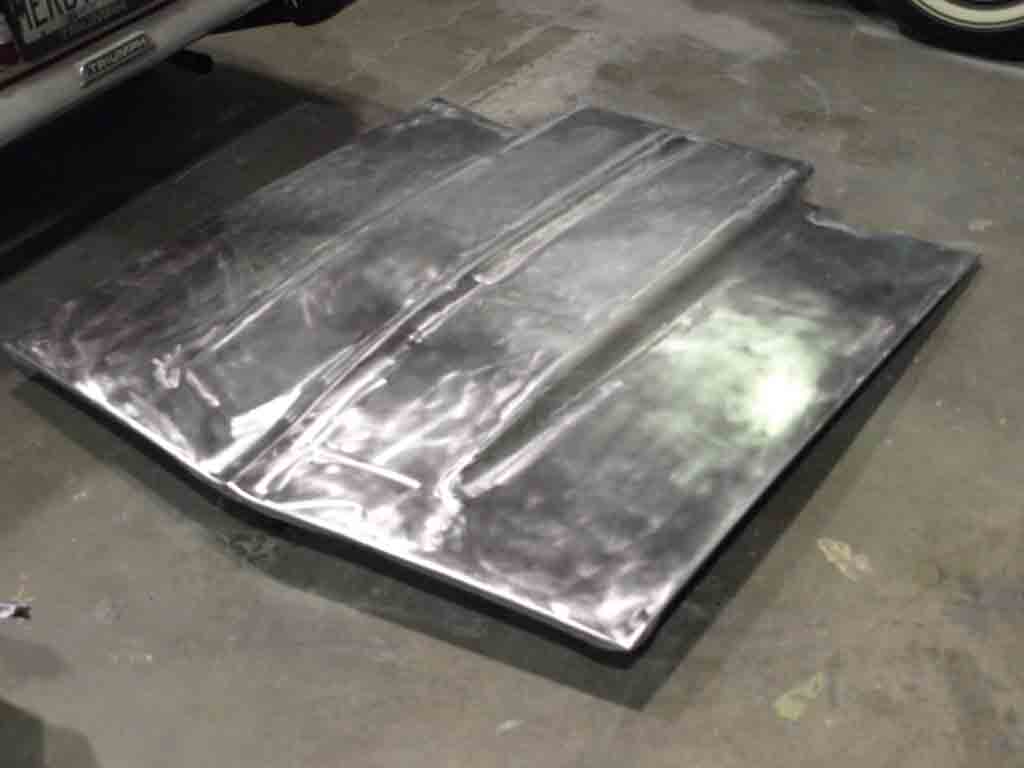
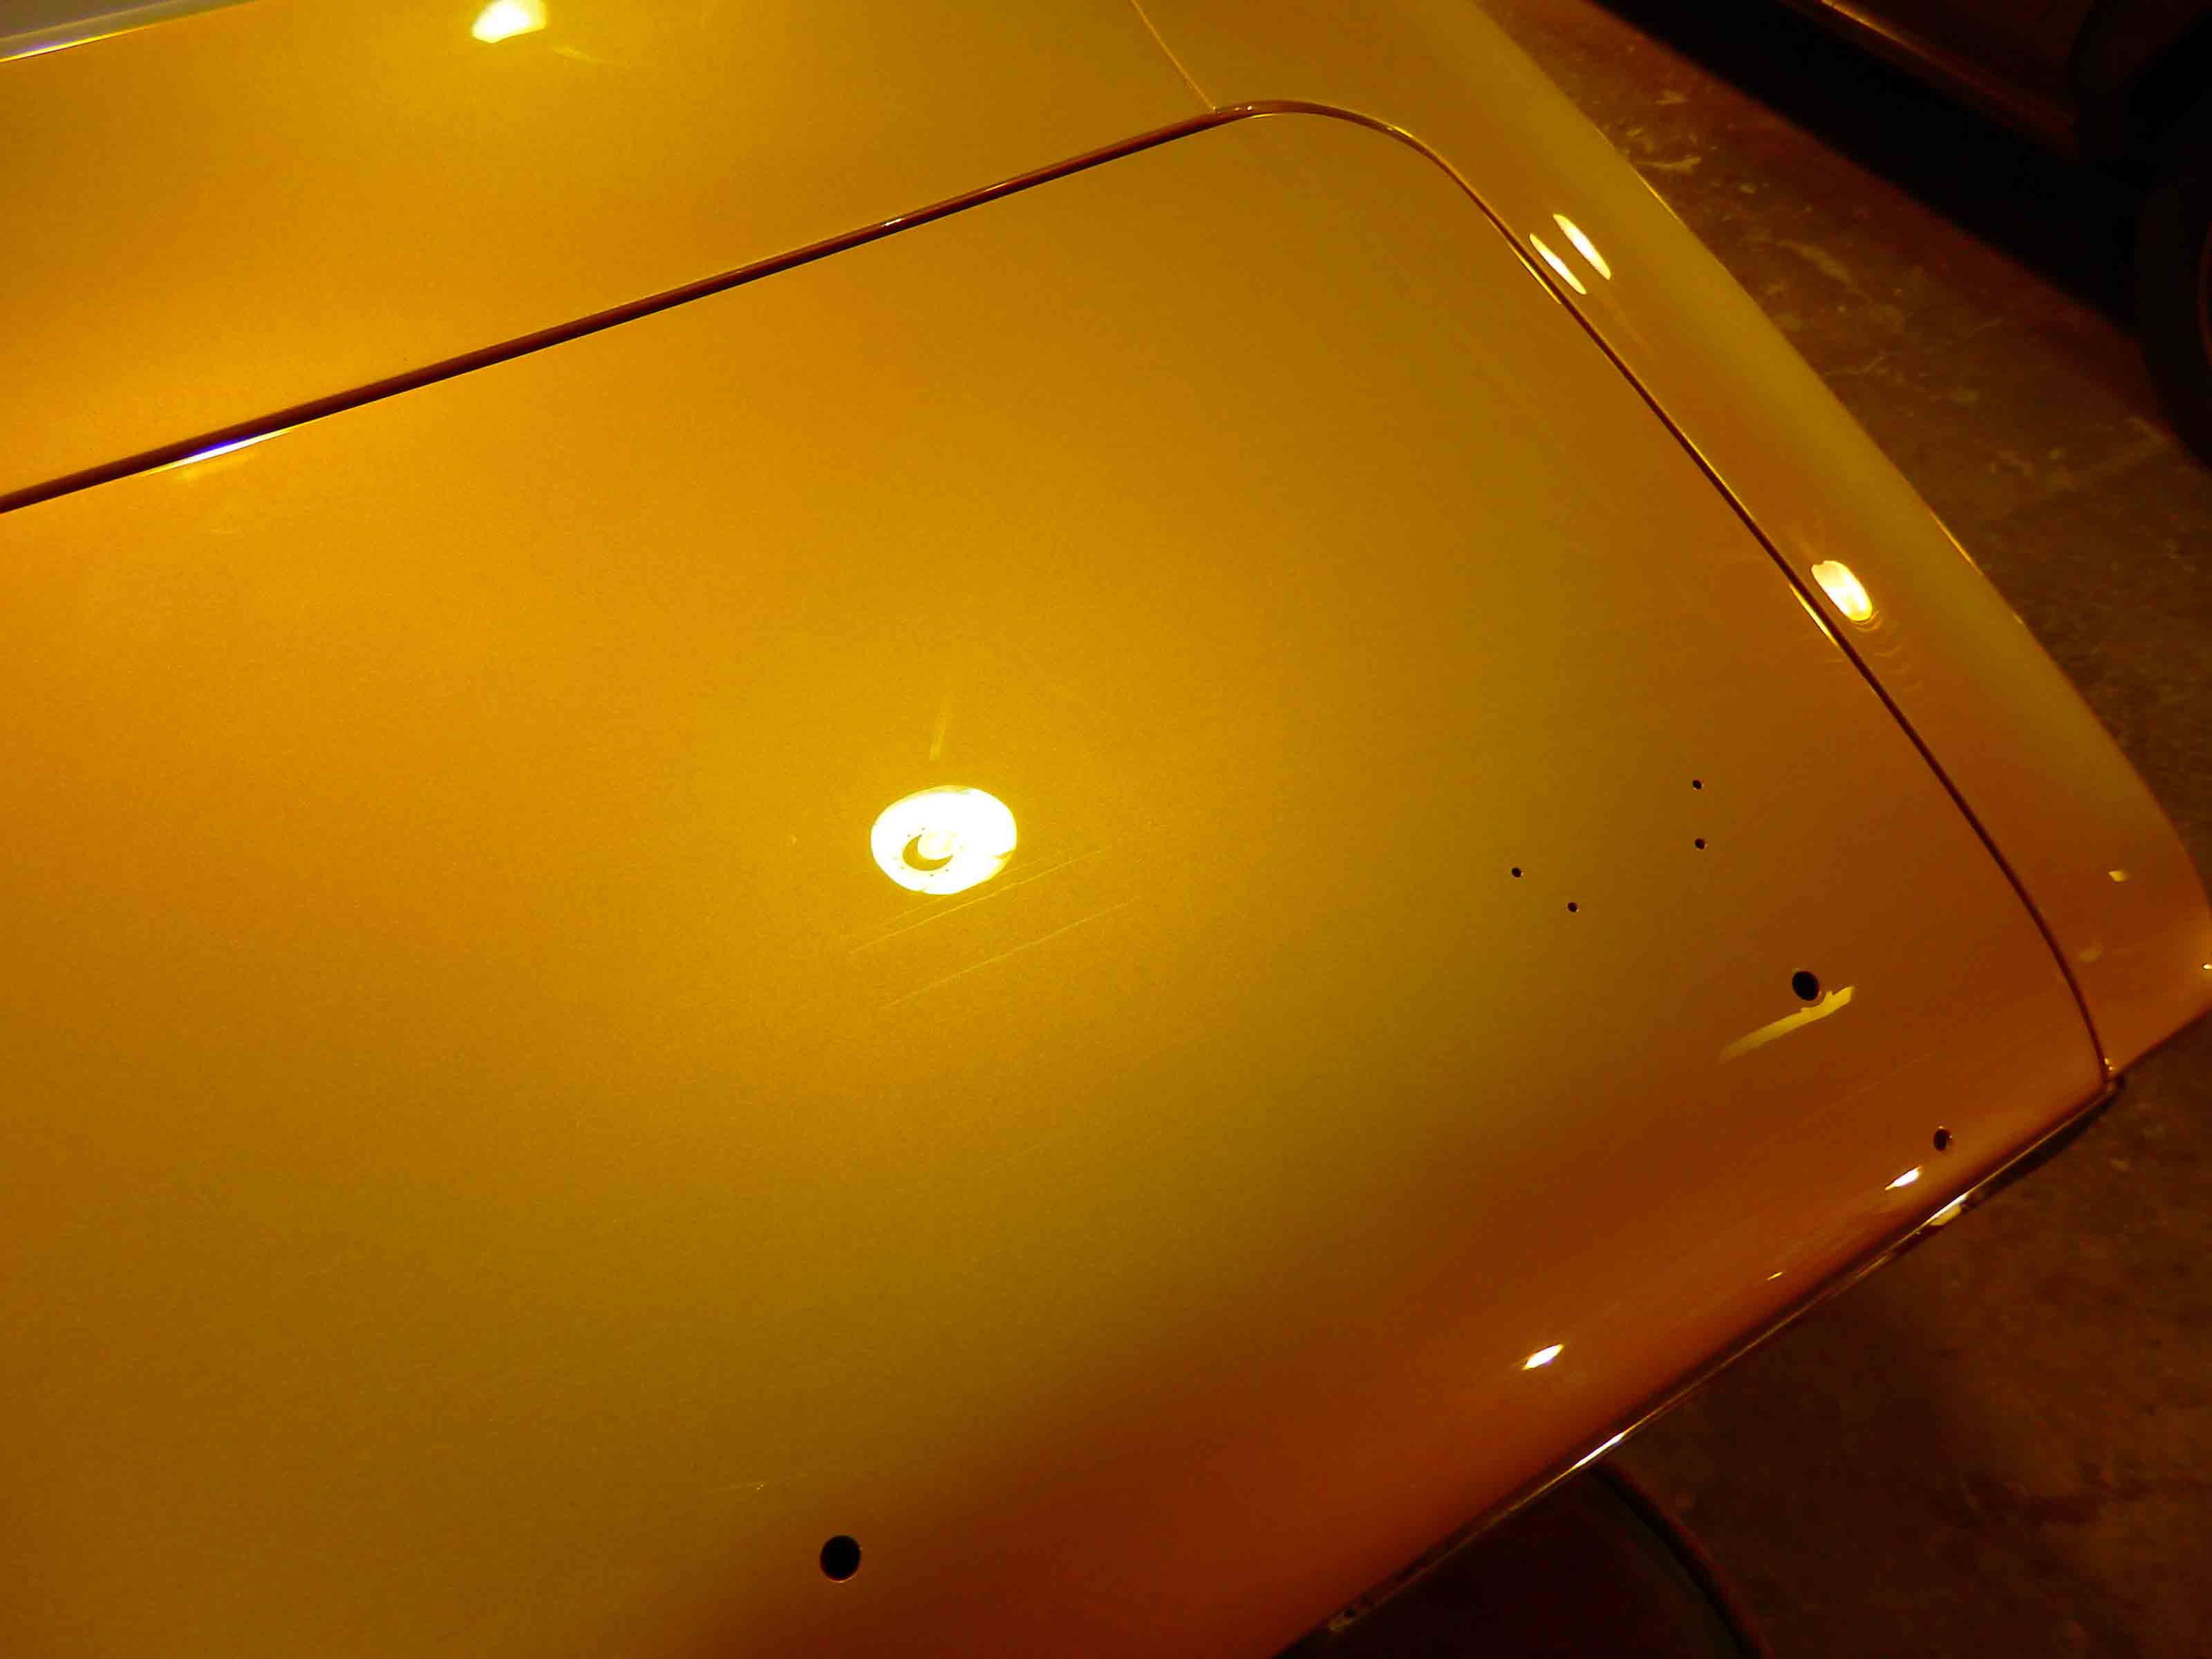
To this!
We have now replaced our plans and sealed and prepared it for paint as we briefly outlined in pt.4. We have reviewed installation of complete as well as rust repair panels and they are now installed, worked and in prime. The next step would be to begin an in depth look at the rest of the body, were there any small imperfections that had not been repaired yet, are there wrinkles or waves in the panels that have went unnoticed? We prefer to work on whatever panels we can, off of the body. This provides an opportunity to inspect each component as we progress in preparing the body and its components for paint.
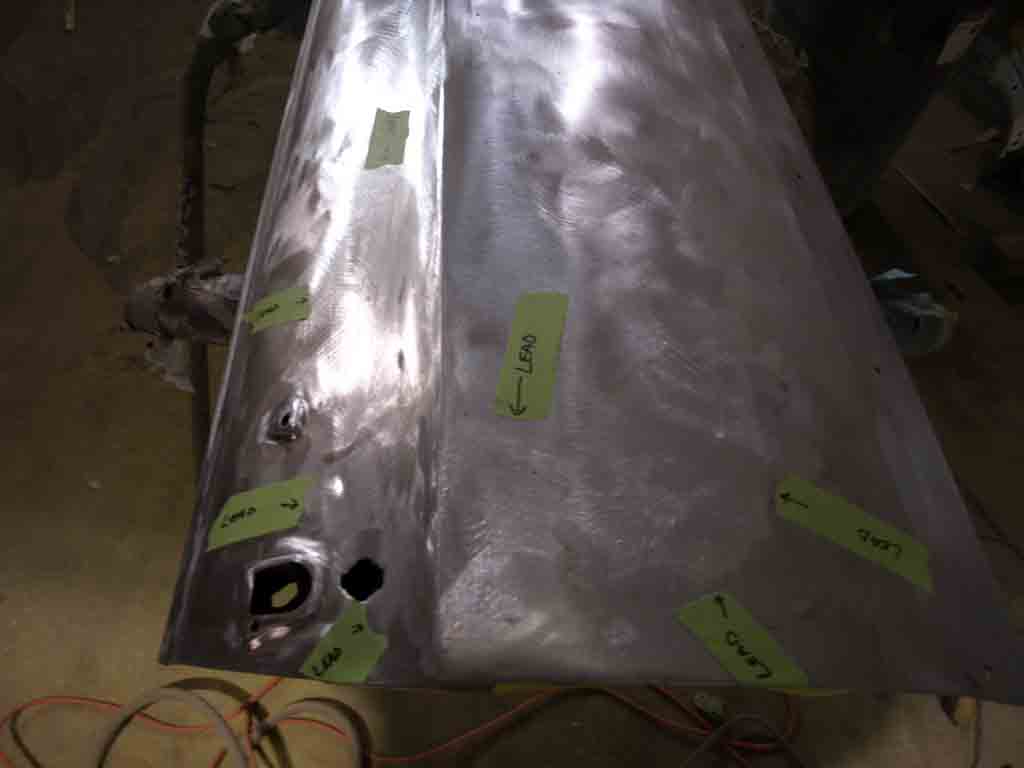
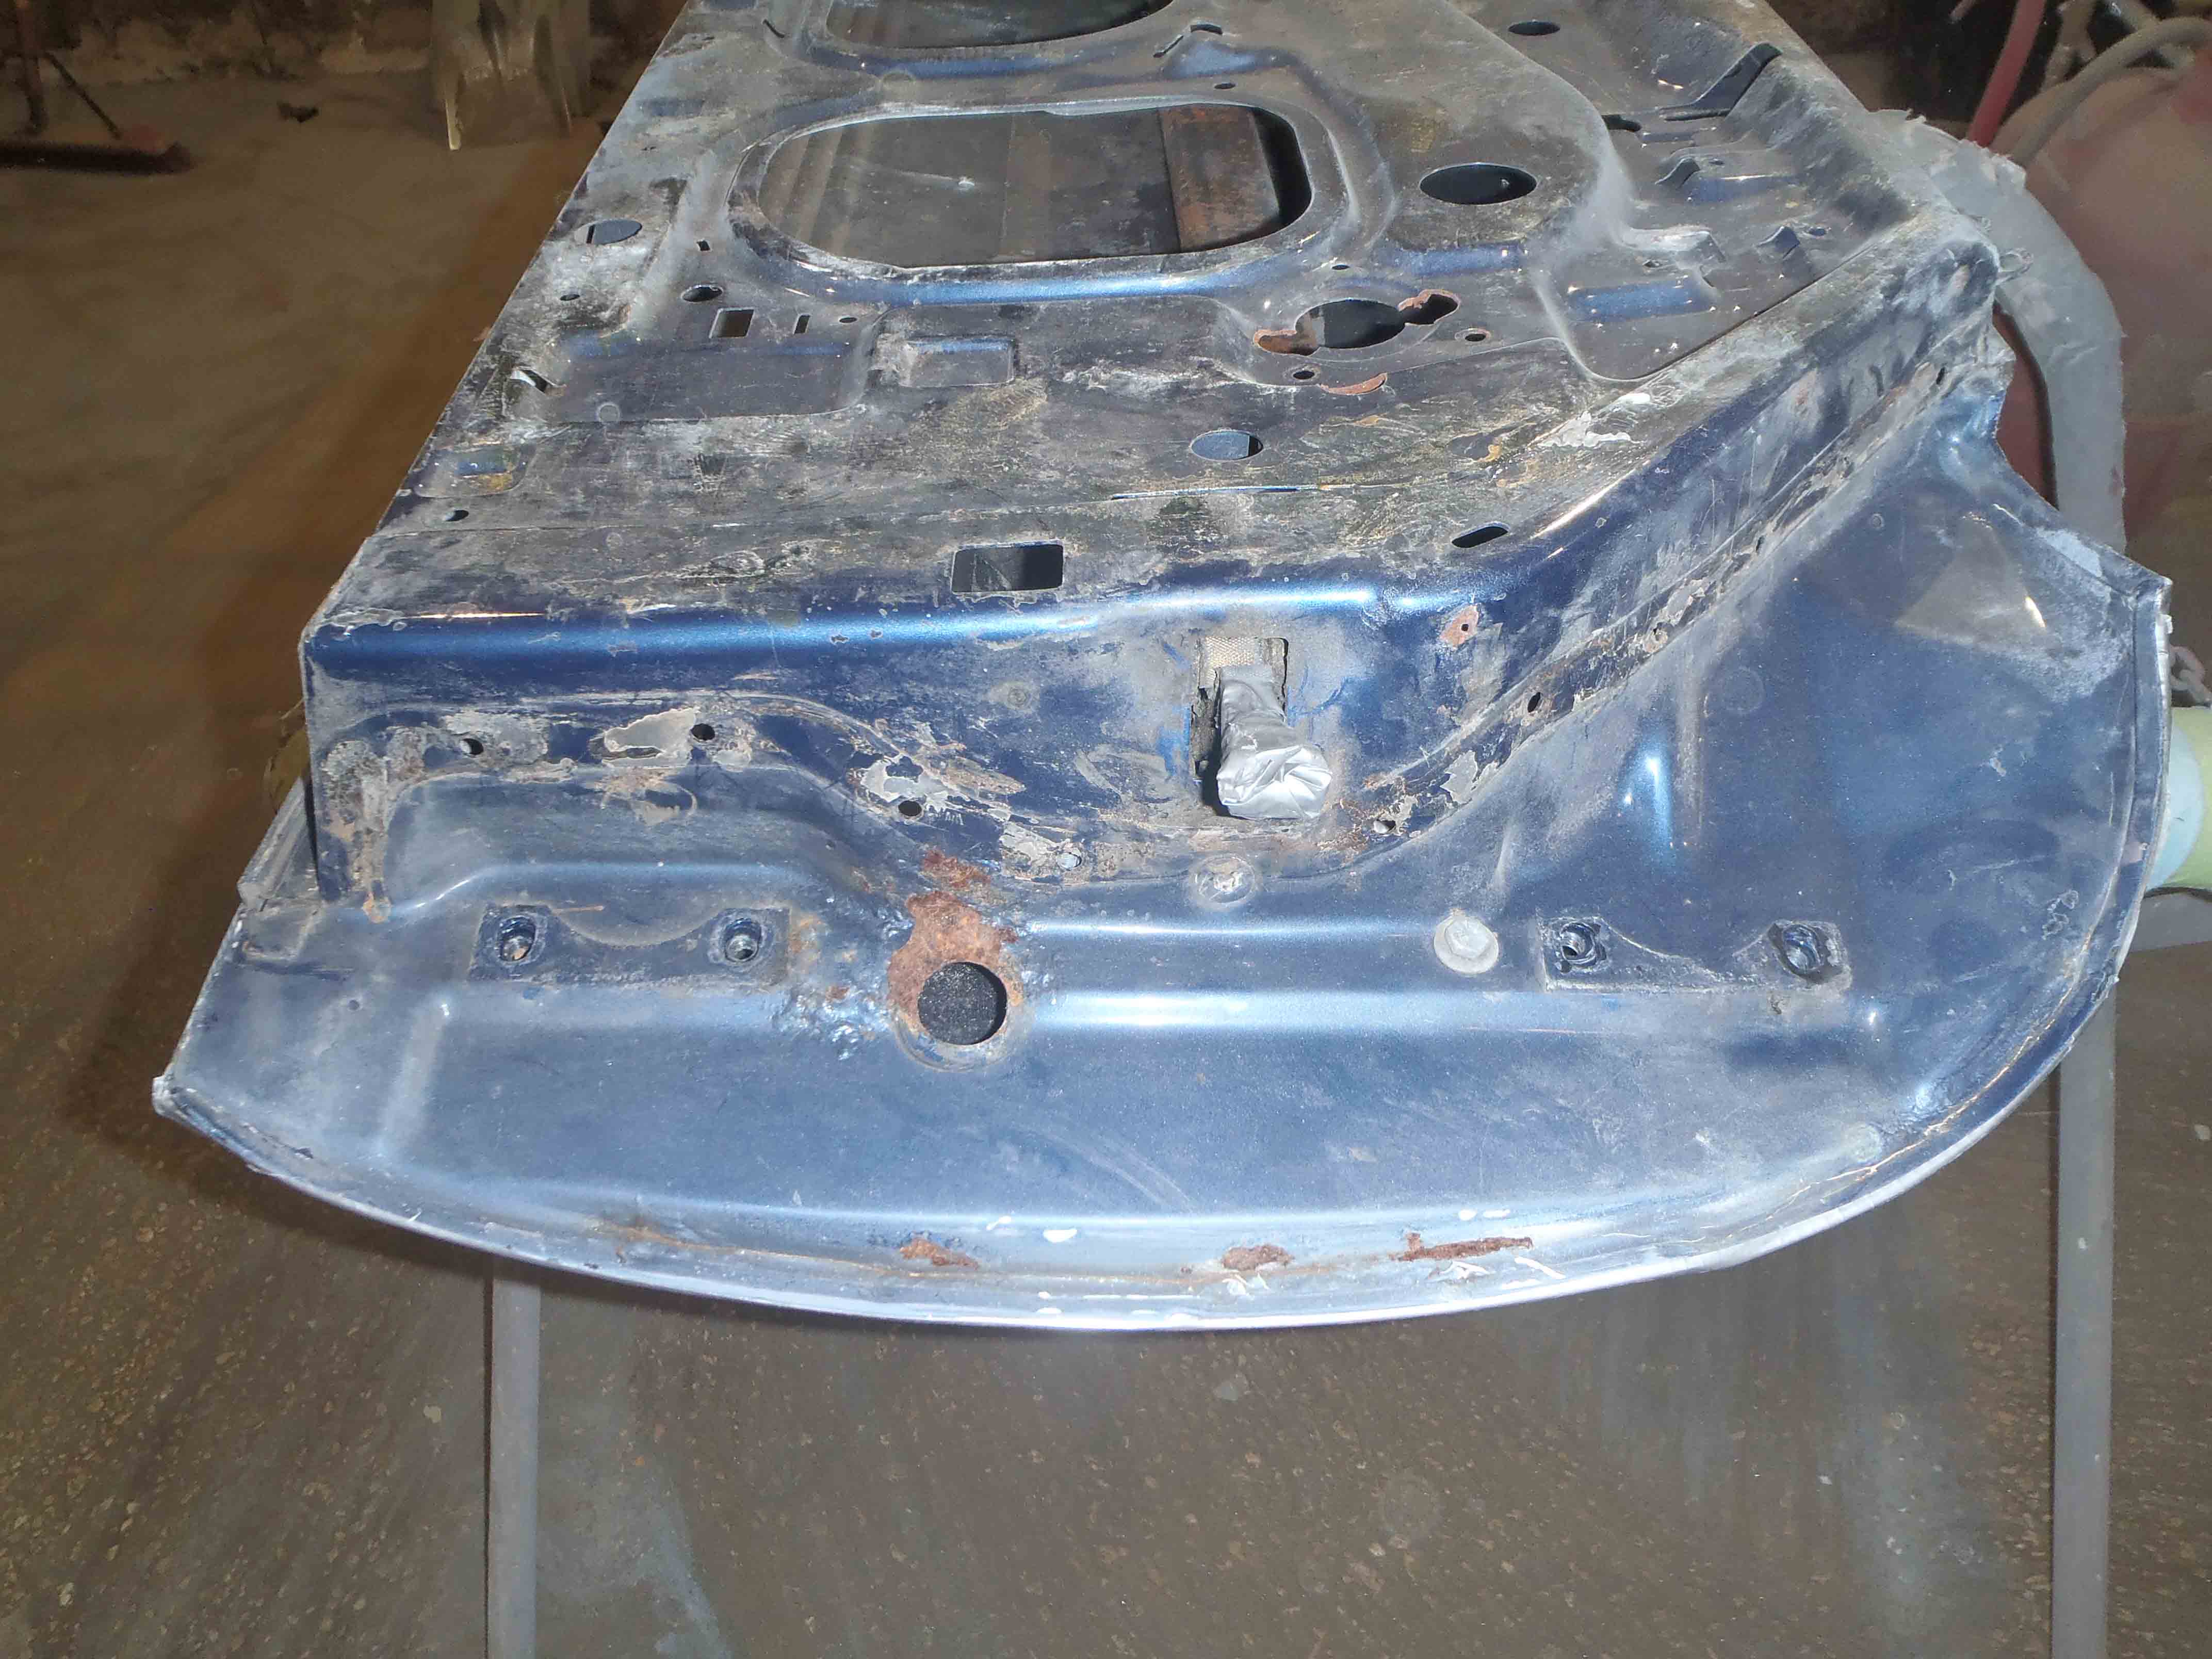
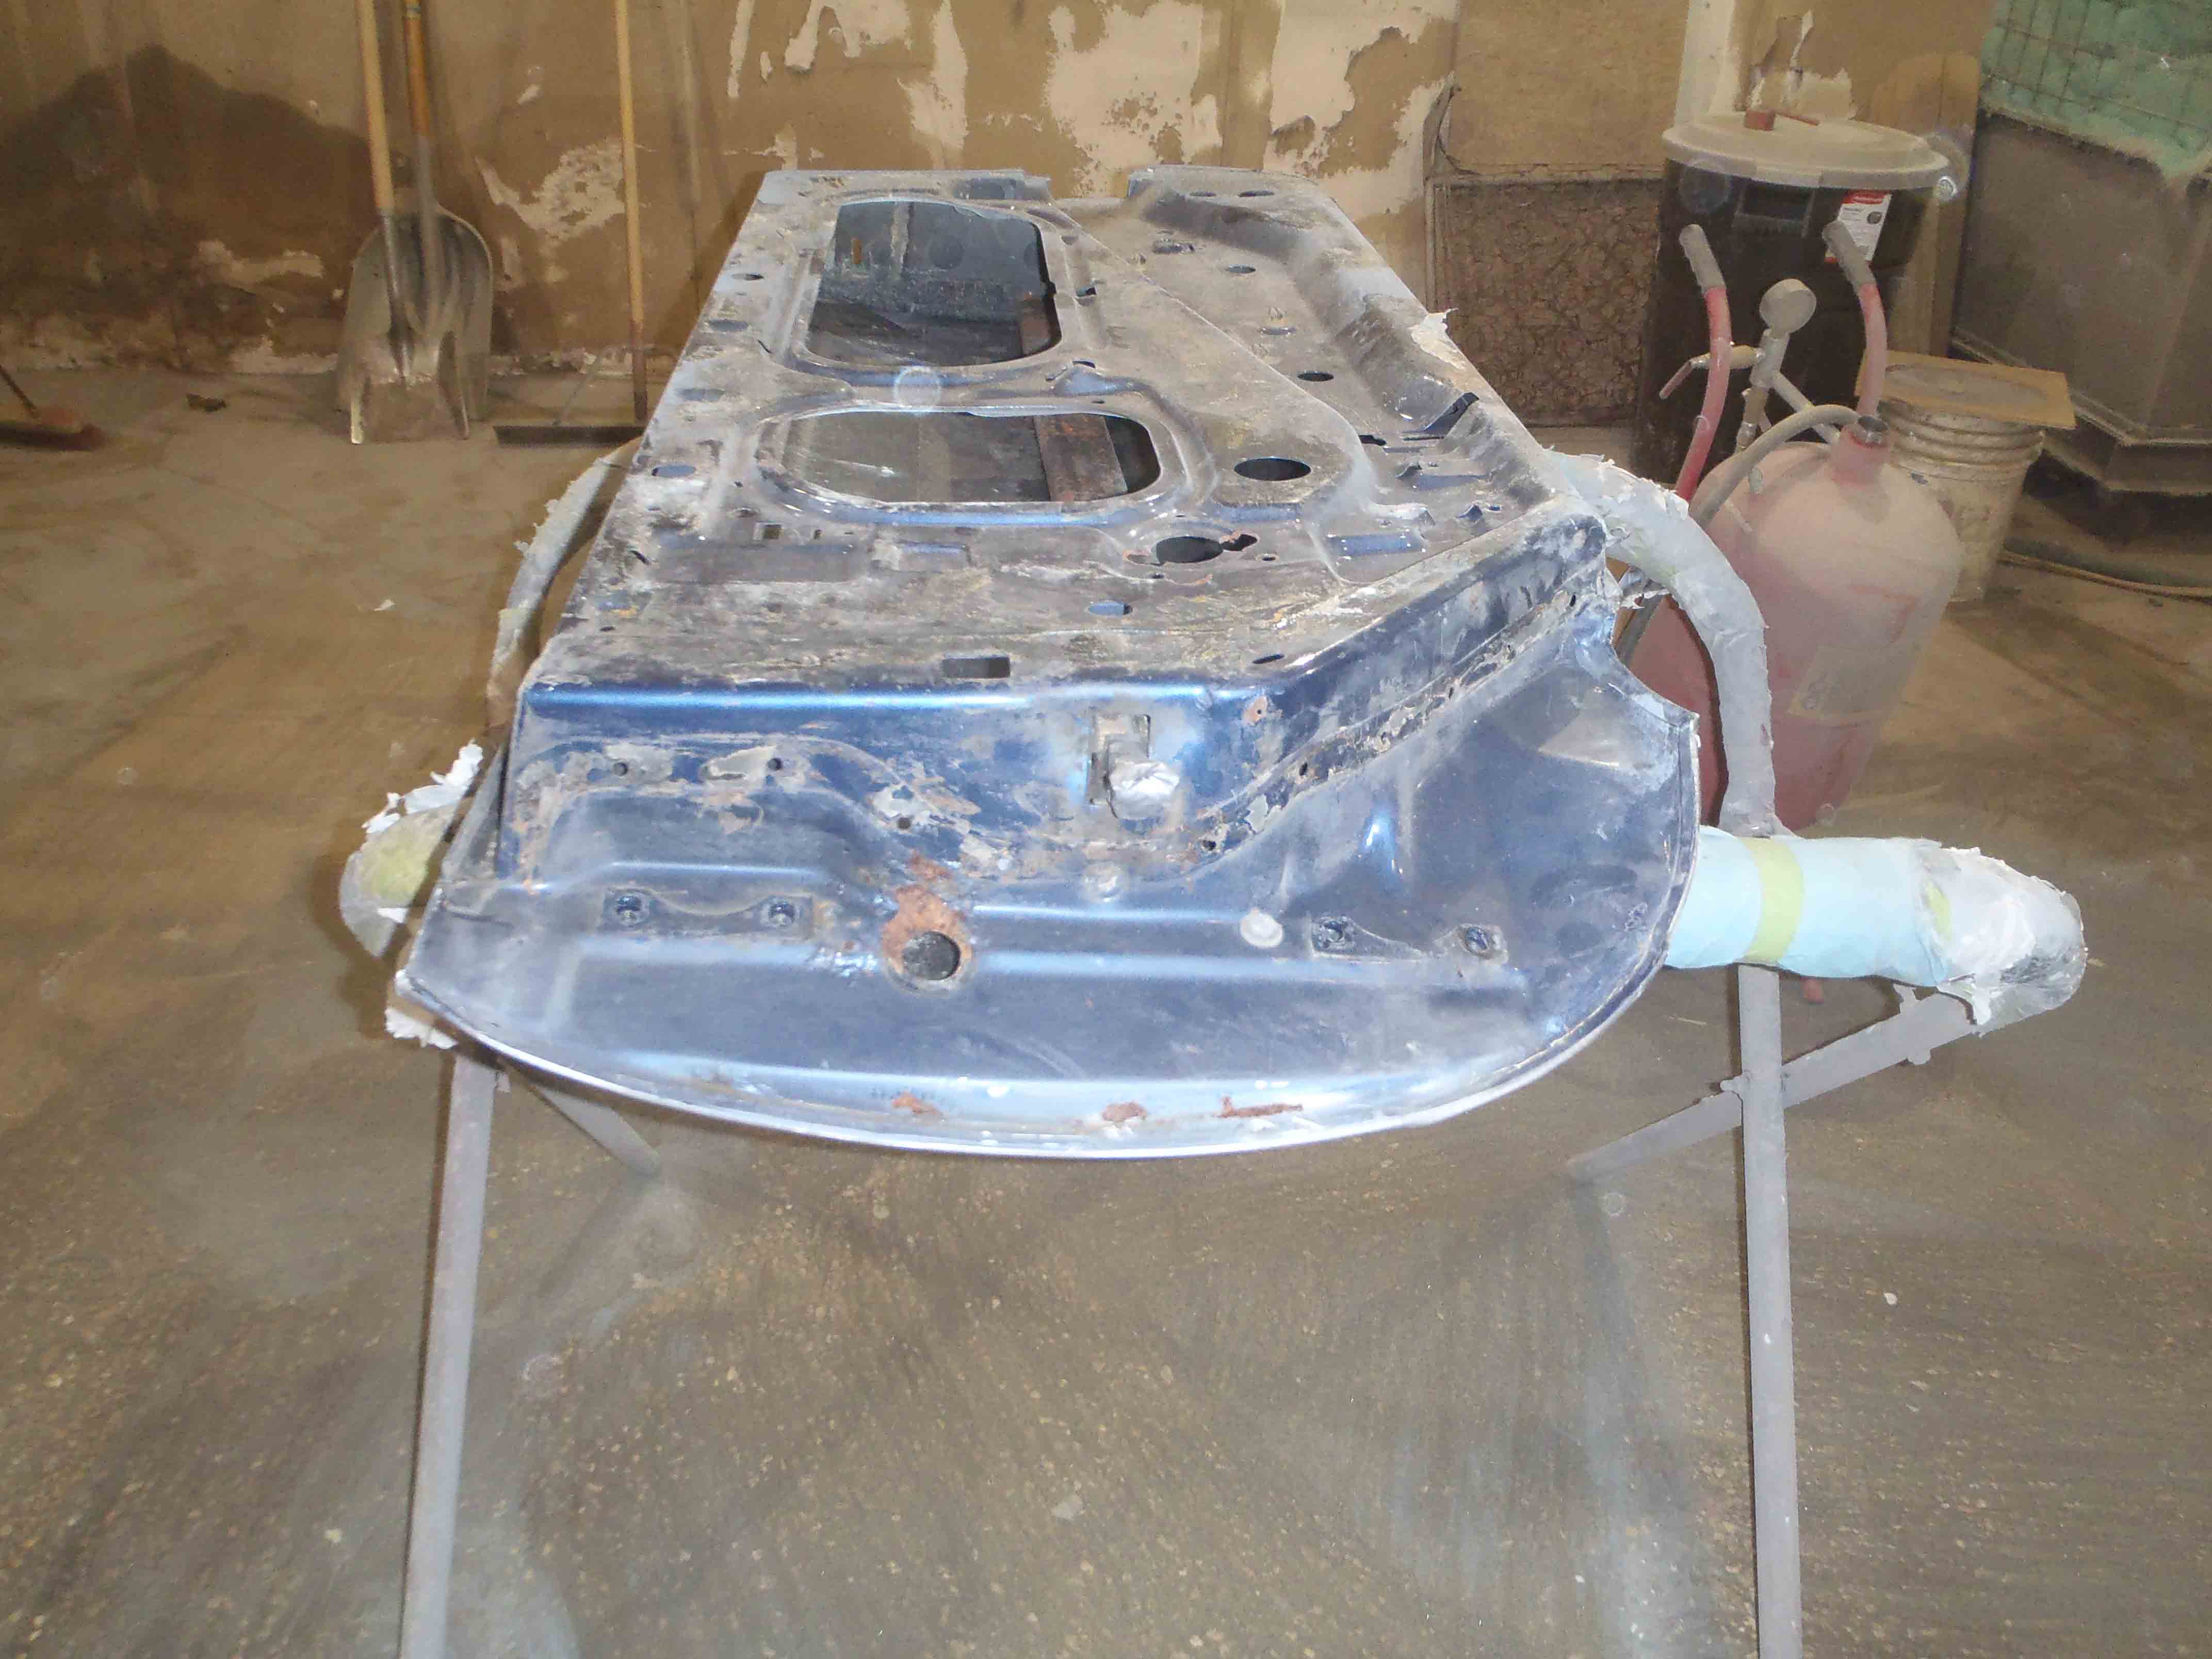
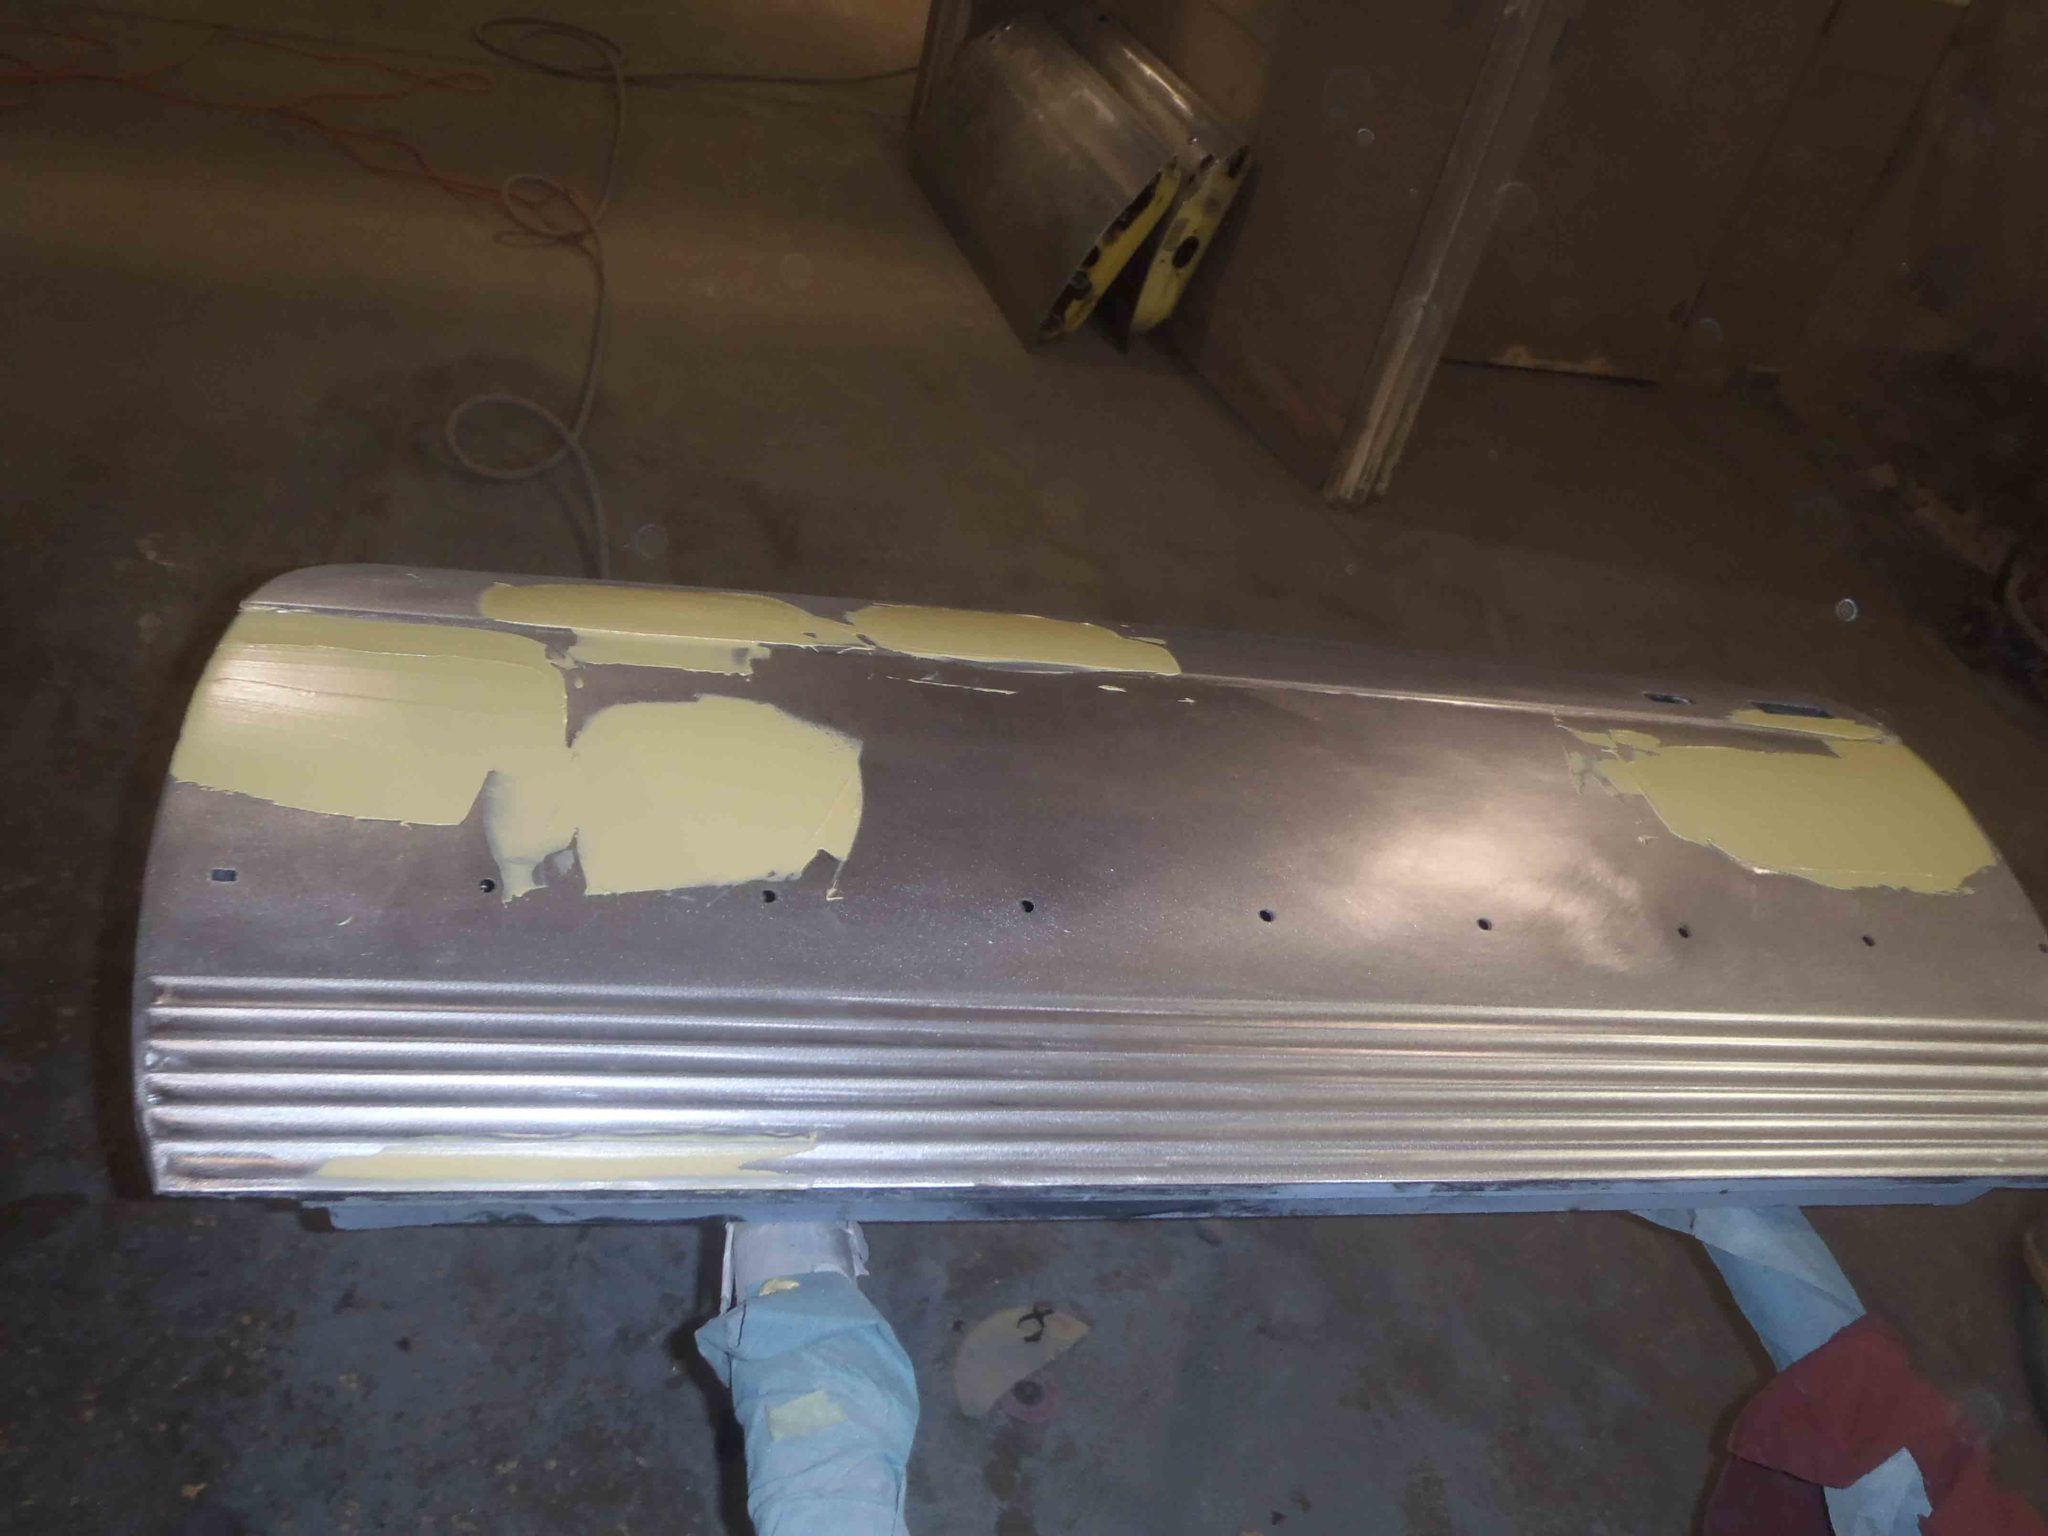
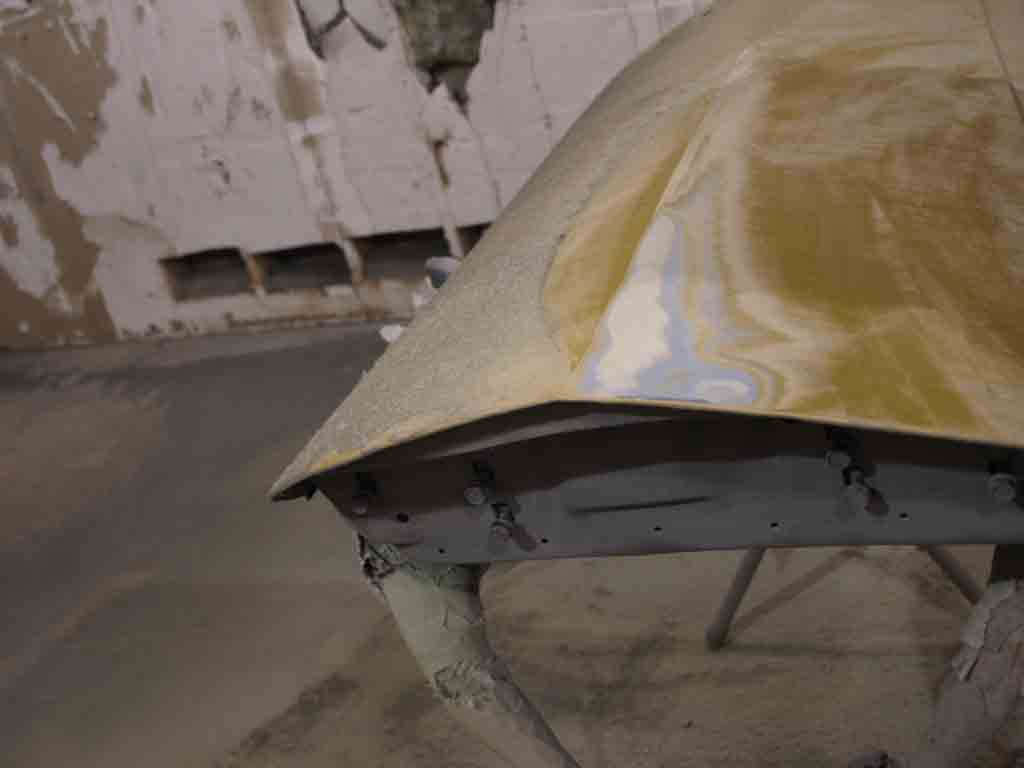
For this discussion we will use a door as an example. The door should have already been de-trimmed and the glass removed. We really only want a stripped down door at this point while we inspect for any rust that we may have missed during the initial inspection. Closely inspect the lower portions of the door, both the inside surfaces as well as the outside panel. Use a light to allow better visibility inside the door and look for flaking or dust. What you find needs to be removed and the door cleaned of any rust residue. The door, as well as the other panels removed, fenders, trunk lid and hood, all need to be stripped of their finish as well. Any old repair work needs to be ground out so that what you have before you is a clean, ready to prep door. Use an Etching primer to seal the door, inside and out, to ensure the metal is treated correctly to reduce the occurrence of any future corrosion issues. Looking at the door you may not notice any imperfections that need attention, that’s good, but we need to apply a coat of high build primer on the surface and block the surfaces to eliminate any of the waves often found in the surface. This step needs to be repeated multiple times and with varying grits of sand paper. While some of the sanding of the surfaces to prepare for a smooth finish may be completed by hand the large areas of the panel not impeded by character lines and tight curves should be done with a sanding block.
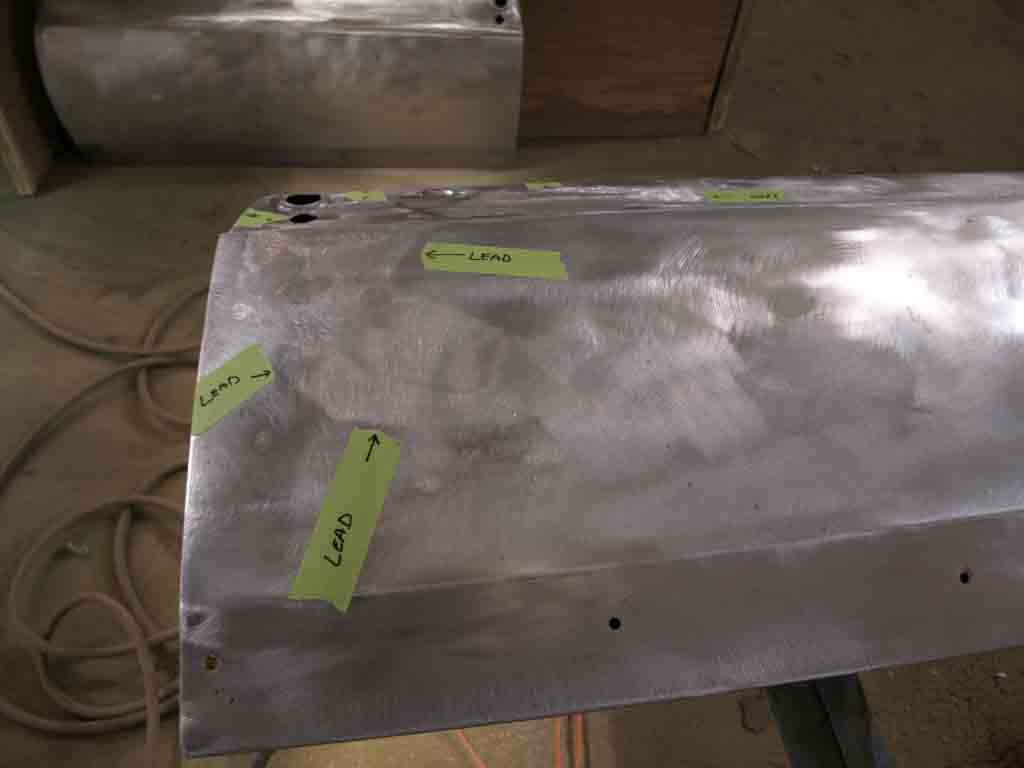
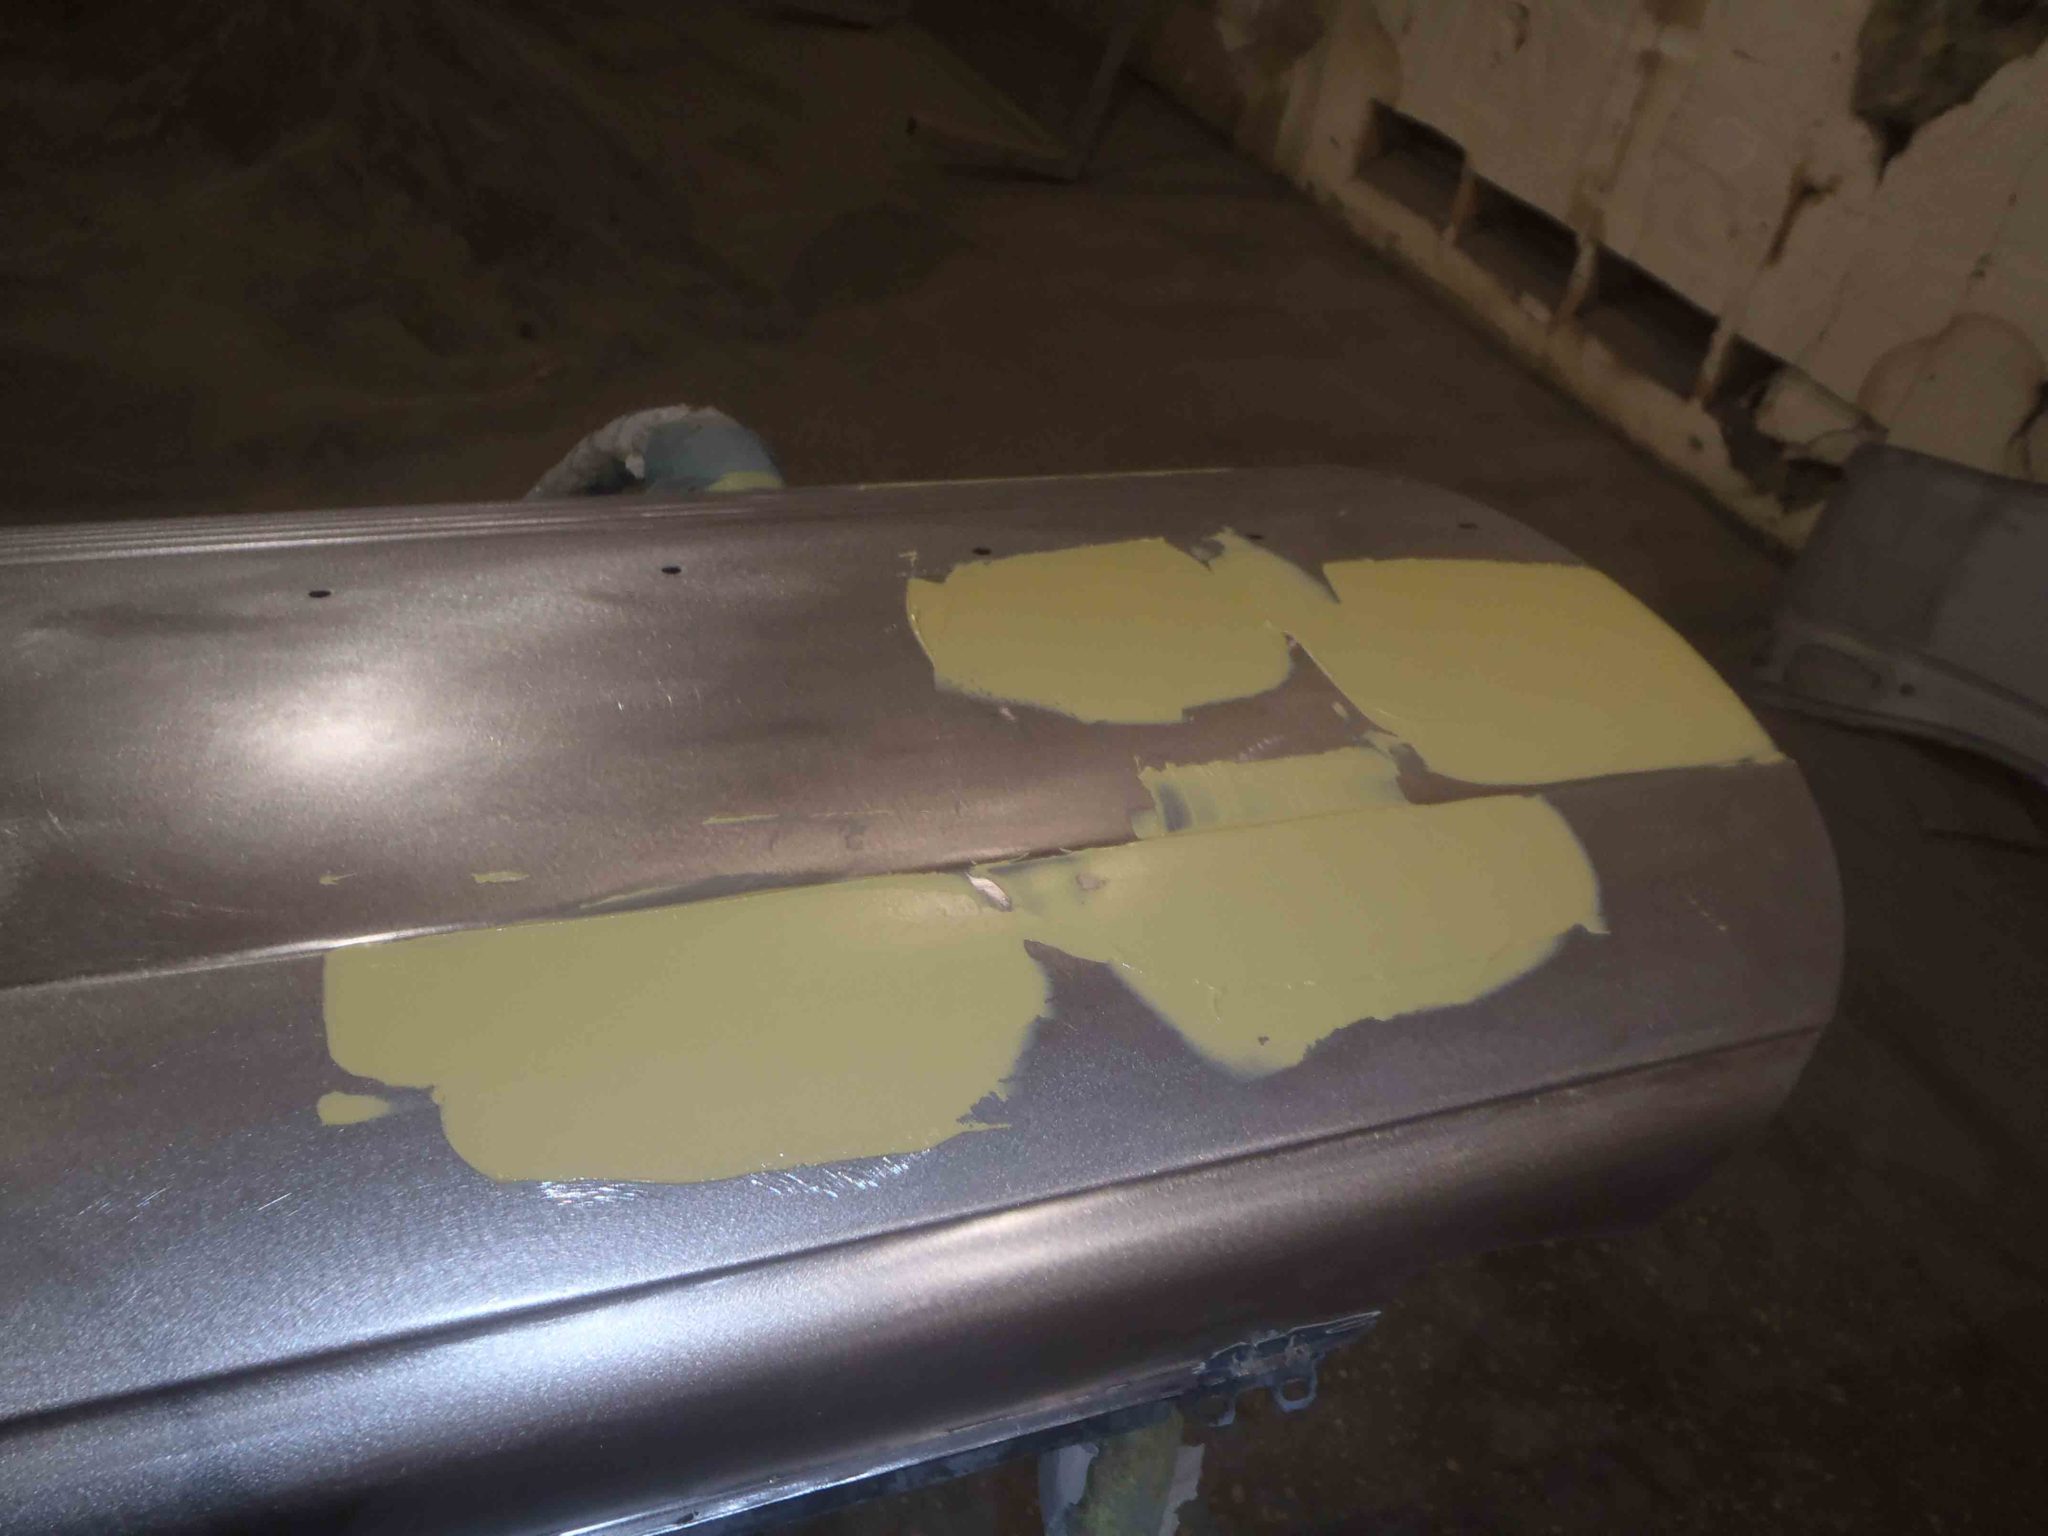
Block Sanding;

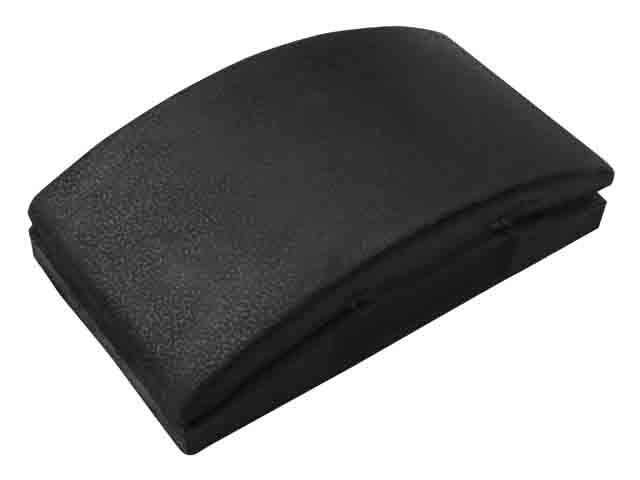
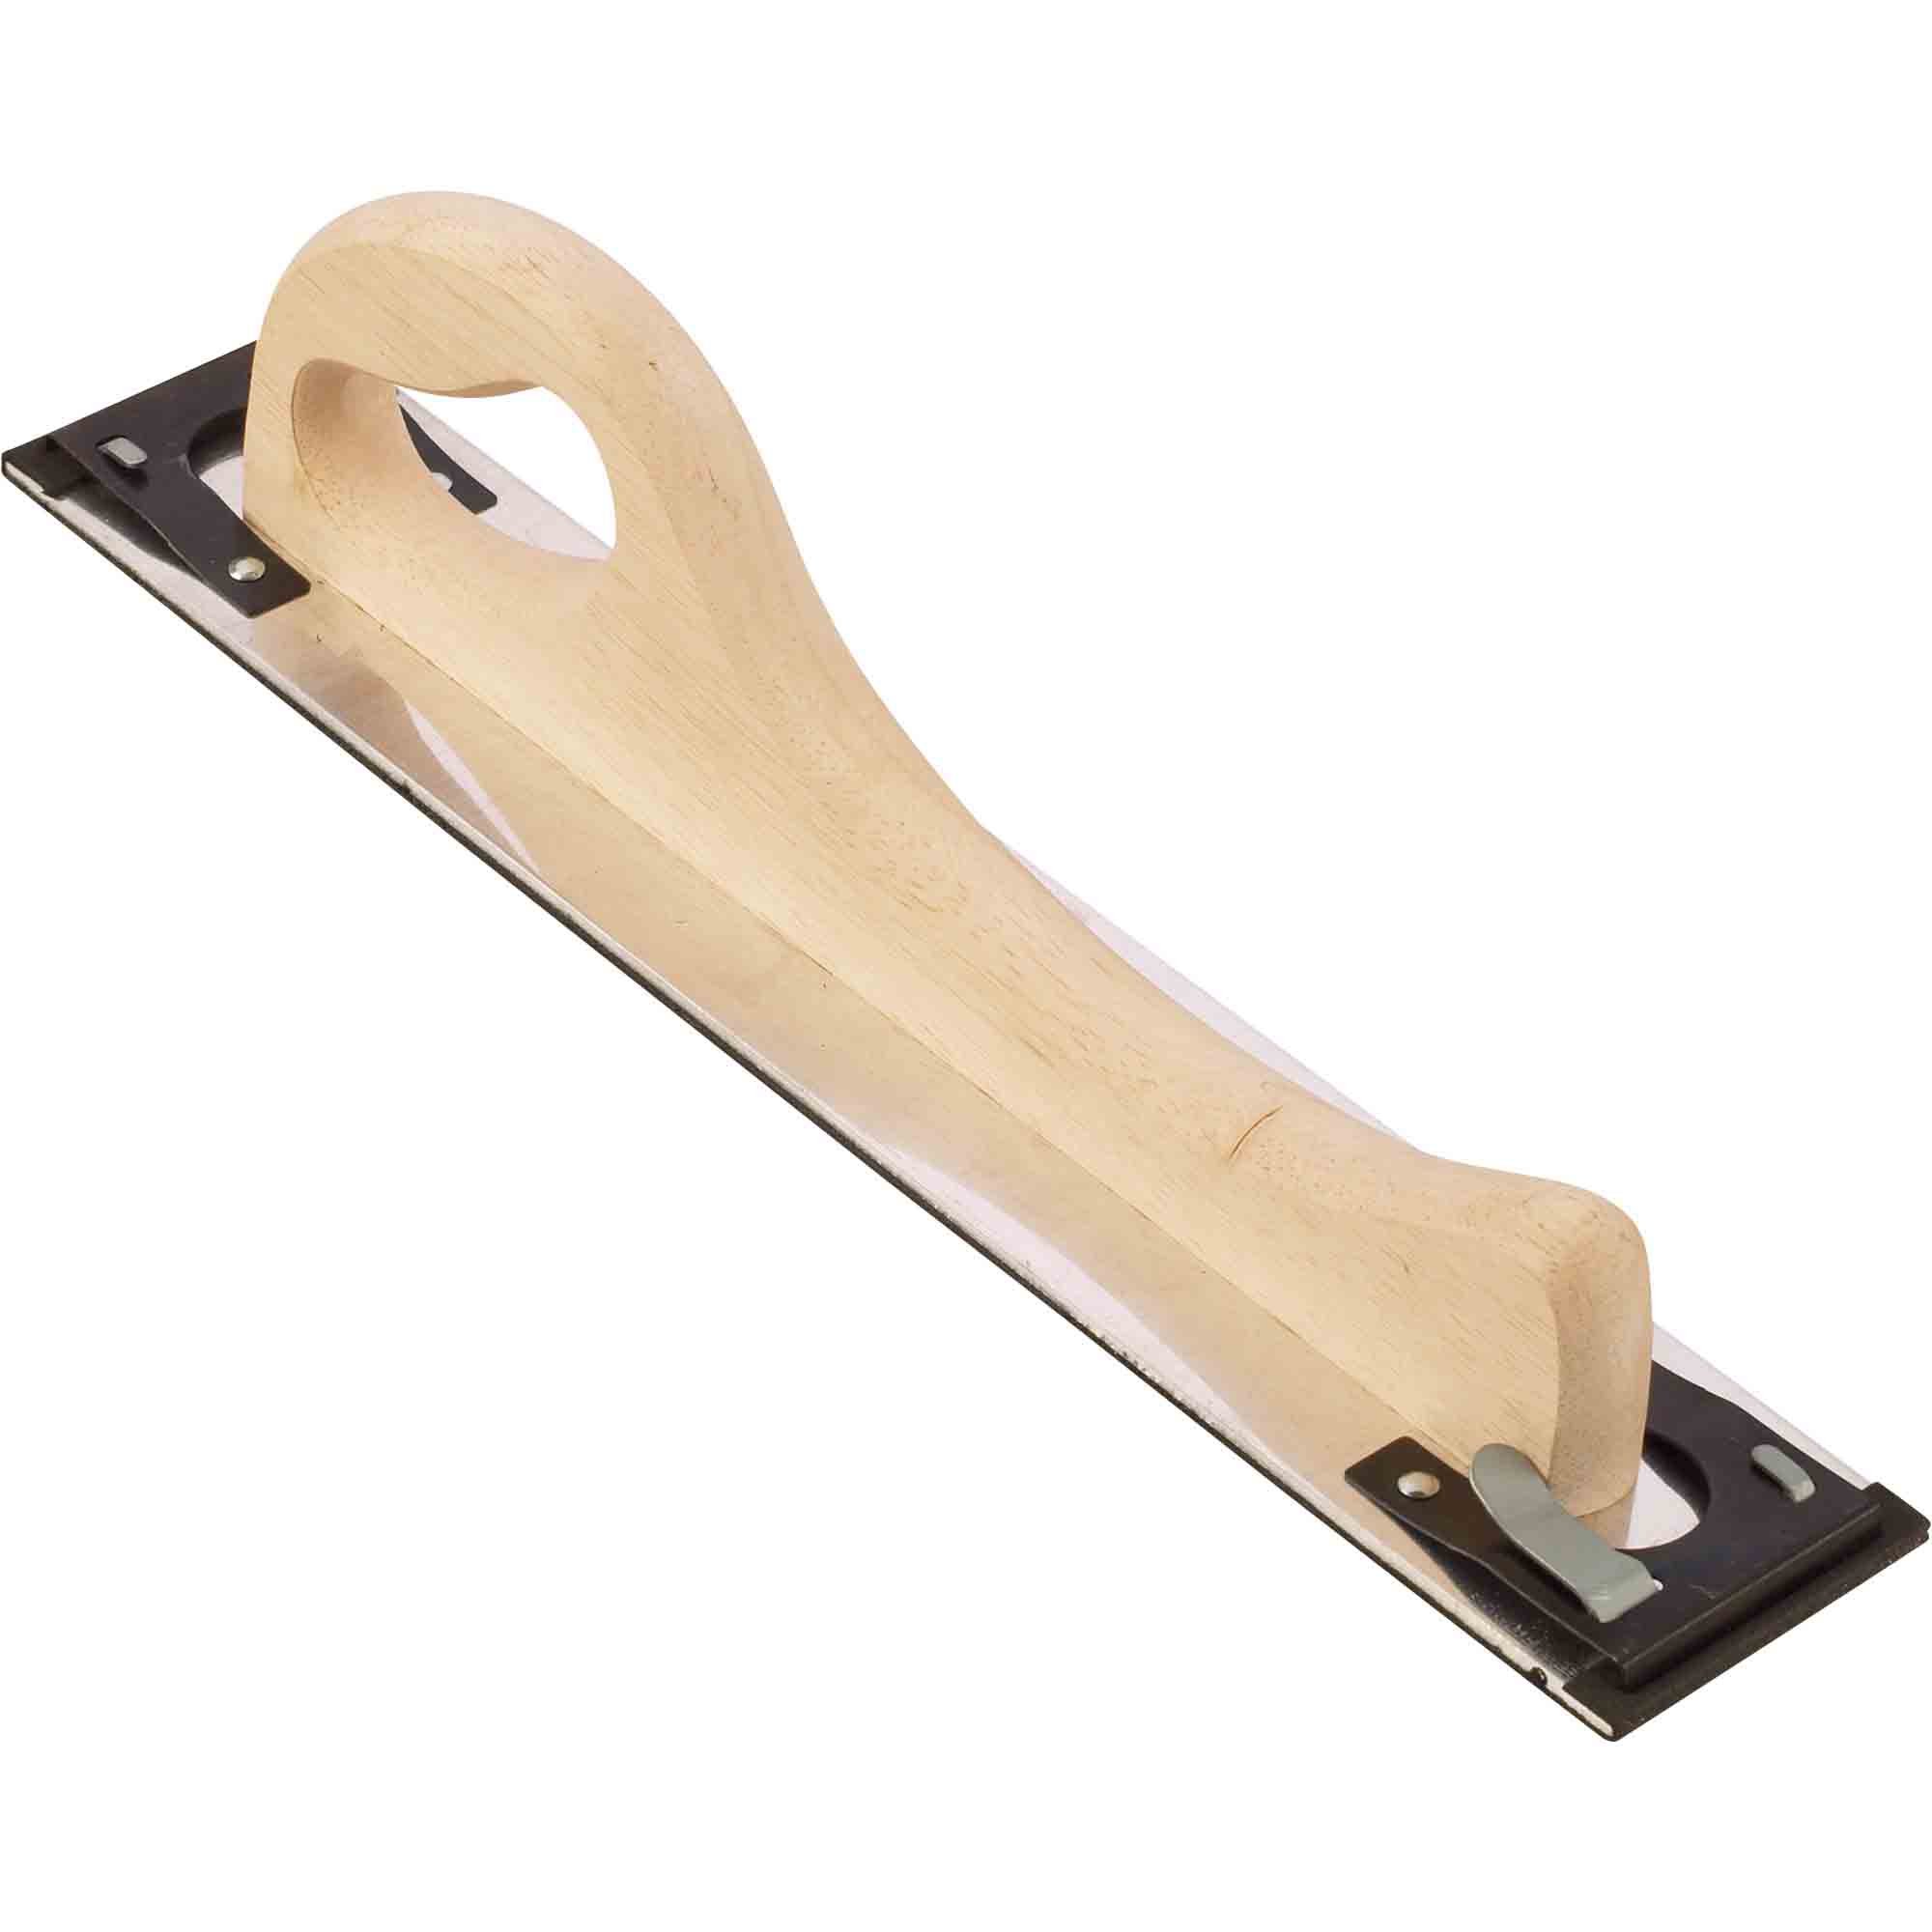
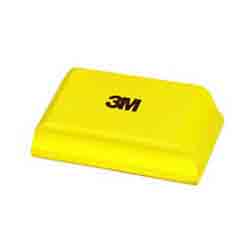
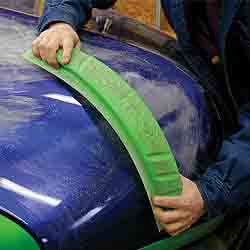
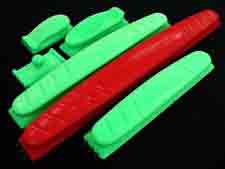
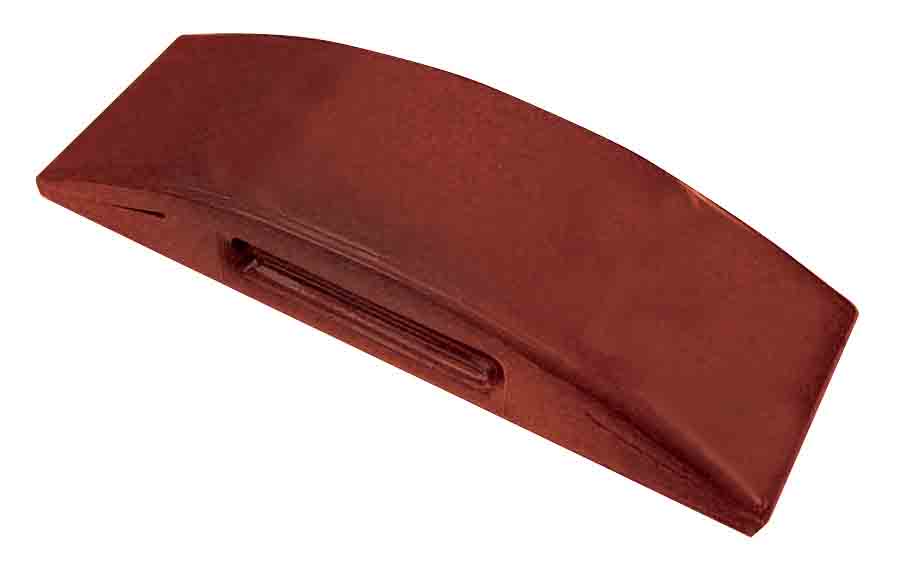
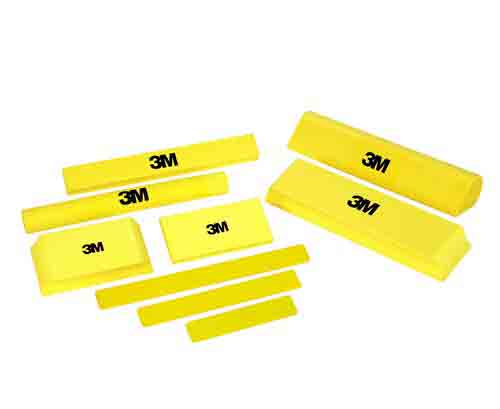
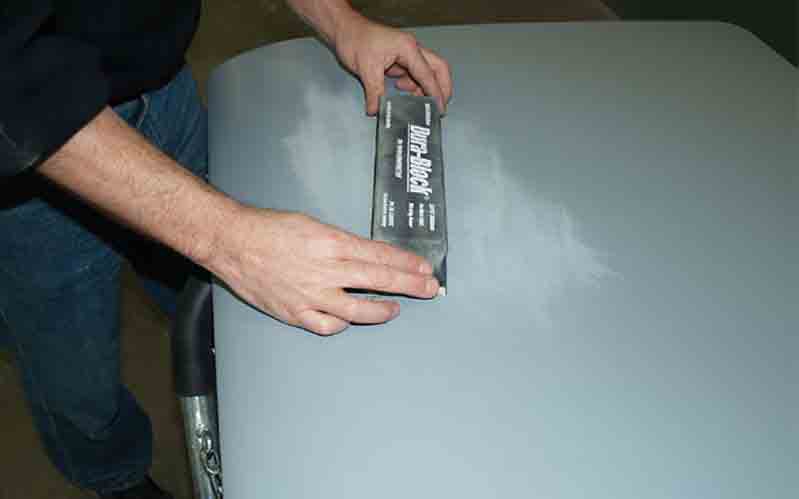
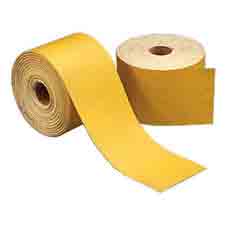
Block sanding is a term used when using a rigid base for the paper used to sand the finish on a panel. While our hands are firm they are not flat and rigid like a block would be and when our hand is used we will not apply equal force across the sandpaper and will end up with waves and imperfections in the painted surface. There are several different styles and lengths of sanding blocks. Small blocks that are just slightly over 5” long are great on smaller panels or smaller areas of a panel where some of the larger blocks are not effective. Longer blocks, 11” and 16” work very well for larger areas, such as the sides of doors, the large flat areas of the hood and deck lid. Suppliers also manufacture rounded blocks as well to assist in repairs to surfaces that flat blocks will not work.
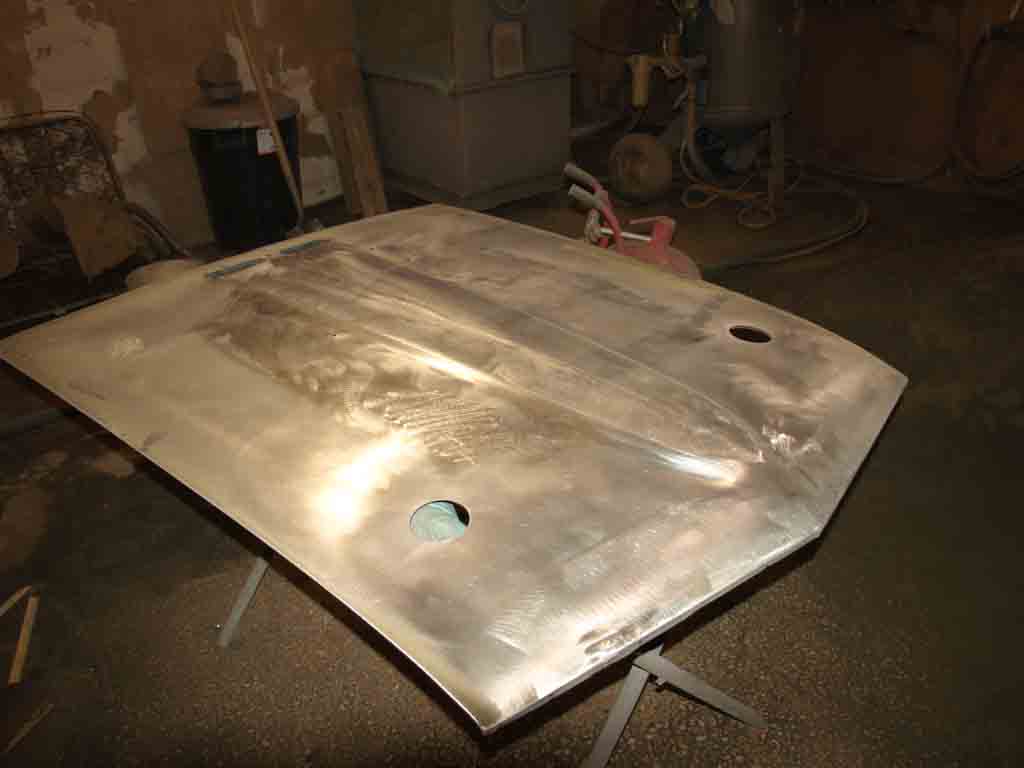
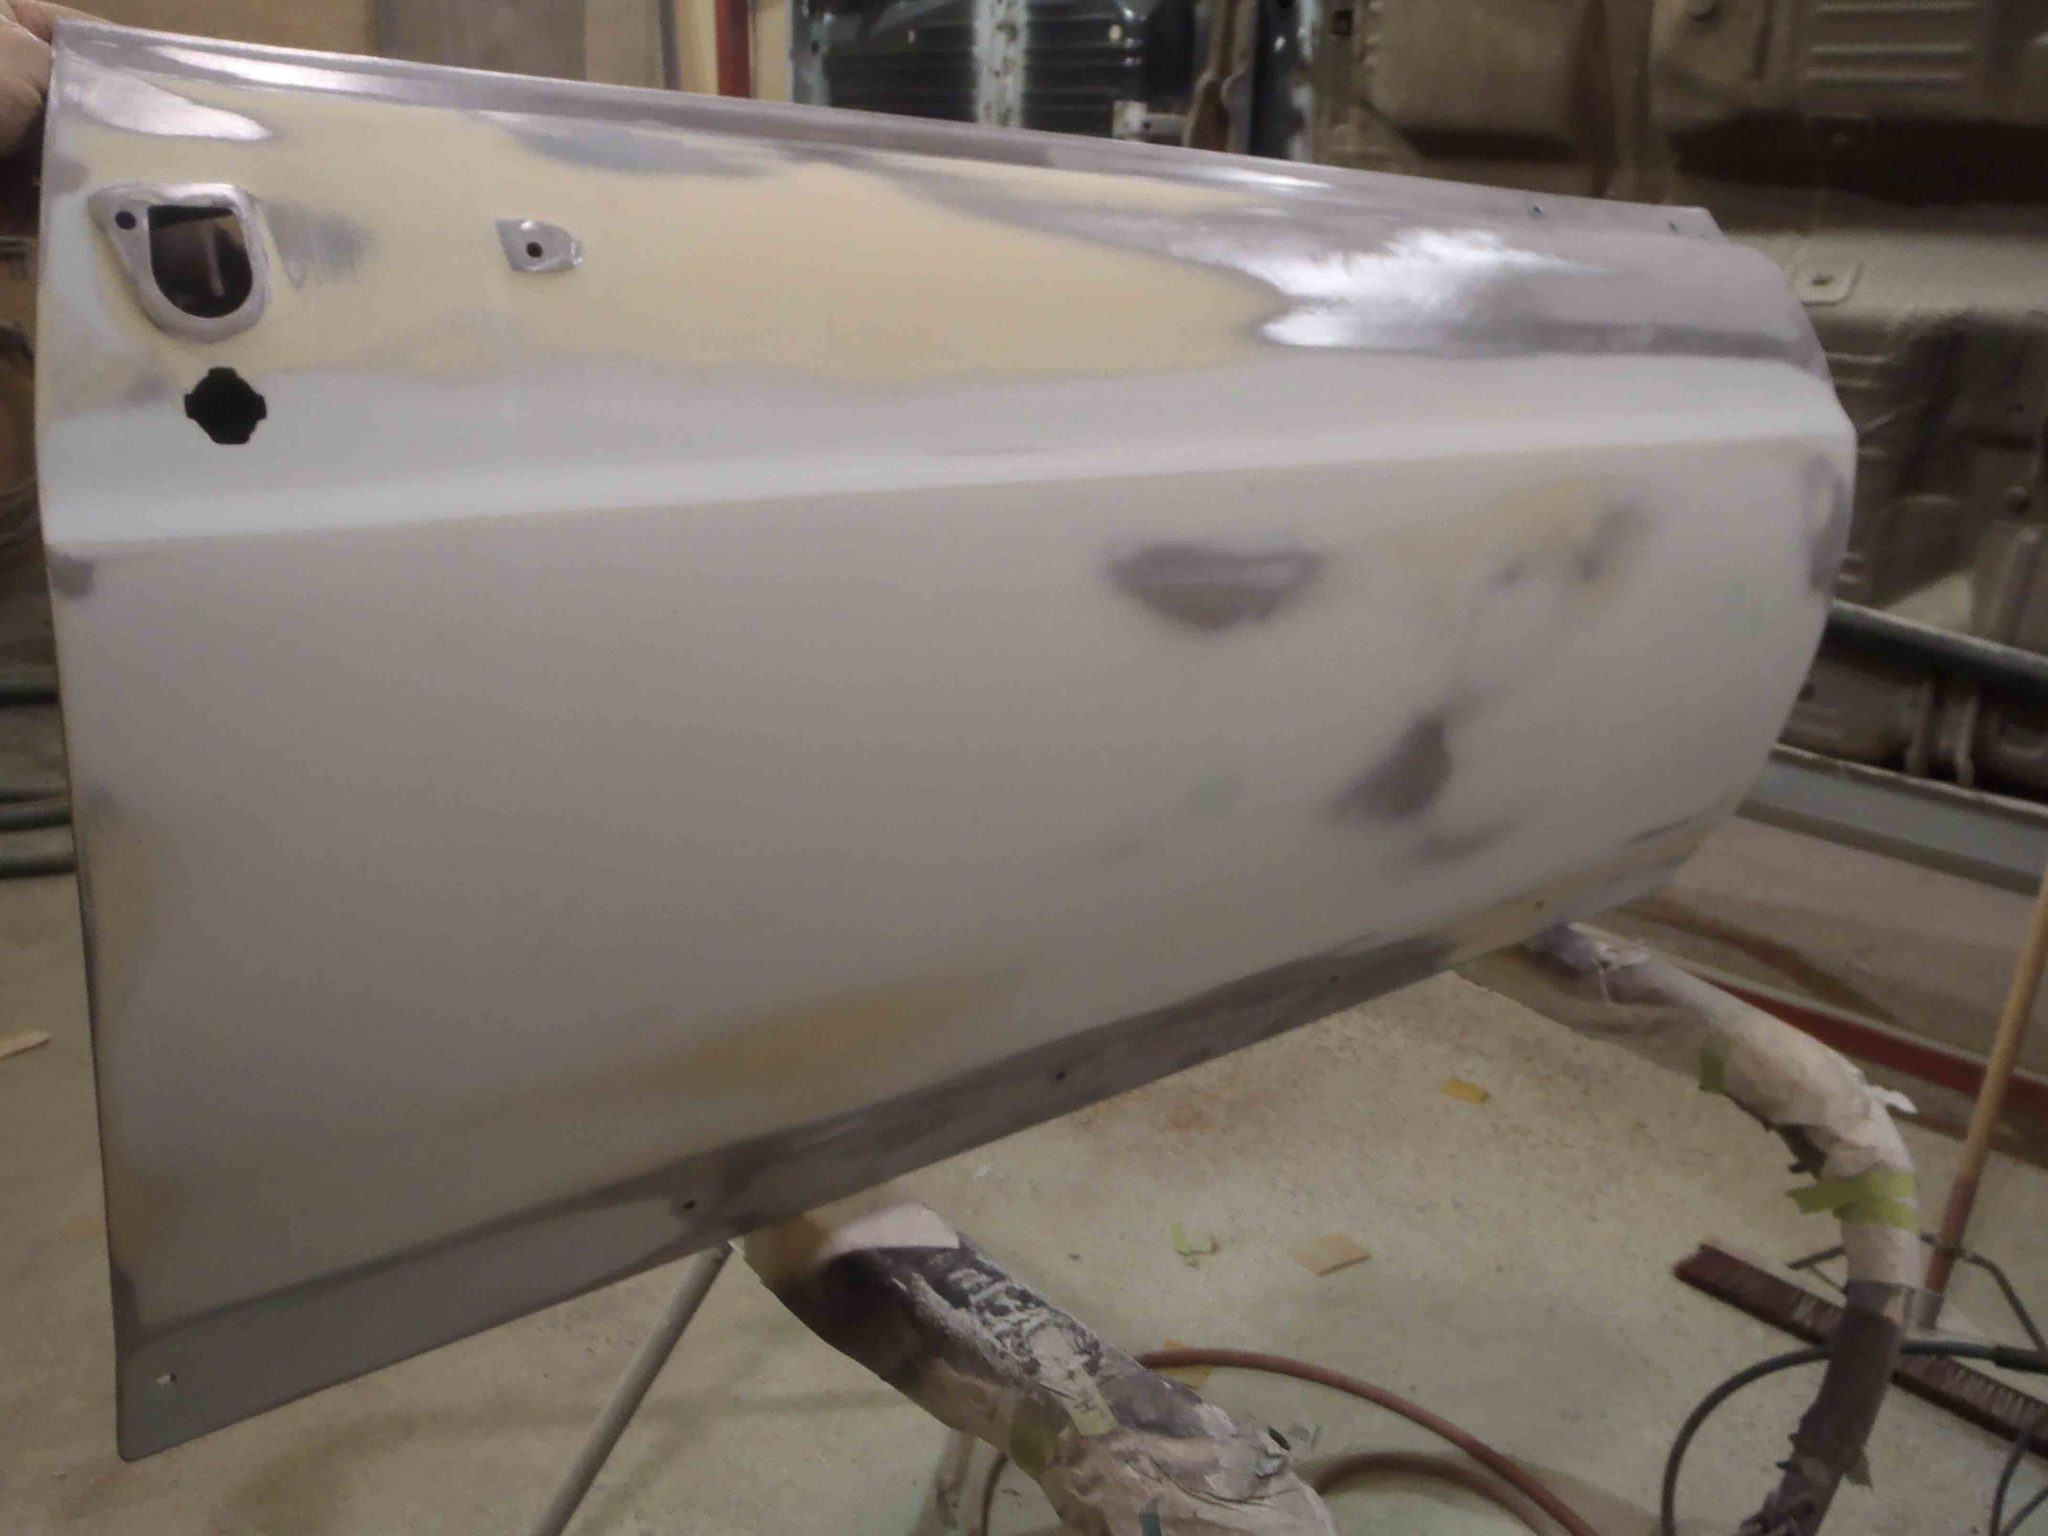
The first pass on the door with the sanding block should be done with a medium grit paper, 180 grit moving to a 220 grit paper once you feel the panels meet your requirements. This is a relatively aggressive paper and will remove the primer material quickly so you have to look at the panel while you are sanding. Moving the block in a back and forth direction at a 45 degree angle will prevent sanding a groove that will be visible in you paint. In this fashion move back and forth over the surface cleaning the dust build up from the surface frequently as you go.
While “blocking” the surface you may begin to notice areas in the primered surface that are darker and appear not to have been touched by the sand paper. These areas are the high and low areas that you are looking to correct. Through training and experience you will begin to understand when these areas will require more metal work or other attention before continuing. It is not the job of the primer, and the primer will fail, if used to fill anything more than small imperfections in the surface. If there are areas that are low and do not sand out properly then the area needs to be assessed to ensure it is not a high spot rather than a low spot in the surface, then repair as necessary for a straight panel. As you progress the final finish sand should be conducted with a 320 then a 400 grit paper that will remove any of the previous sand scratches from the heavier grit papers. A typical progression for block sanding will be 180-220-320-400. After the final sand on the panel it should appear smooth and without imperfections.
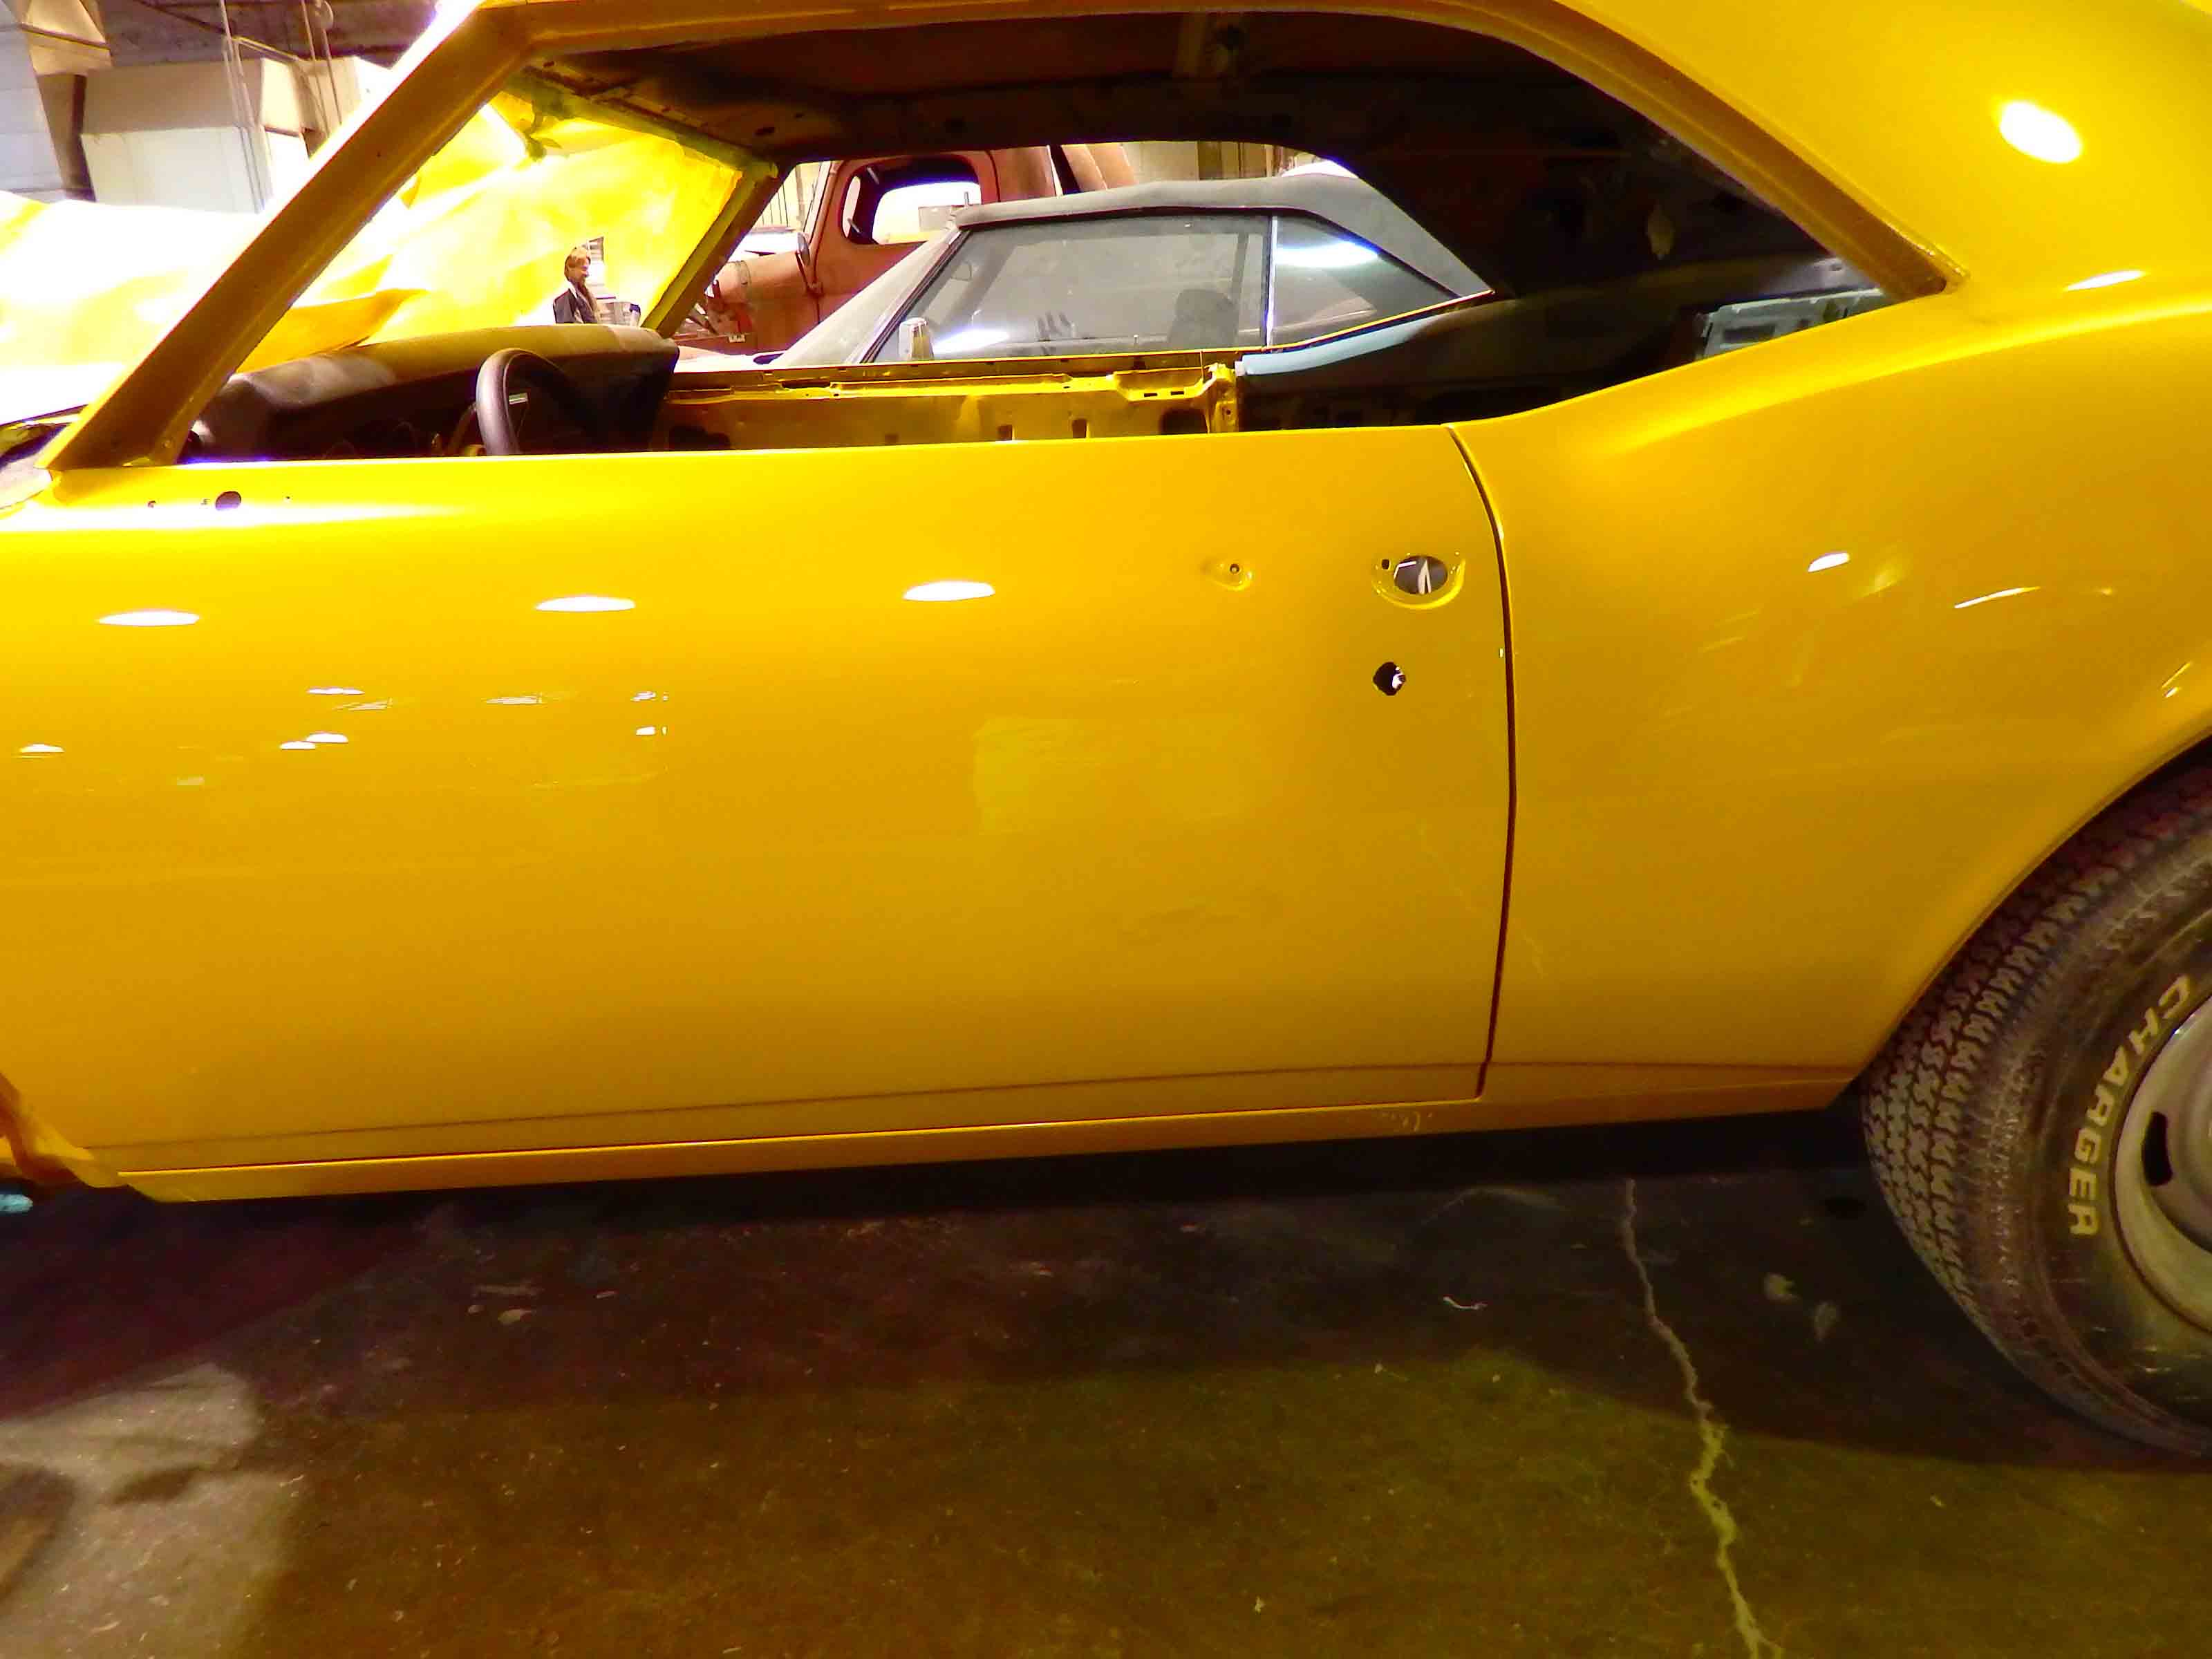
Next comes the test fit of the panels. In a previous blog we talked about the proper way to align panels on a vehicle and I have attached it here to help you with this step.
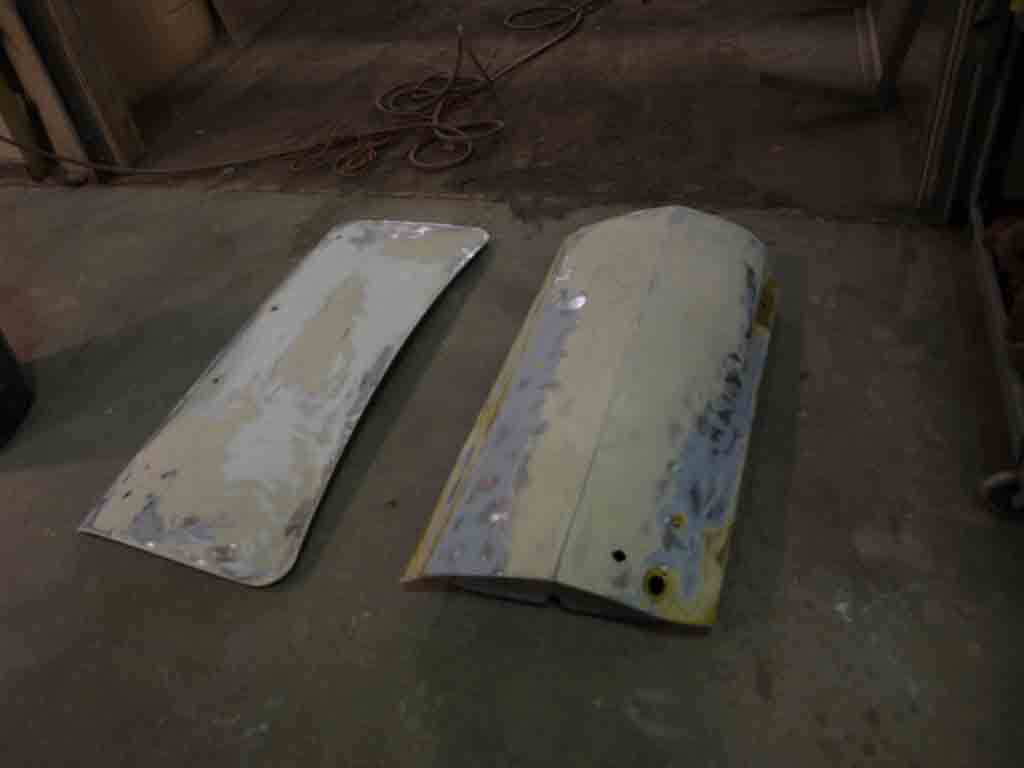
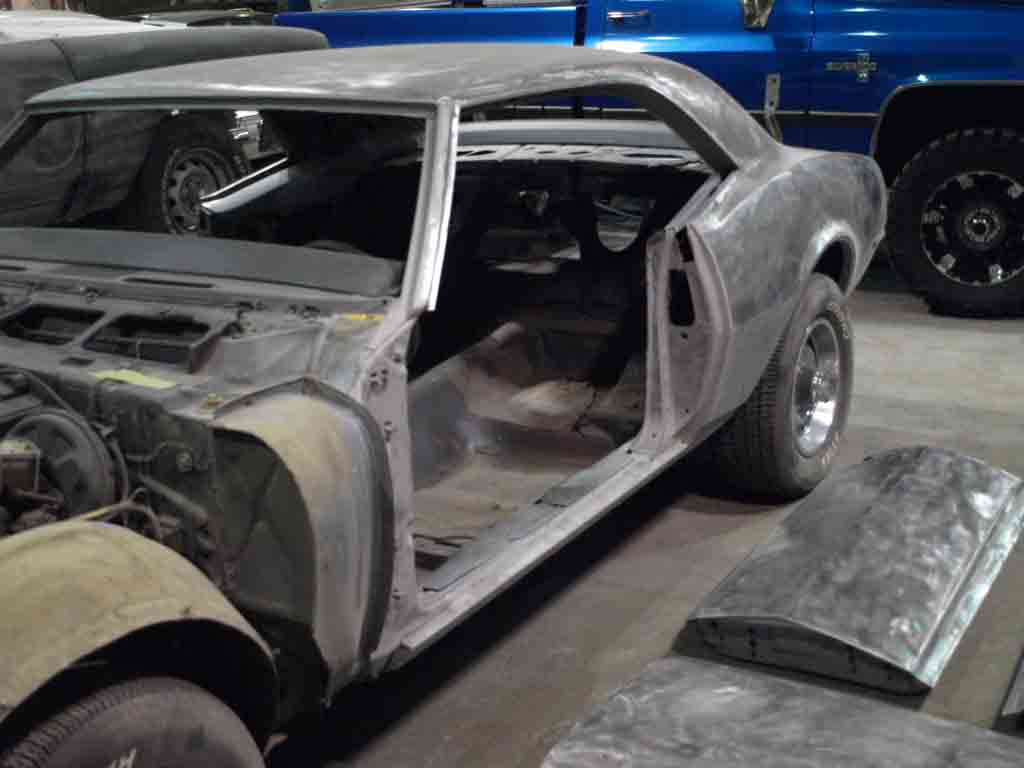
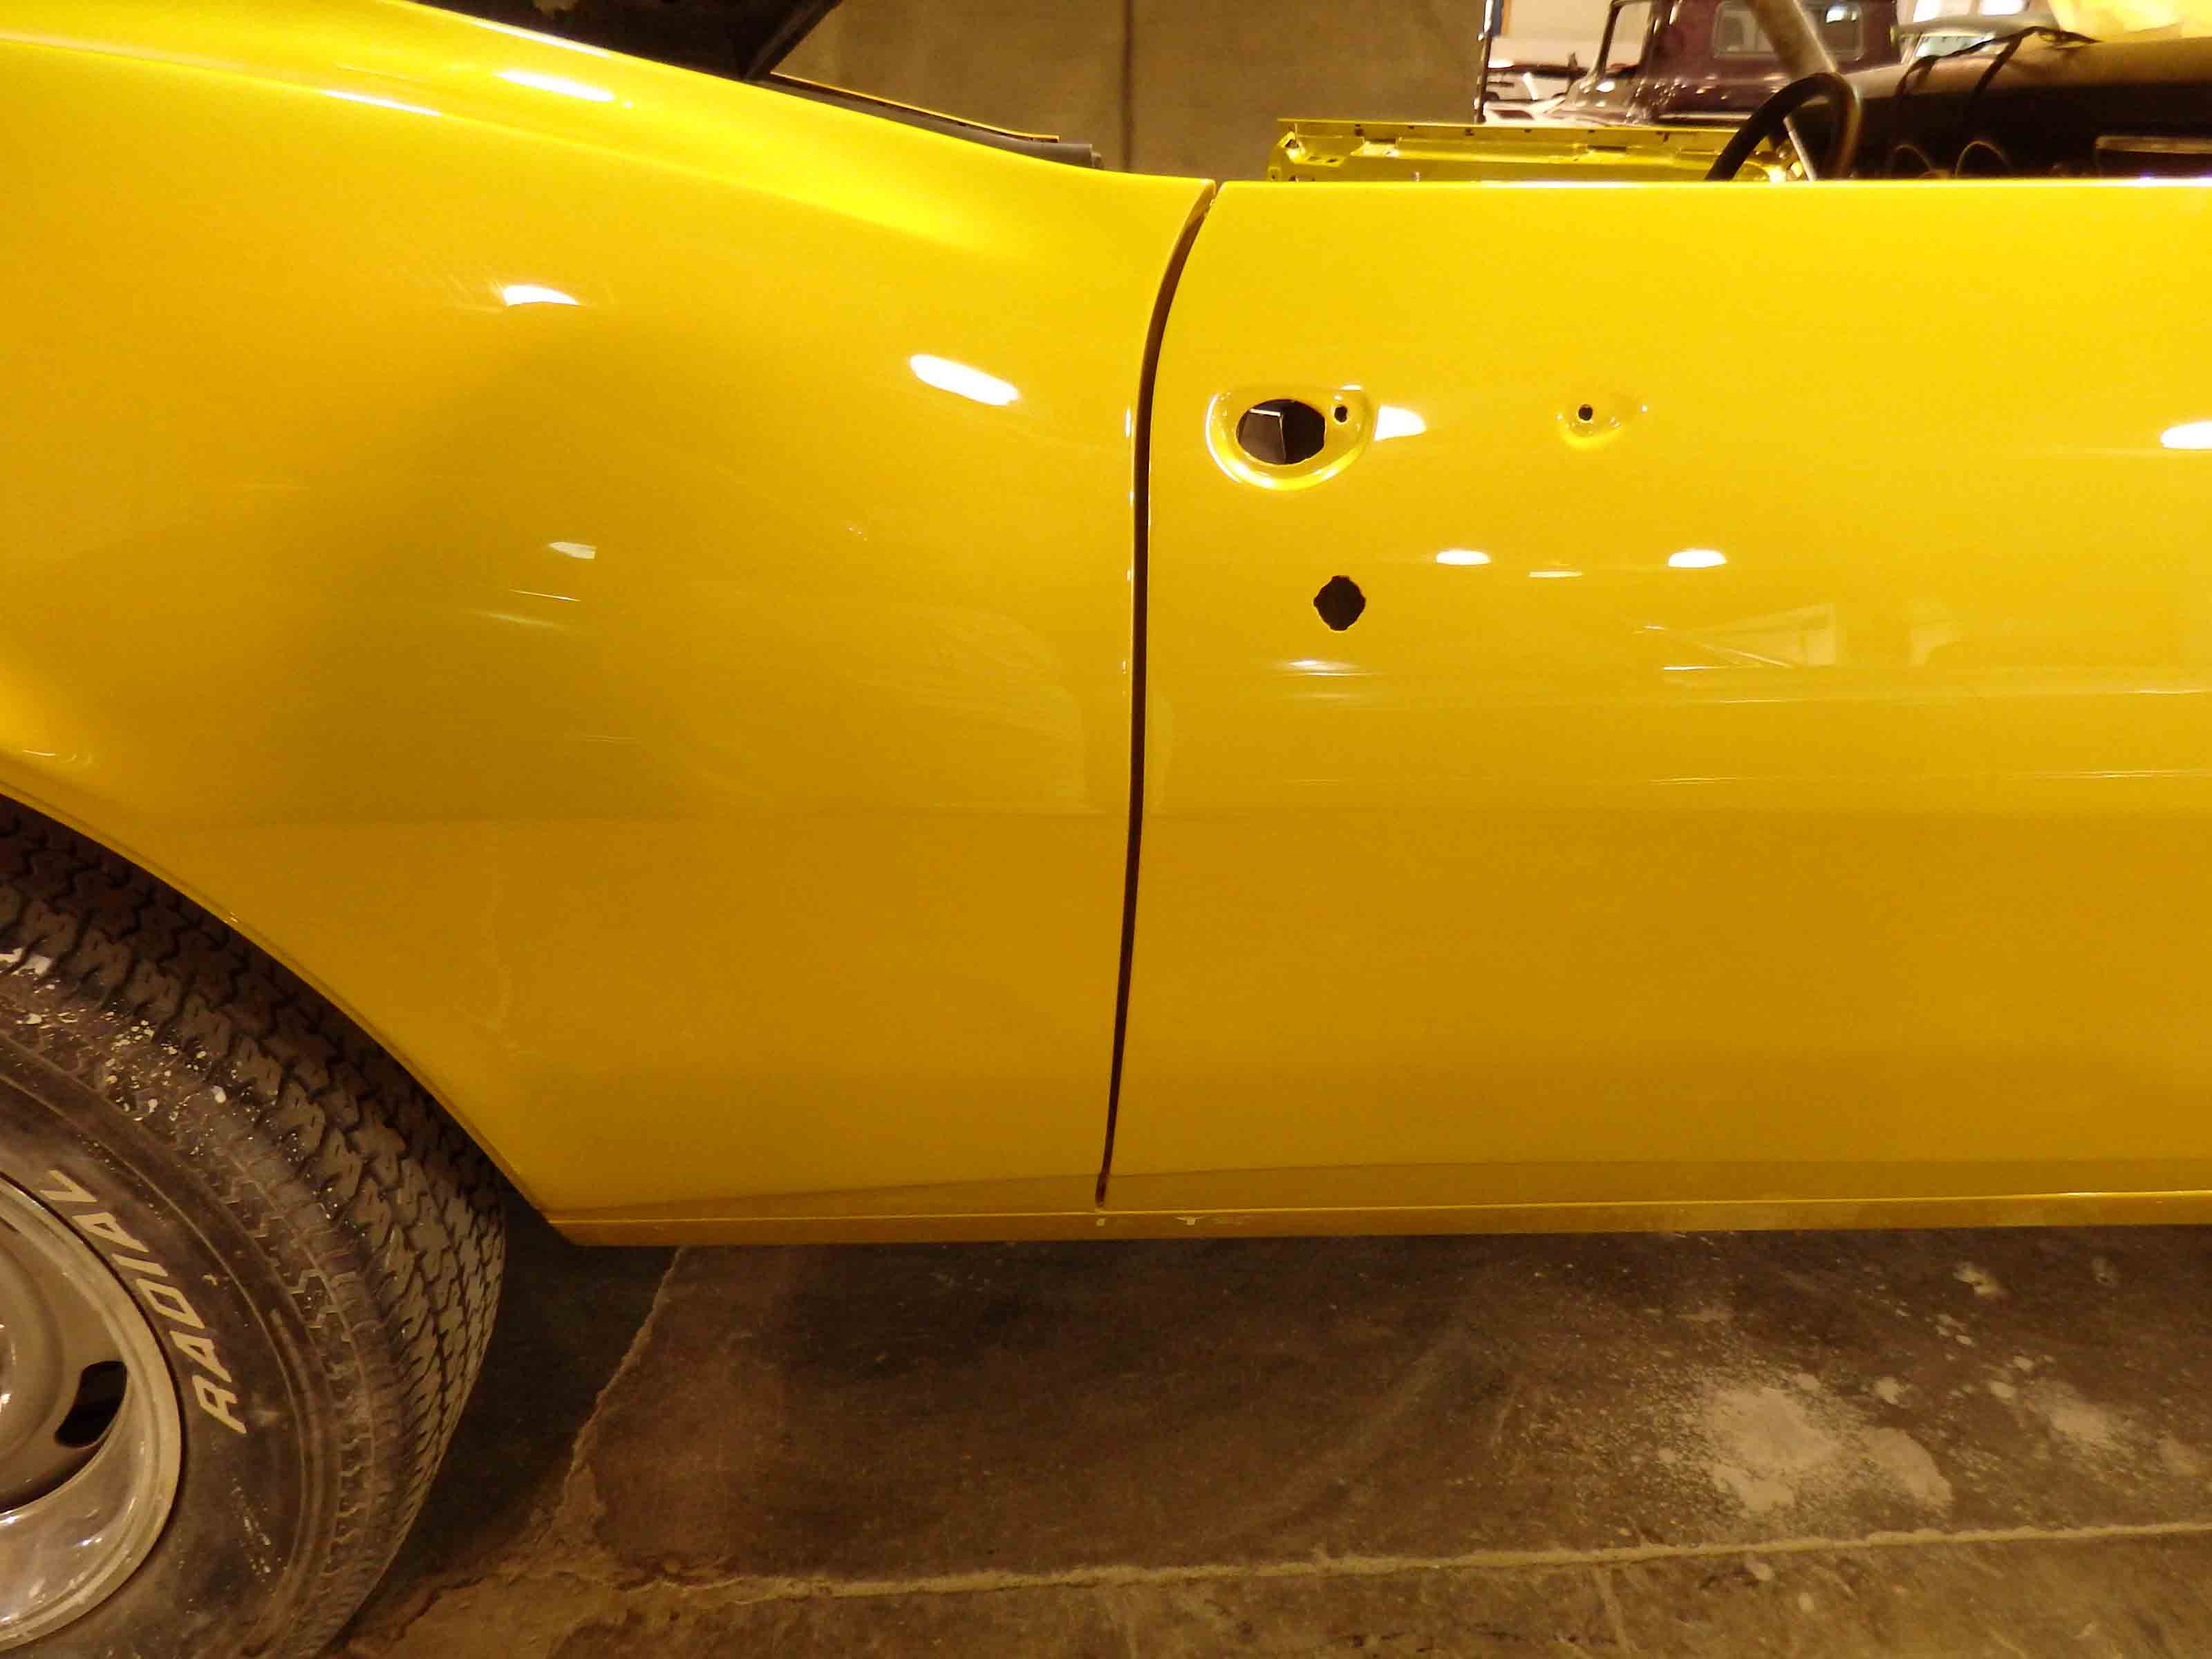
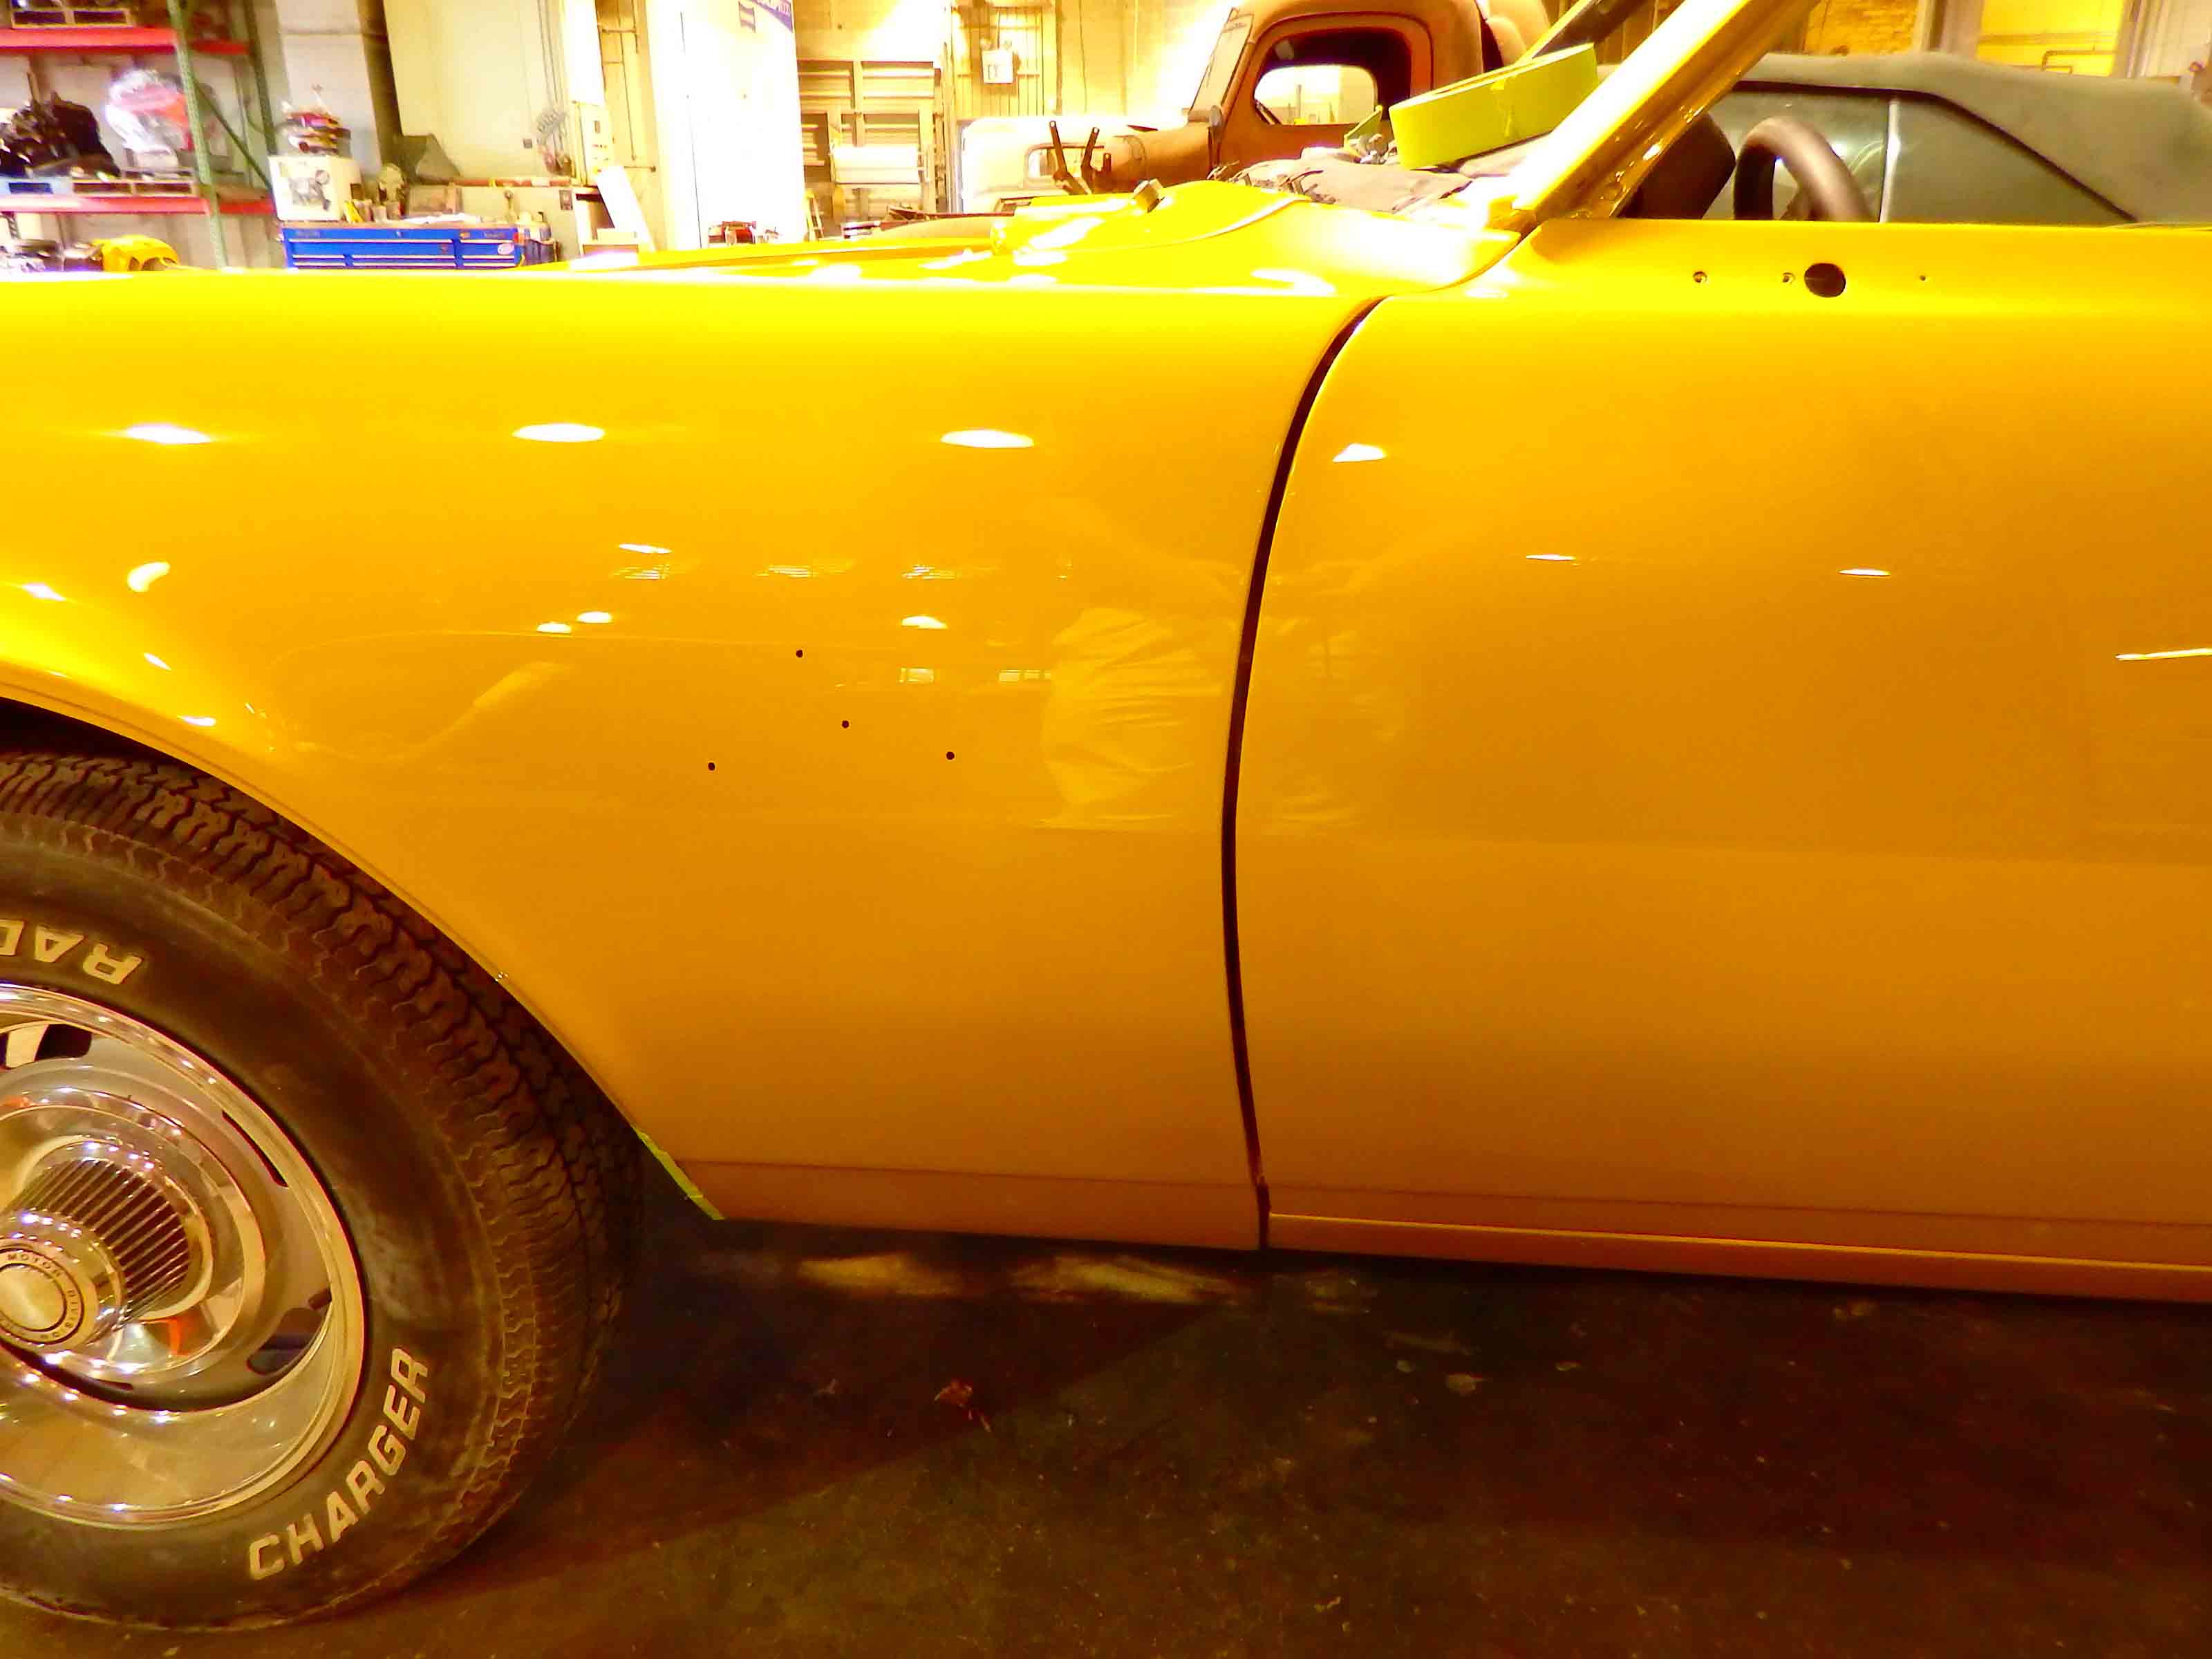
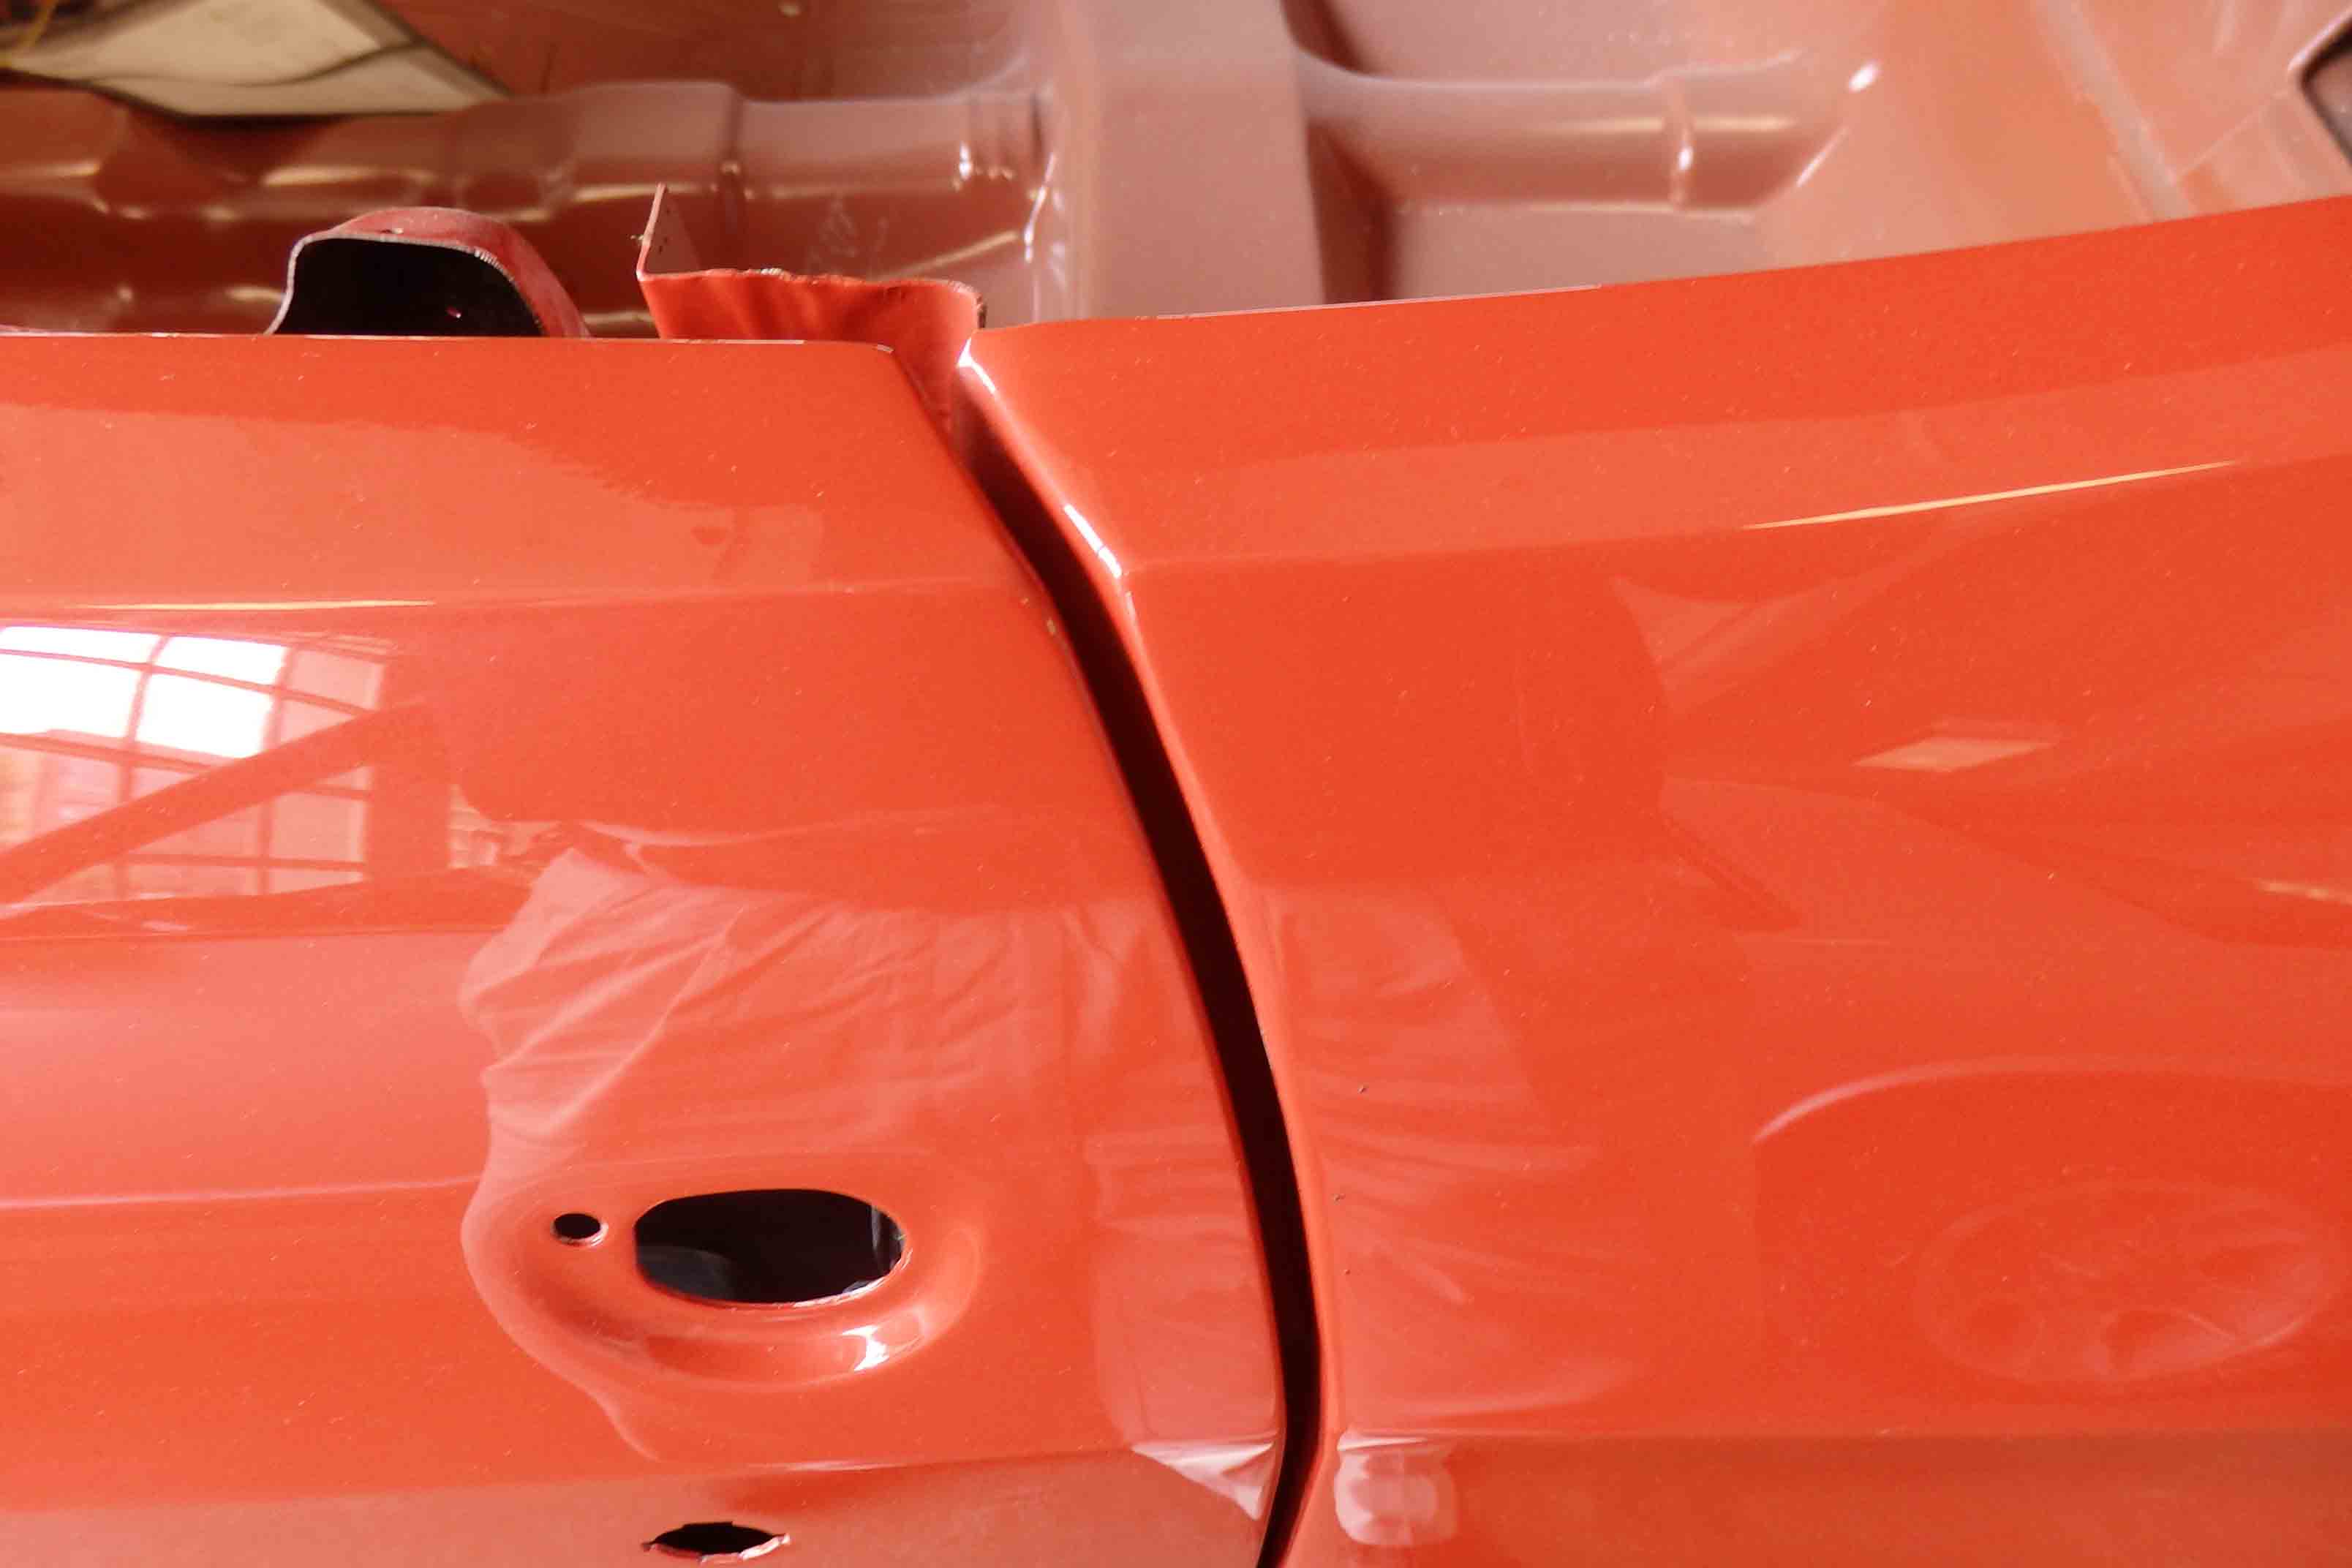
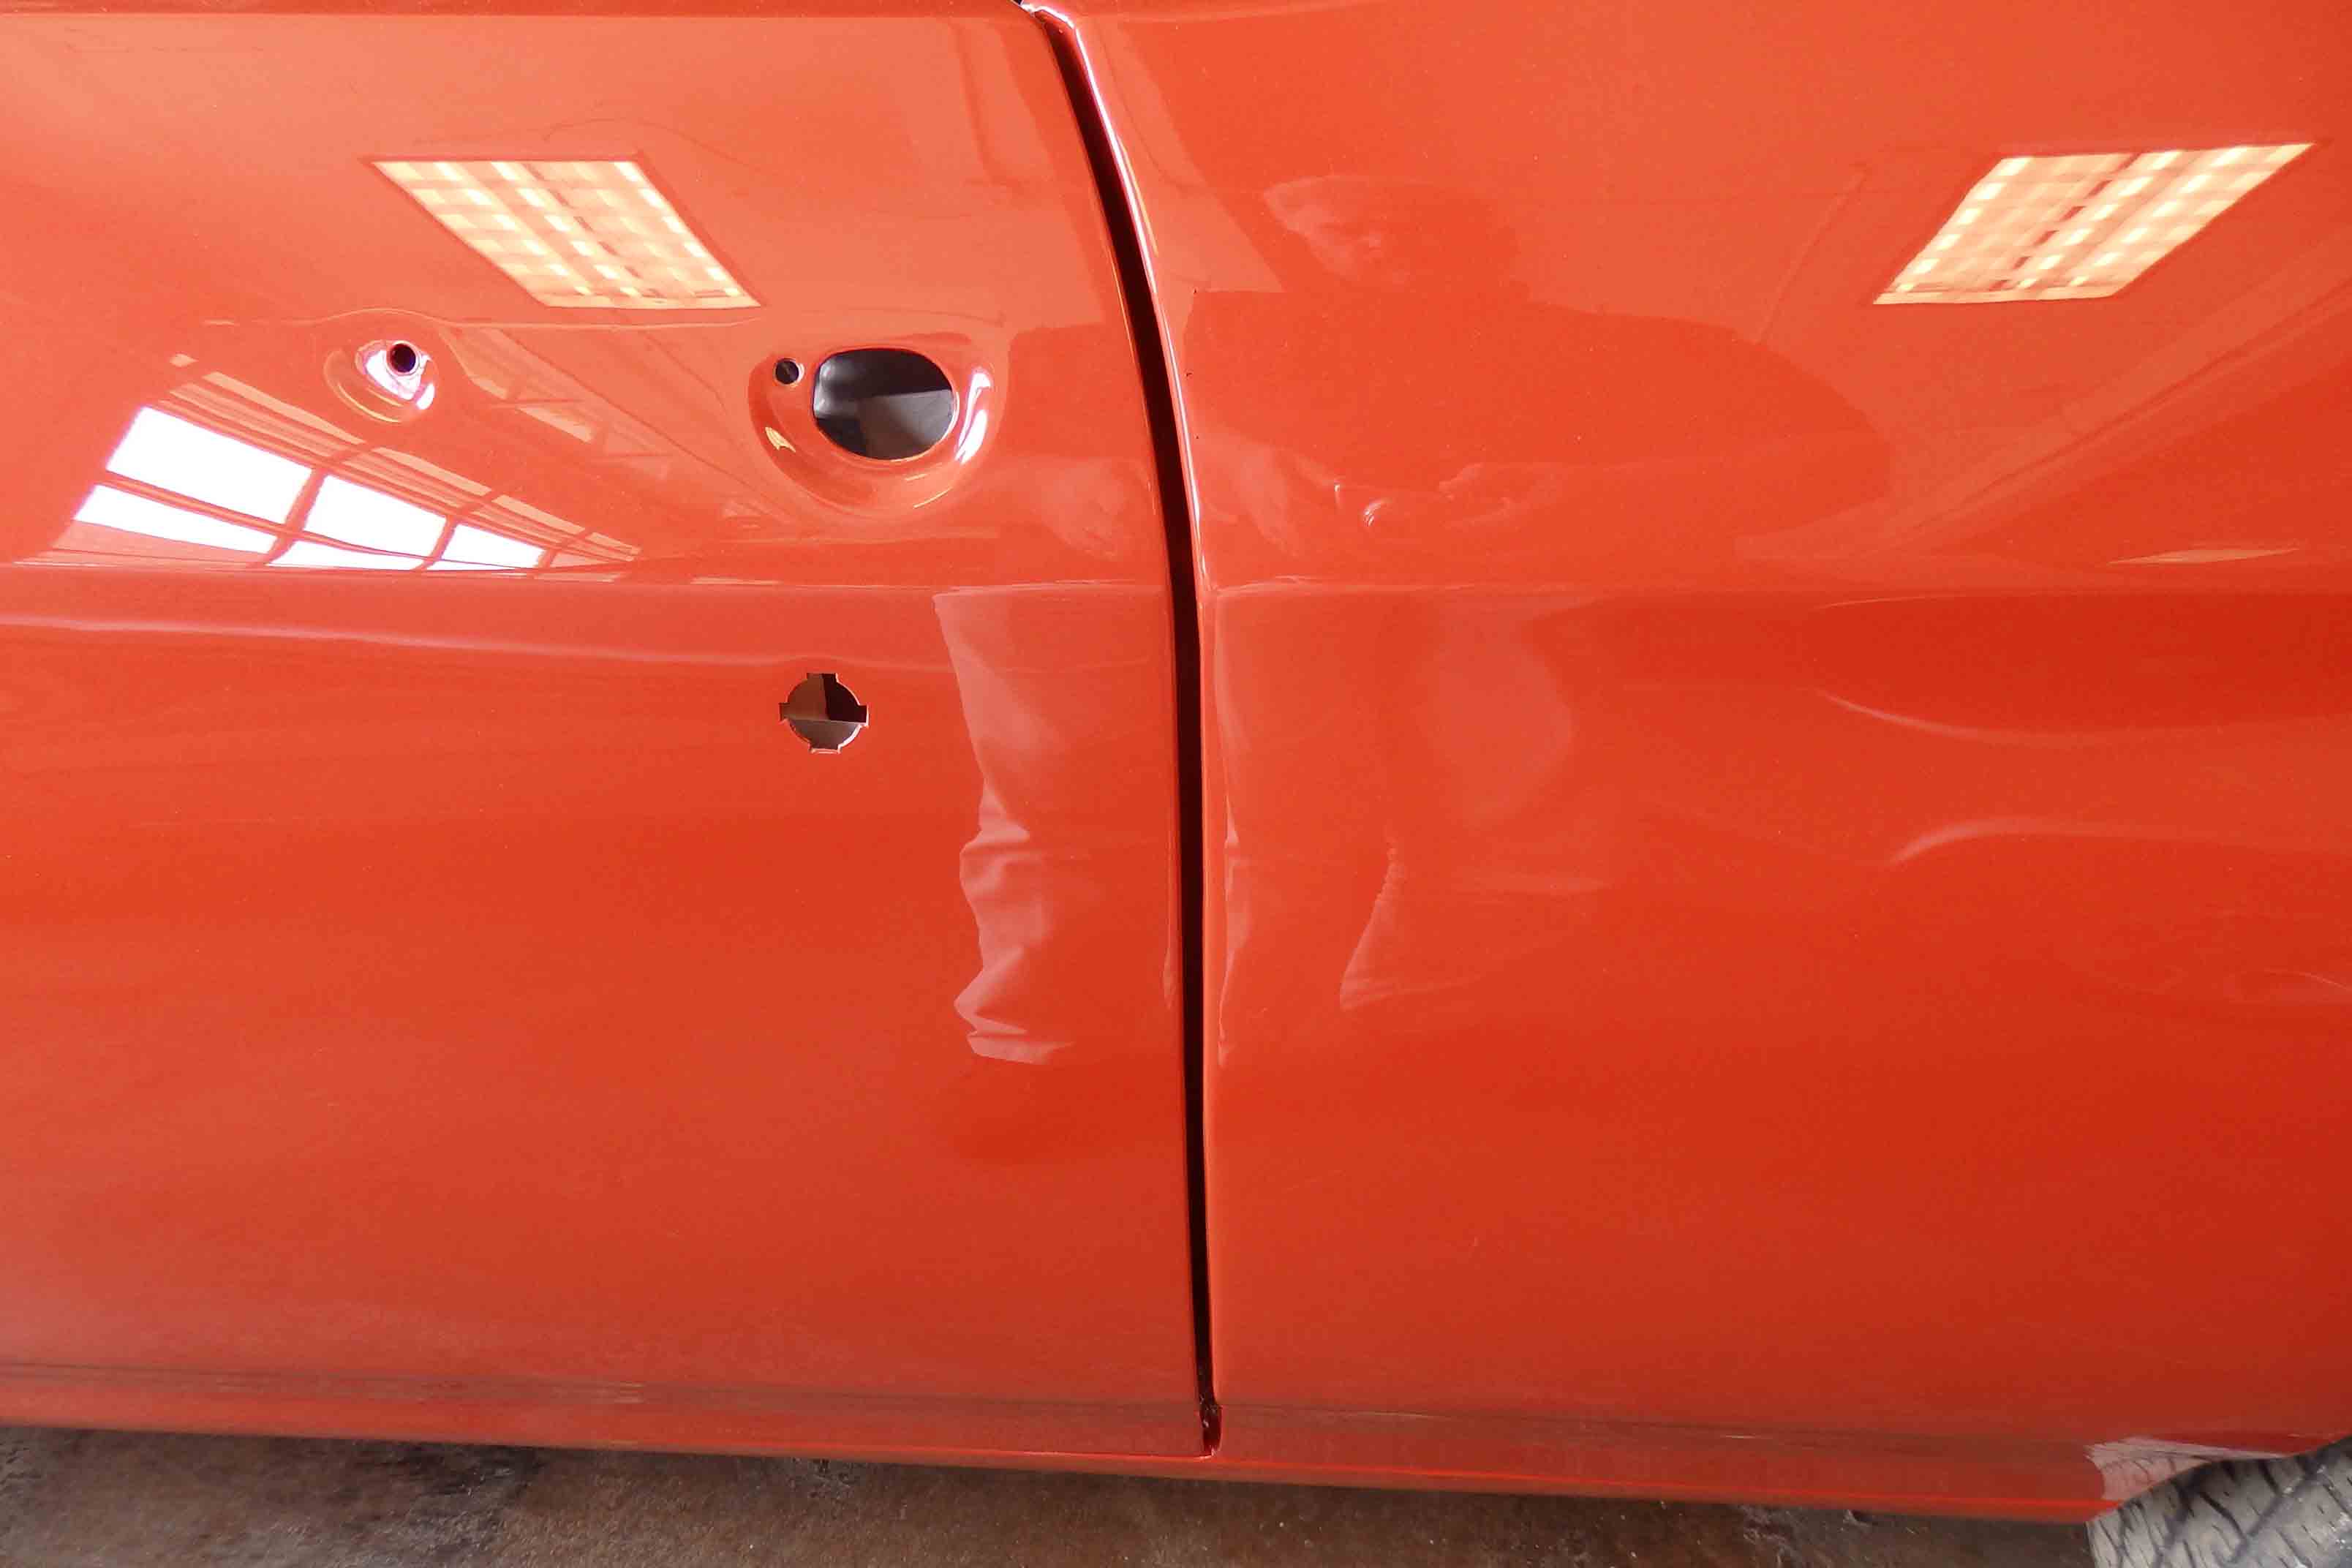
This step is exactly what it is, a test fit. We need to make sure that the panels are going to align correctly with the body with proper gaps and fit along character lines. We also need to align the doors to open and close correctly and the fenders need to be fit to ensure proper body alignment against the doors. We test fit and align the panels at this time so that we have a larger margin of error than we would with a completely finished car but also to see what work we need to do to correct poorly aligned panels.
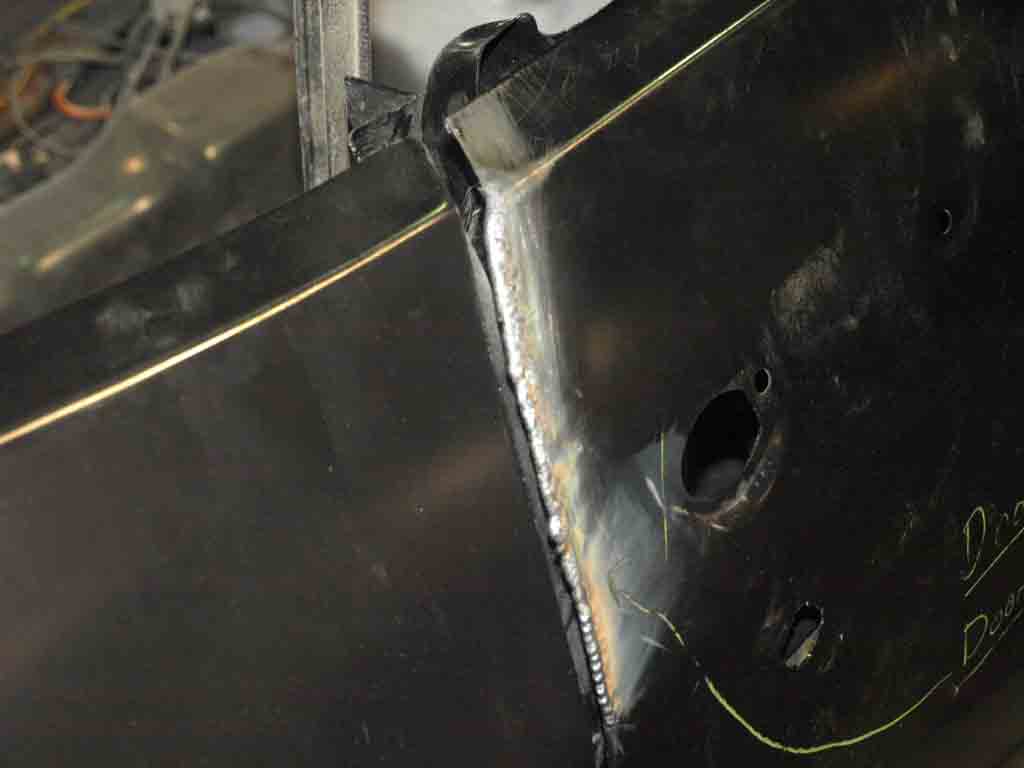
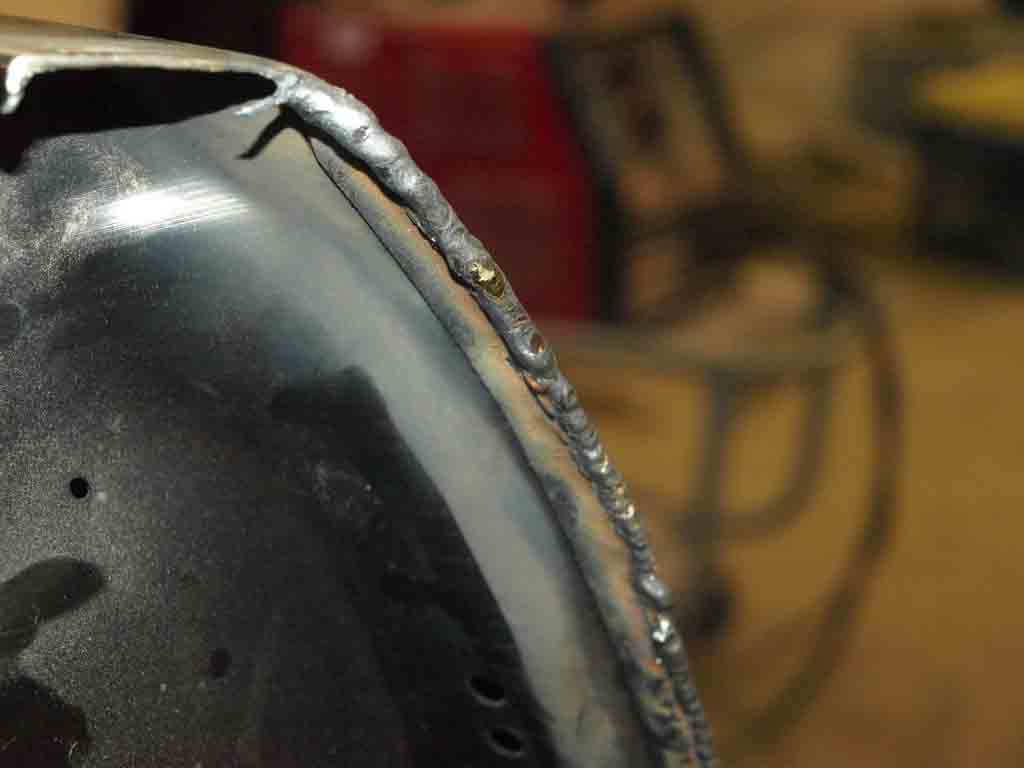
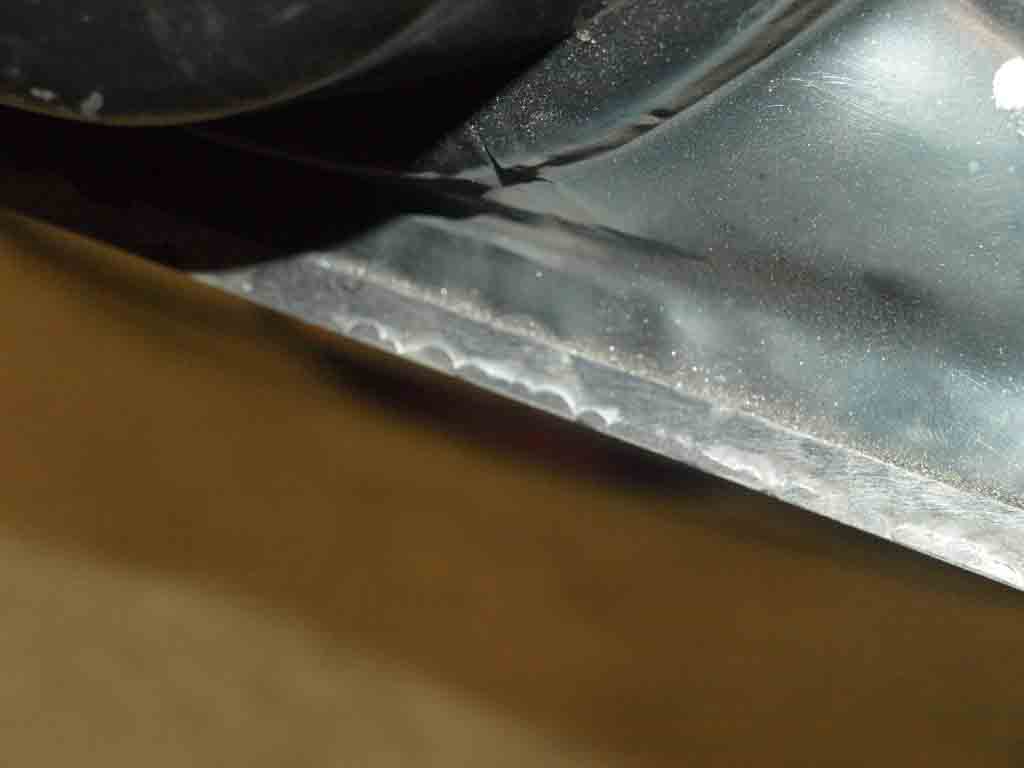
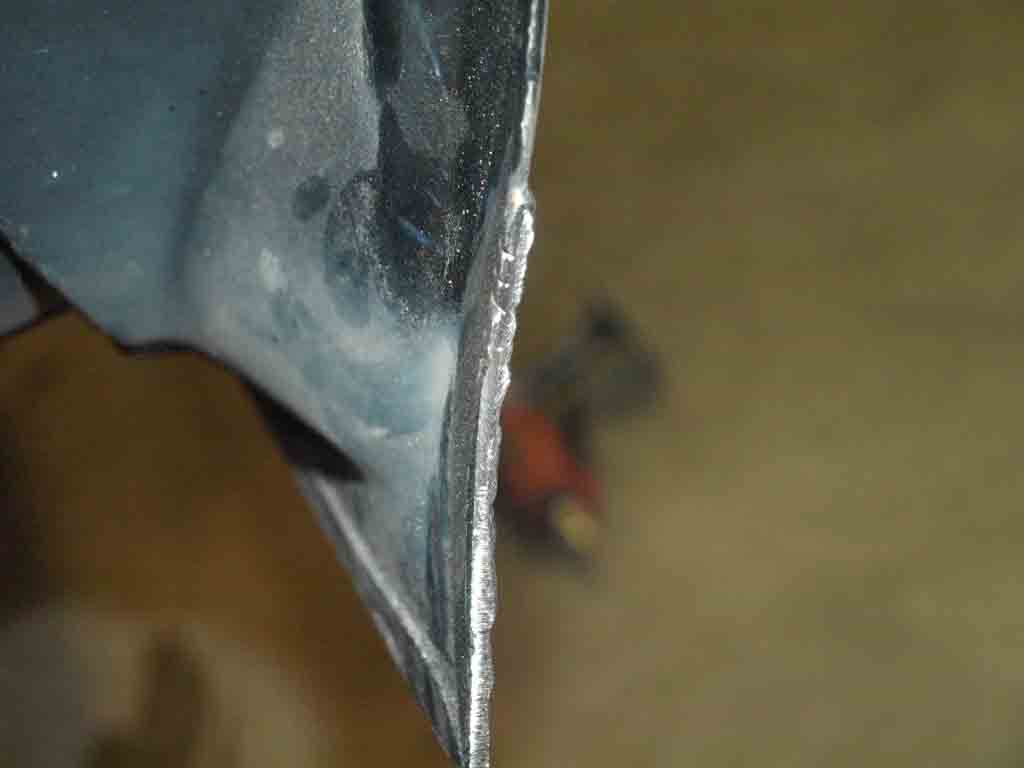
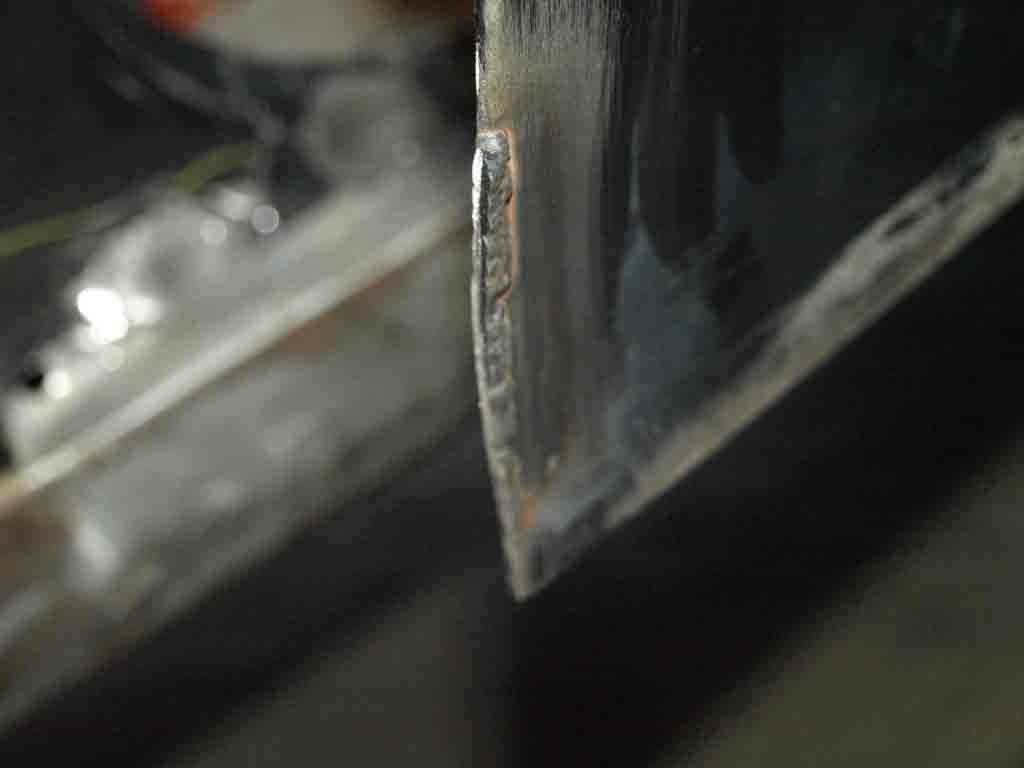
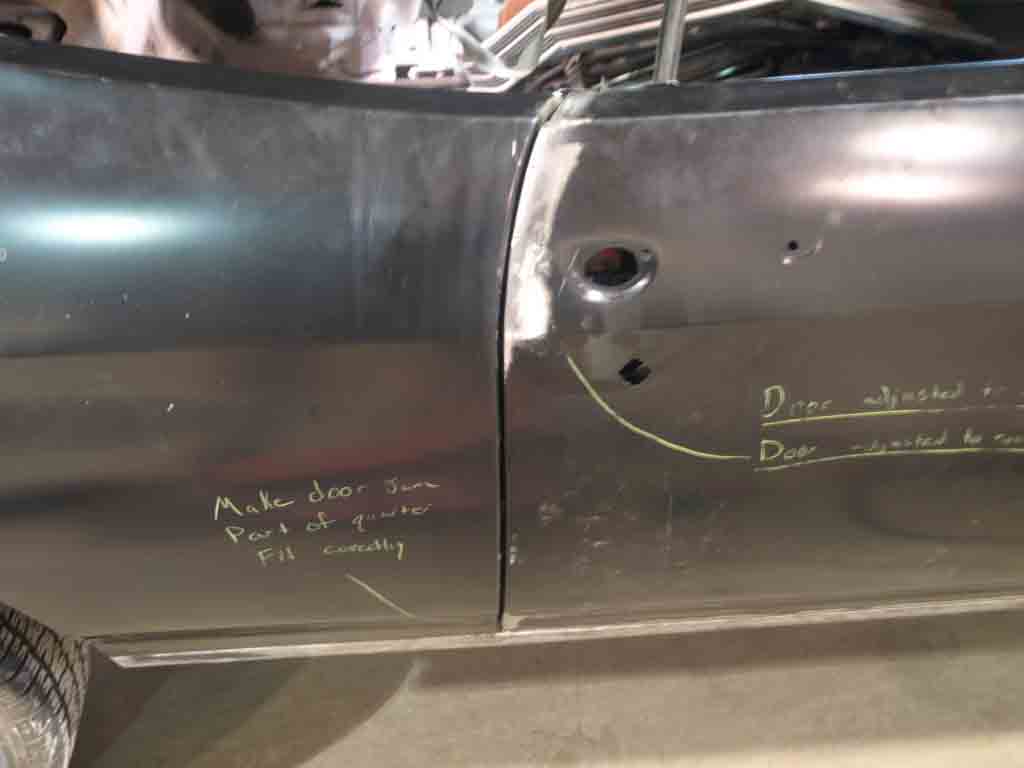
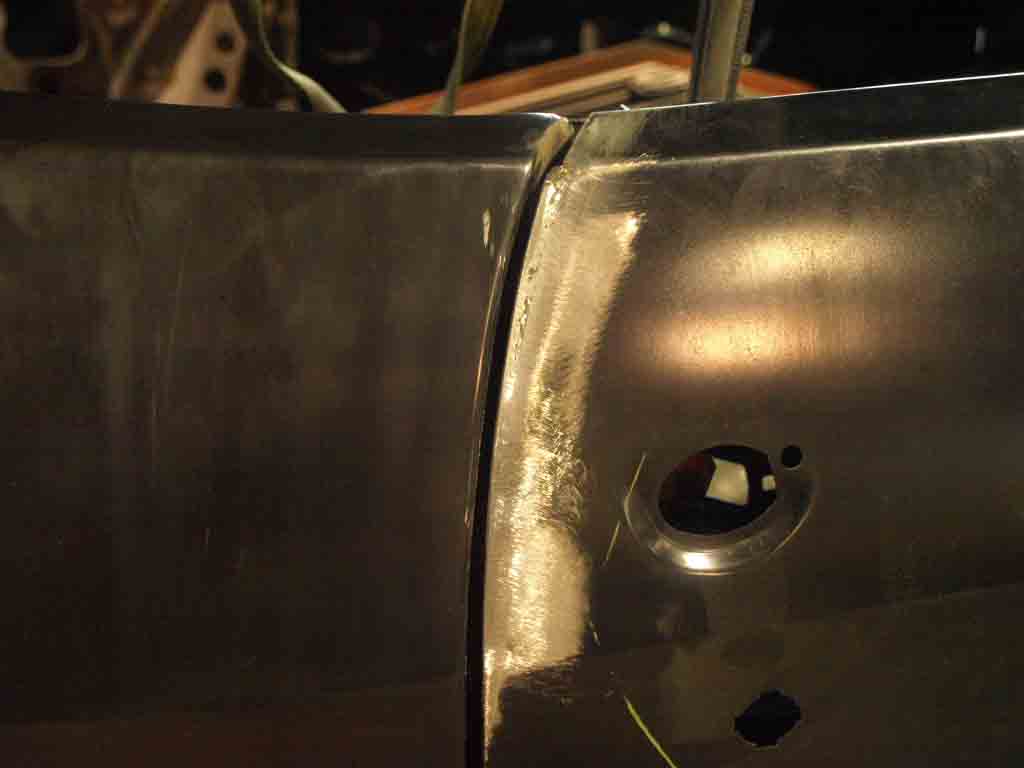
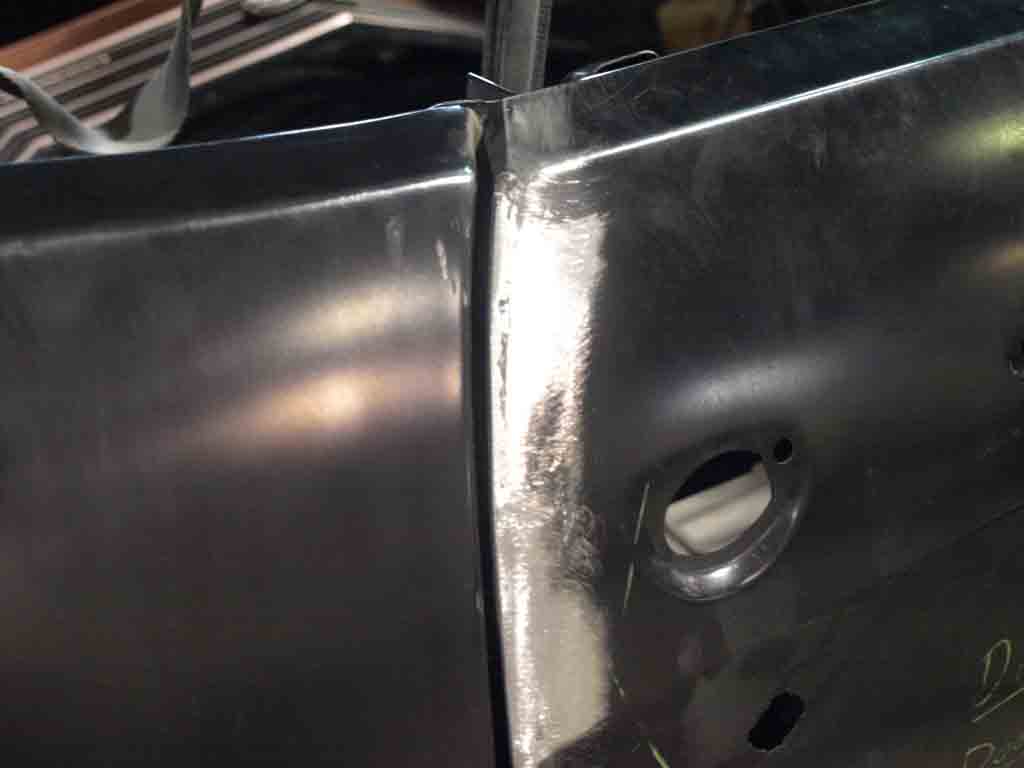
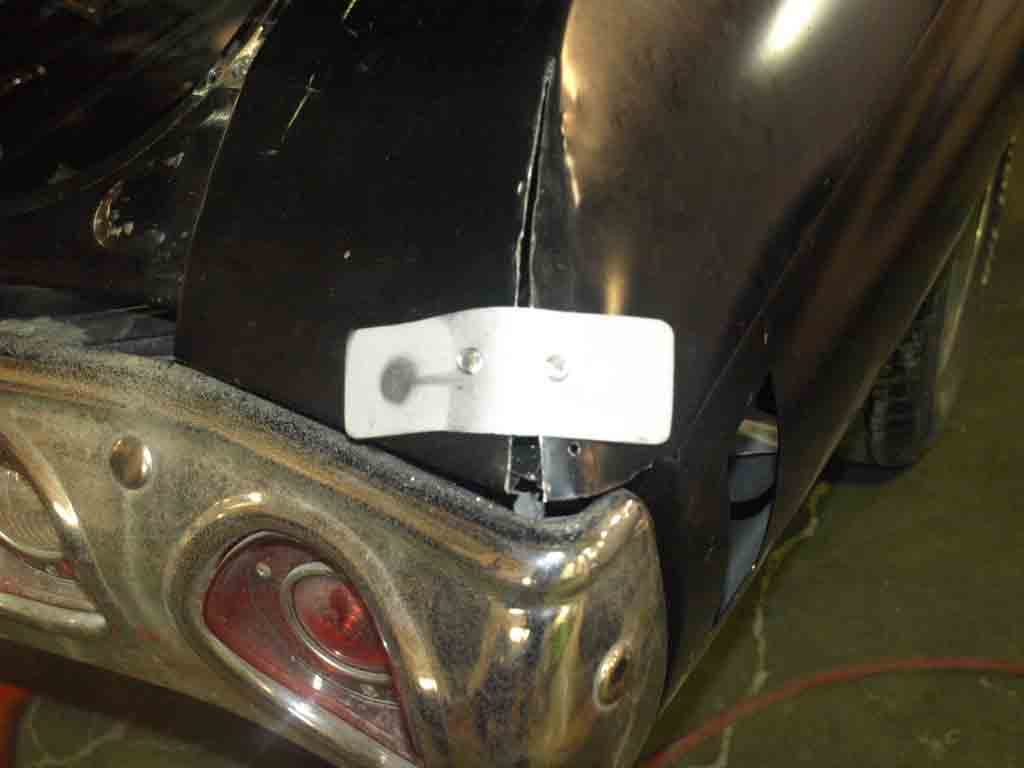
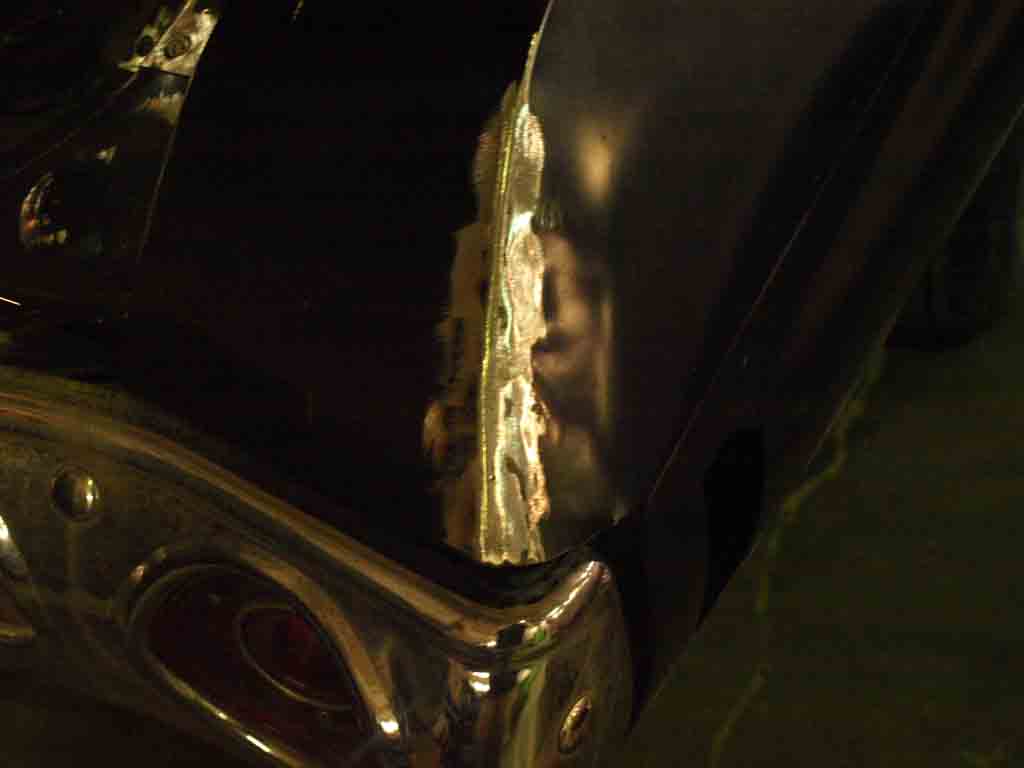
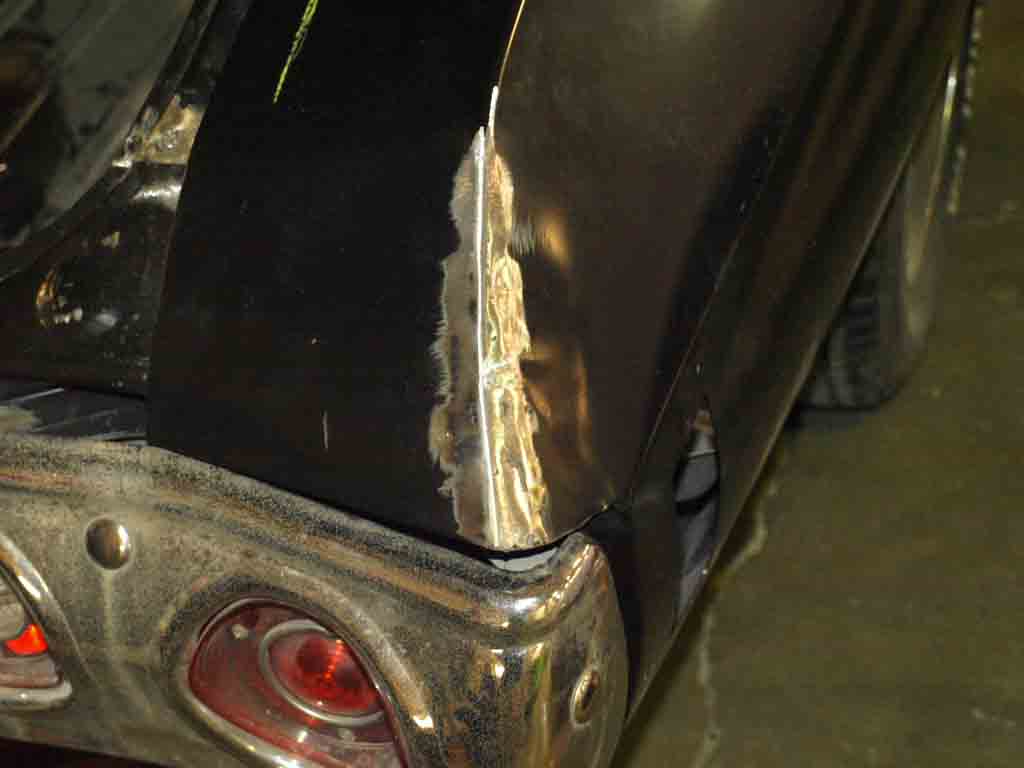
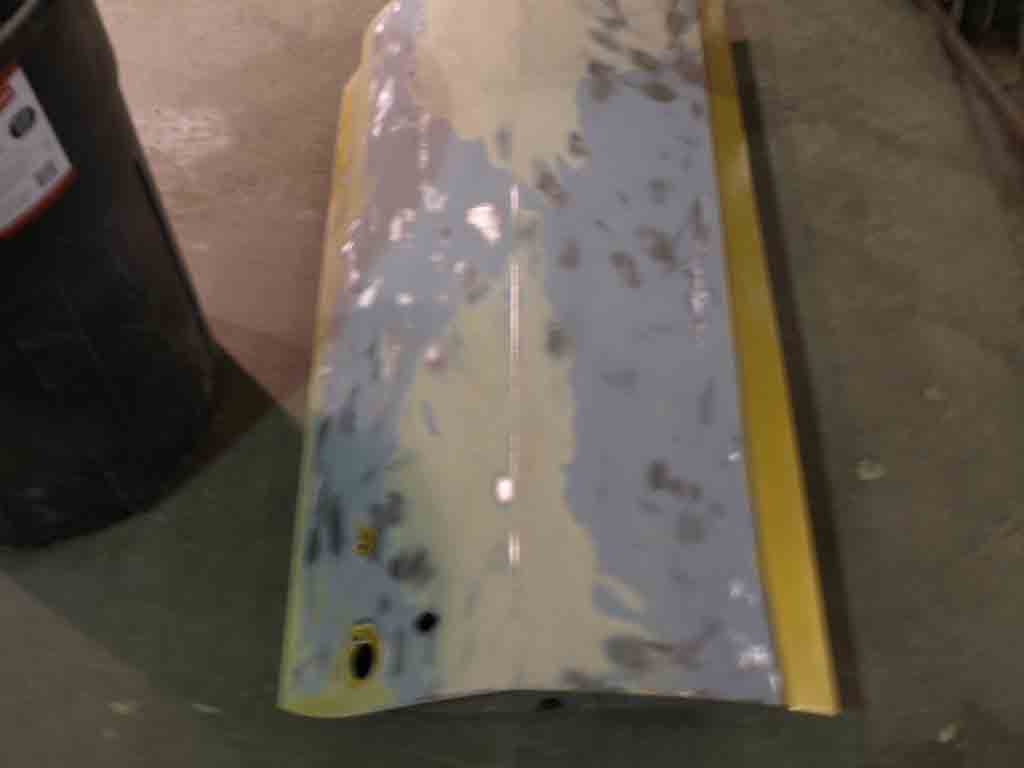
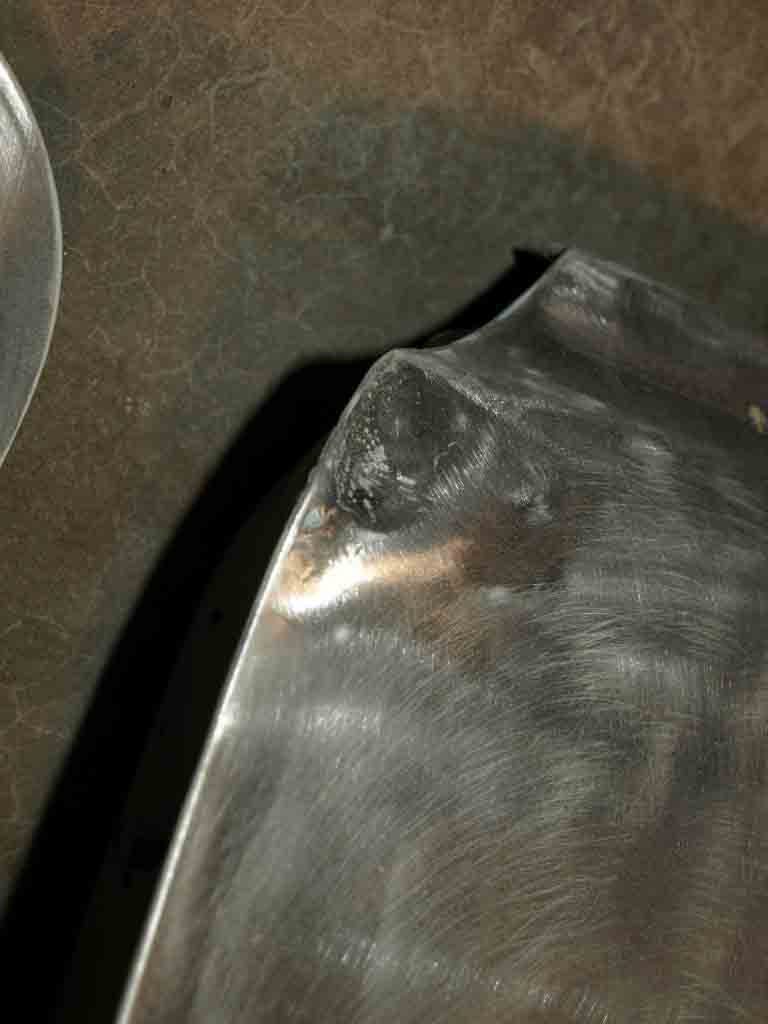
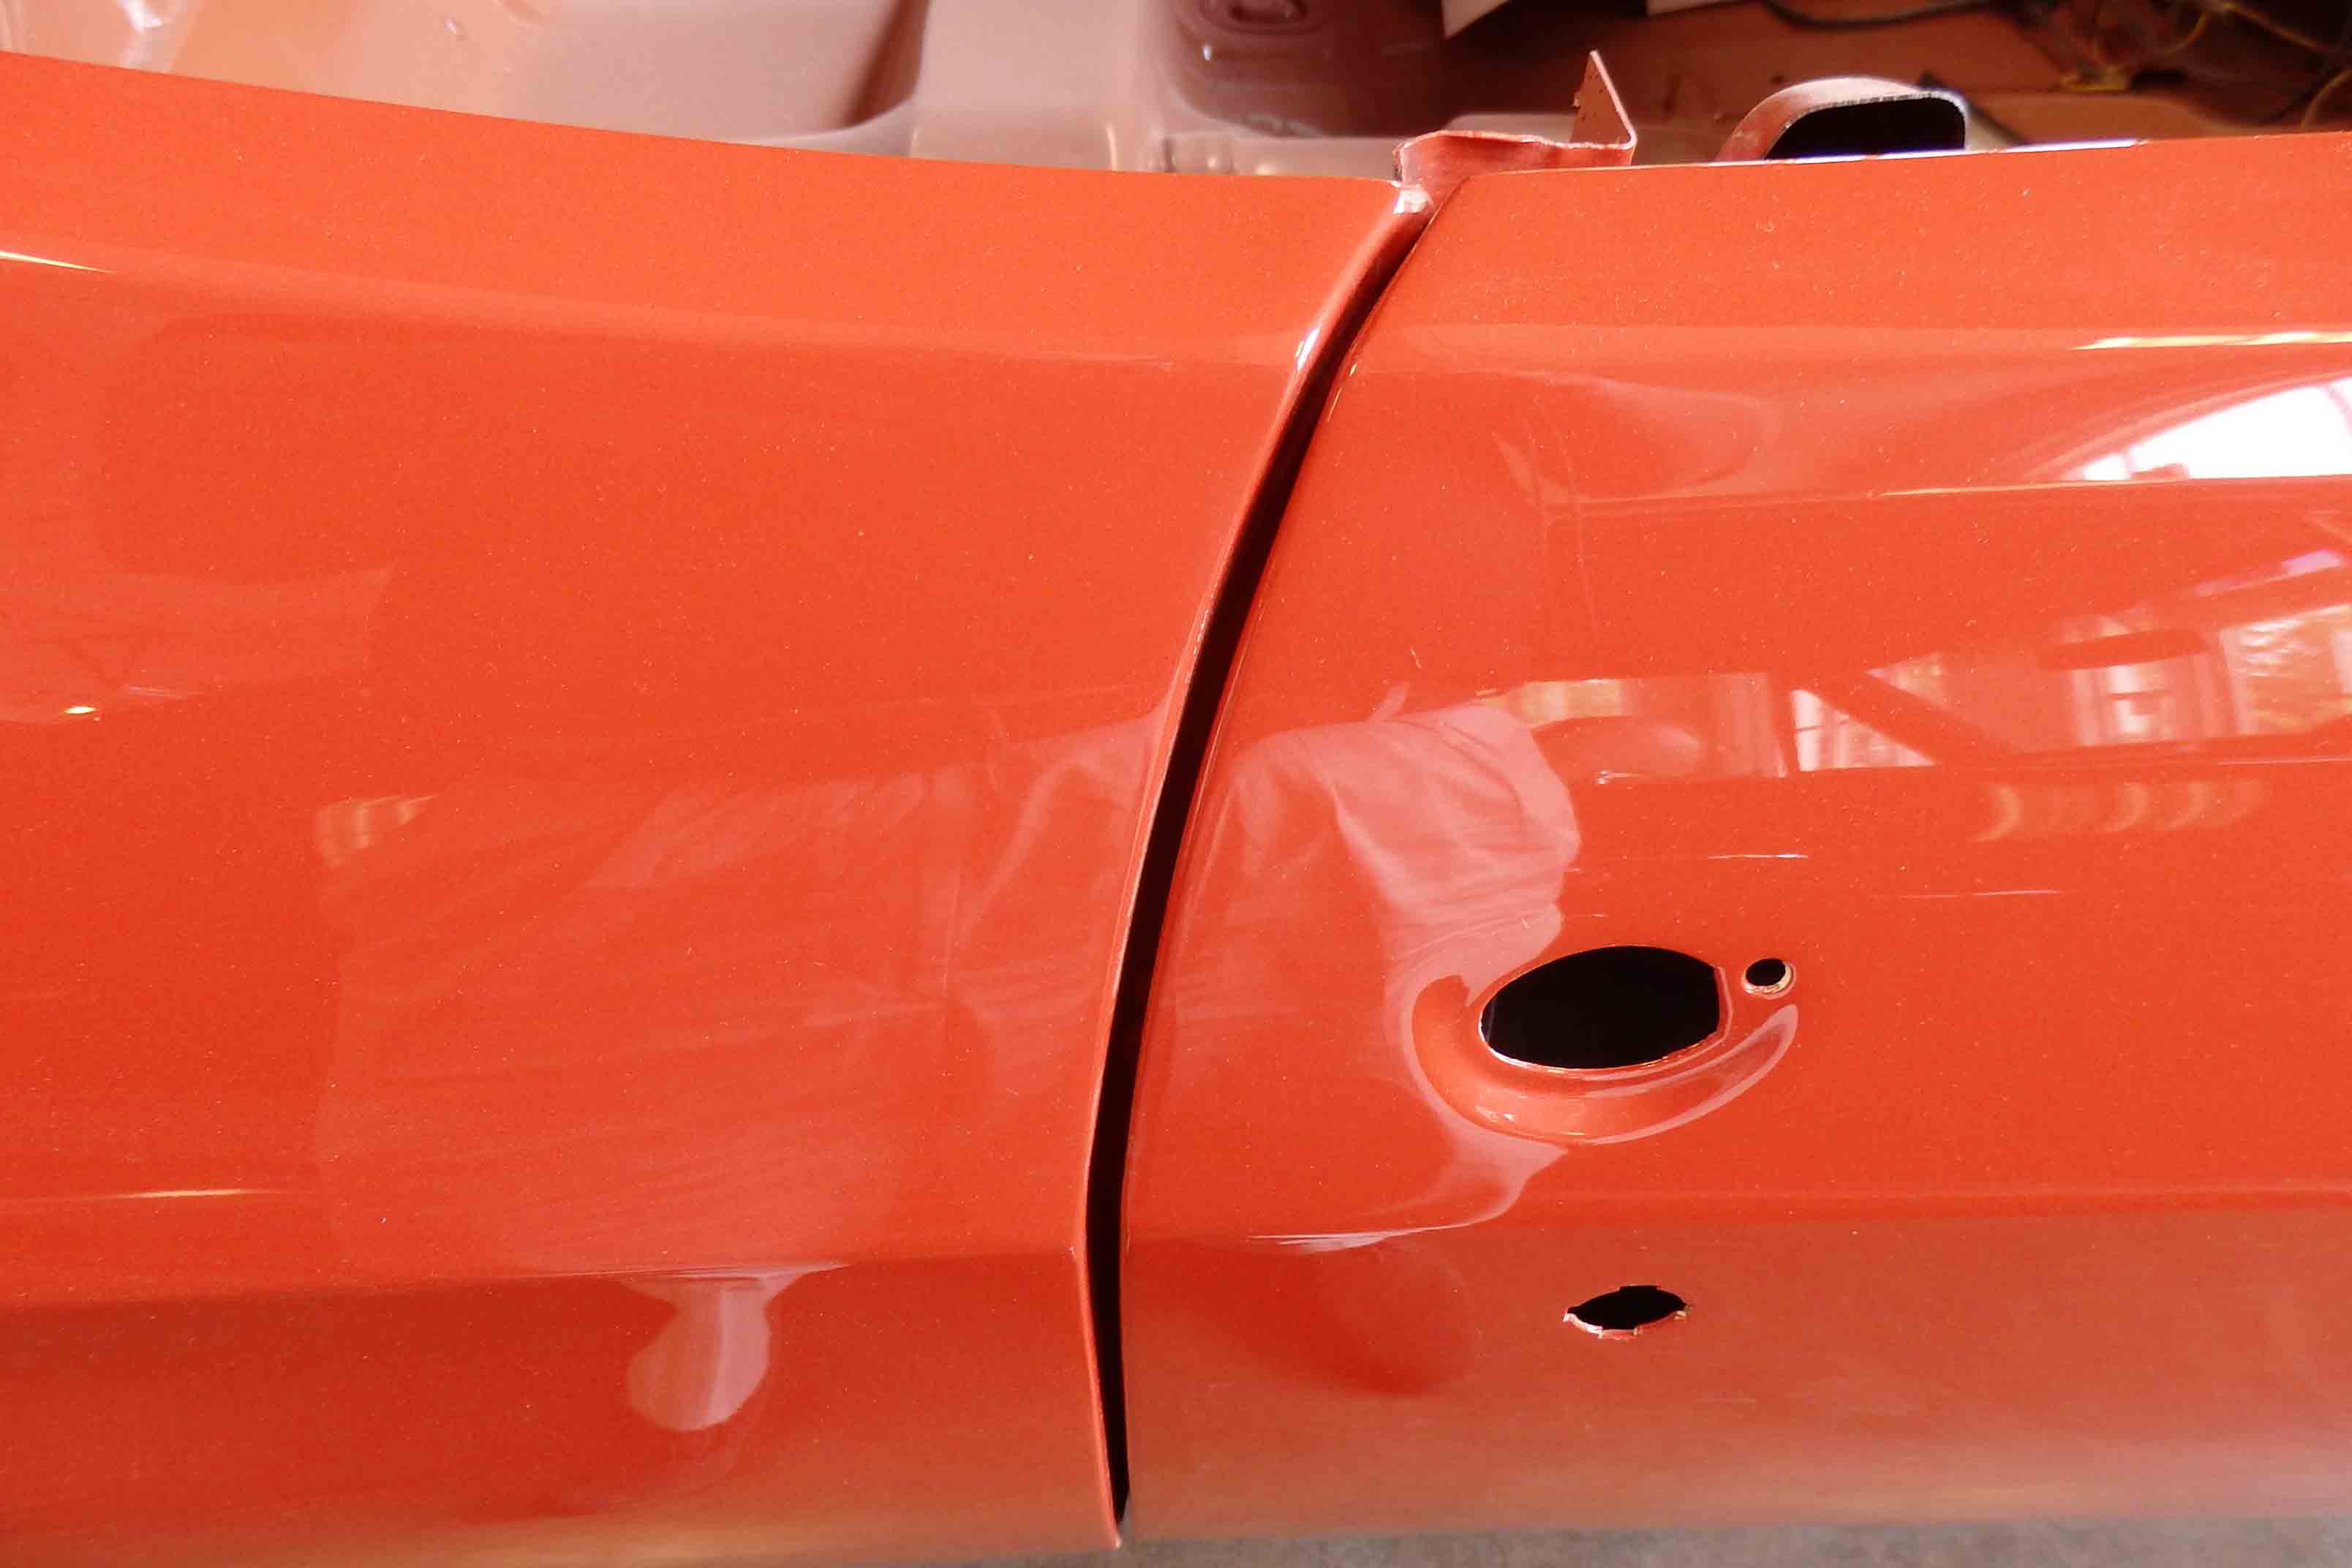
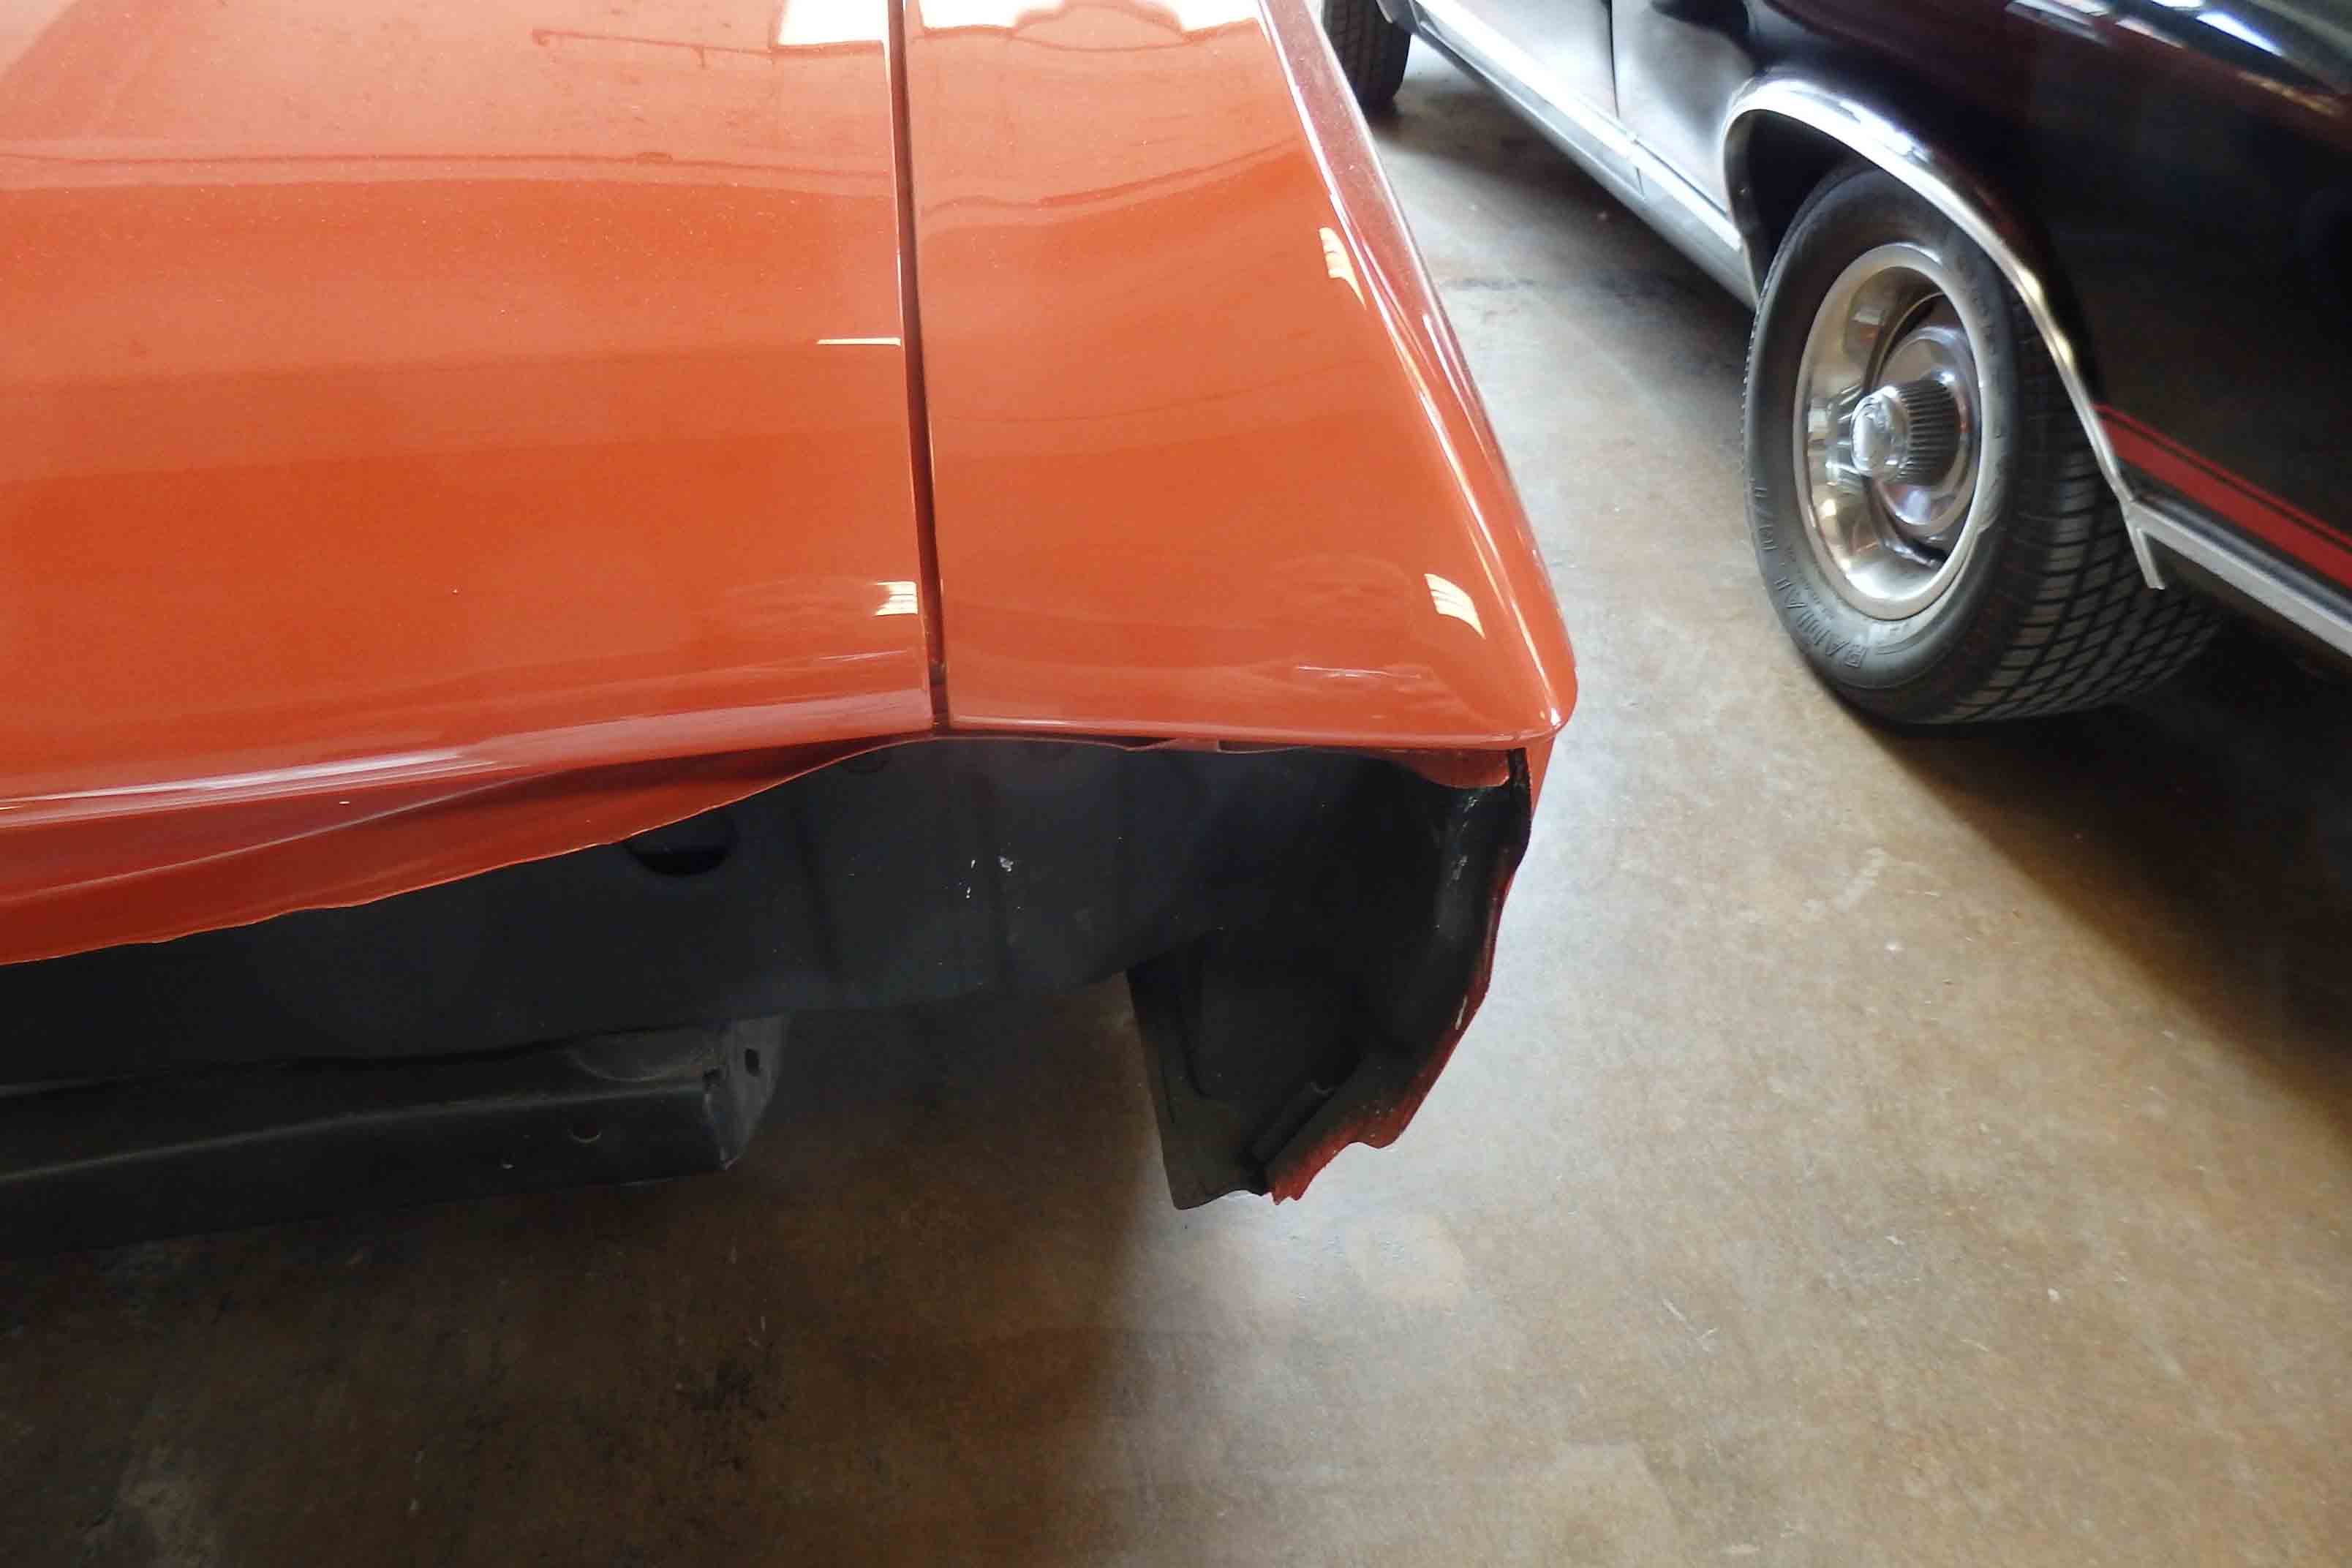
This is also true for bumpers, in the pictures above the new quarter panels we installed fit poorly in relation to the lines on the bumper, in this instance we split, welded and metal worked the replacement panel so that we could achieve the fit and finish desired. In the other photos you will note that we did the same thing on the body so that we could get the proper fit for the door opening. Despite all of the work you may have put into installing the quarter or replacing the fender or putting on a new door skin, there may be times where it becomes necessary to do more metal work on the panels and we don’t want to have to address such concerns with a body that is in color. Like the other steps, this one is to make sure that everything is right before painting the surfaces. Paint is expensive and when we reach that stage we want everything to be right, why waste money on materials when you can take the time to make sure that when the paint is sprayed you have done everything in your capacity to make sure the body is prepared correctly.
In the next installment we will discuss suspension, frame and steering.